A few weeks after I purchased the Eurasia ES-1 frame and fork that became the base for the first restoration I did, I came across the same model of bicycle on Yahoo Japan auctions, in its complete and original configuration. The bike was in rough condition, and the price accordingly low. I snatched it up, but this was in the first months of the coronavirus pandemic, and it was impossible to ship items to the USA from Japan. So it sat in a warehouse in Tokyo, where it would be joined by several other frames and complete bikes I would go on to purchase, until shipping would again be possible. That would turn out to be over a year later and cost several times over the auction price of the bike. Lesson learned! When it finally arrived in my shop, I was excited to return this bike to its original glory. Read on to learn more about this restoration and check out the photo gallery.
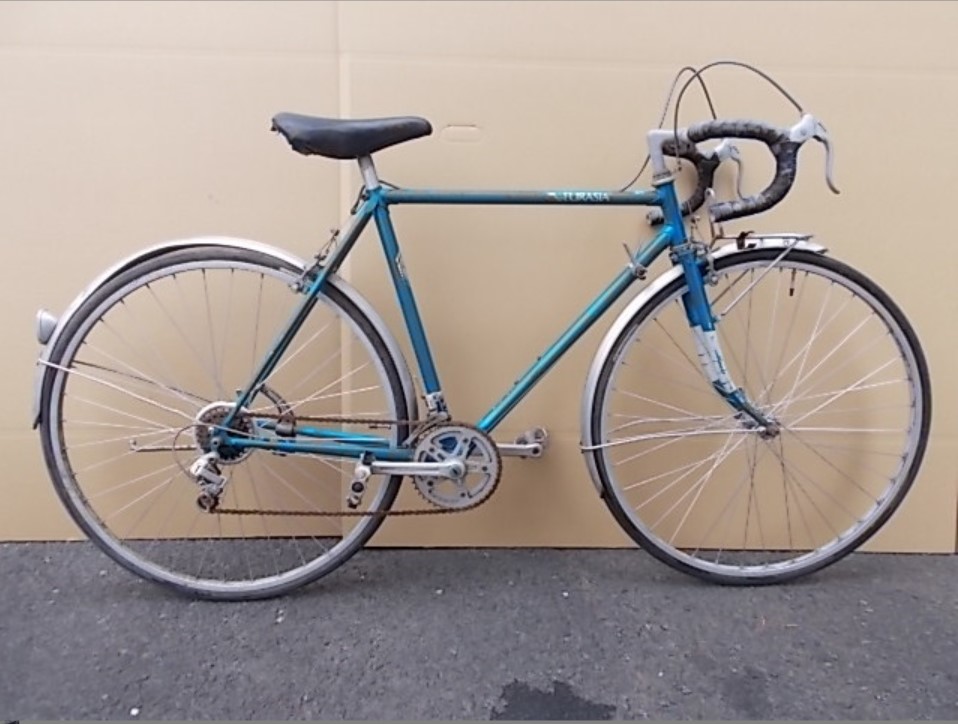
Above is the “before” photo from the original auction. The bike was in need of a complete refinish, and each of the components needed to be removed, inspected, dismantled and restored before they could be used. Unfortunately, some of the parts were not salvageable. I never re-use tires or chains, but the fenders, brake calipers and levers, headset, stem, saddle, and front derailleur also had to go. In each case, it was easier to replace these parts than to spend hours rehabbing them.
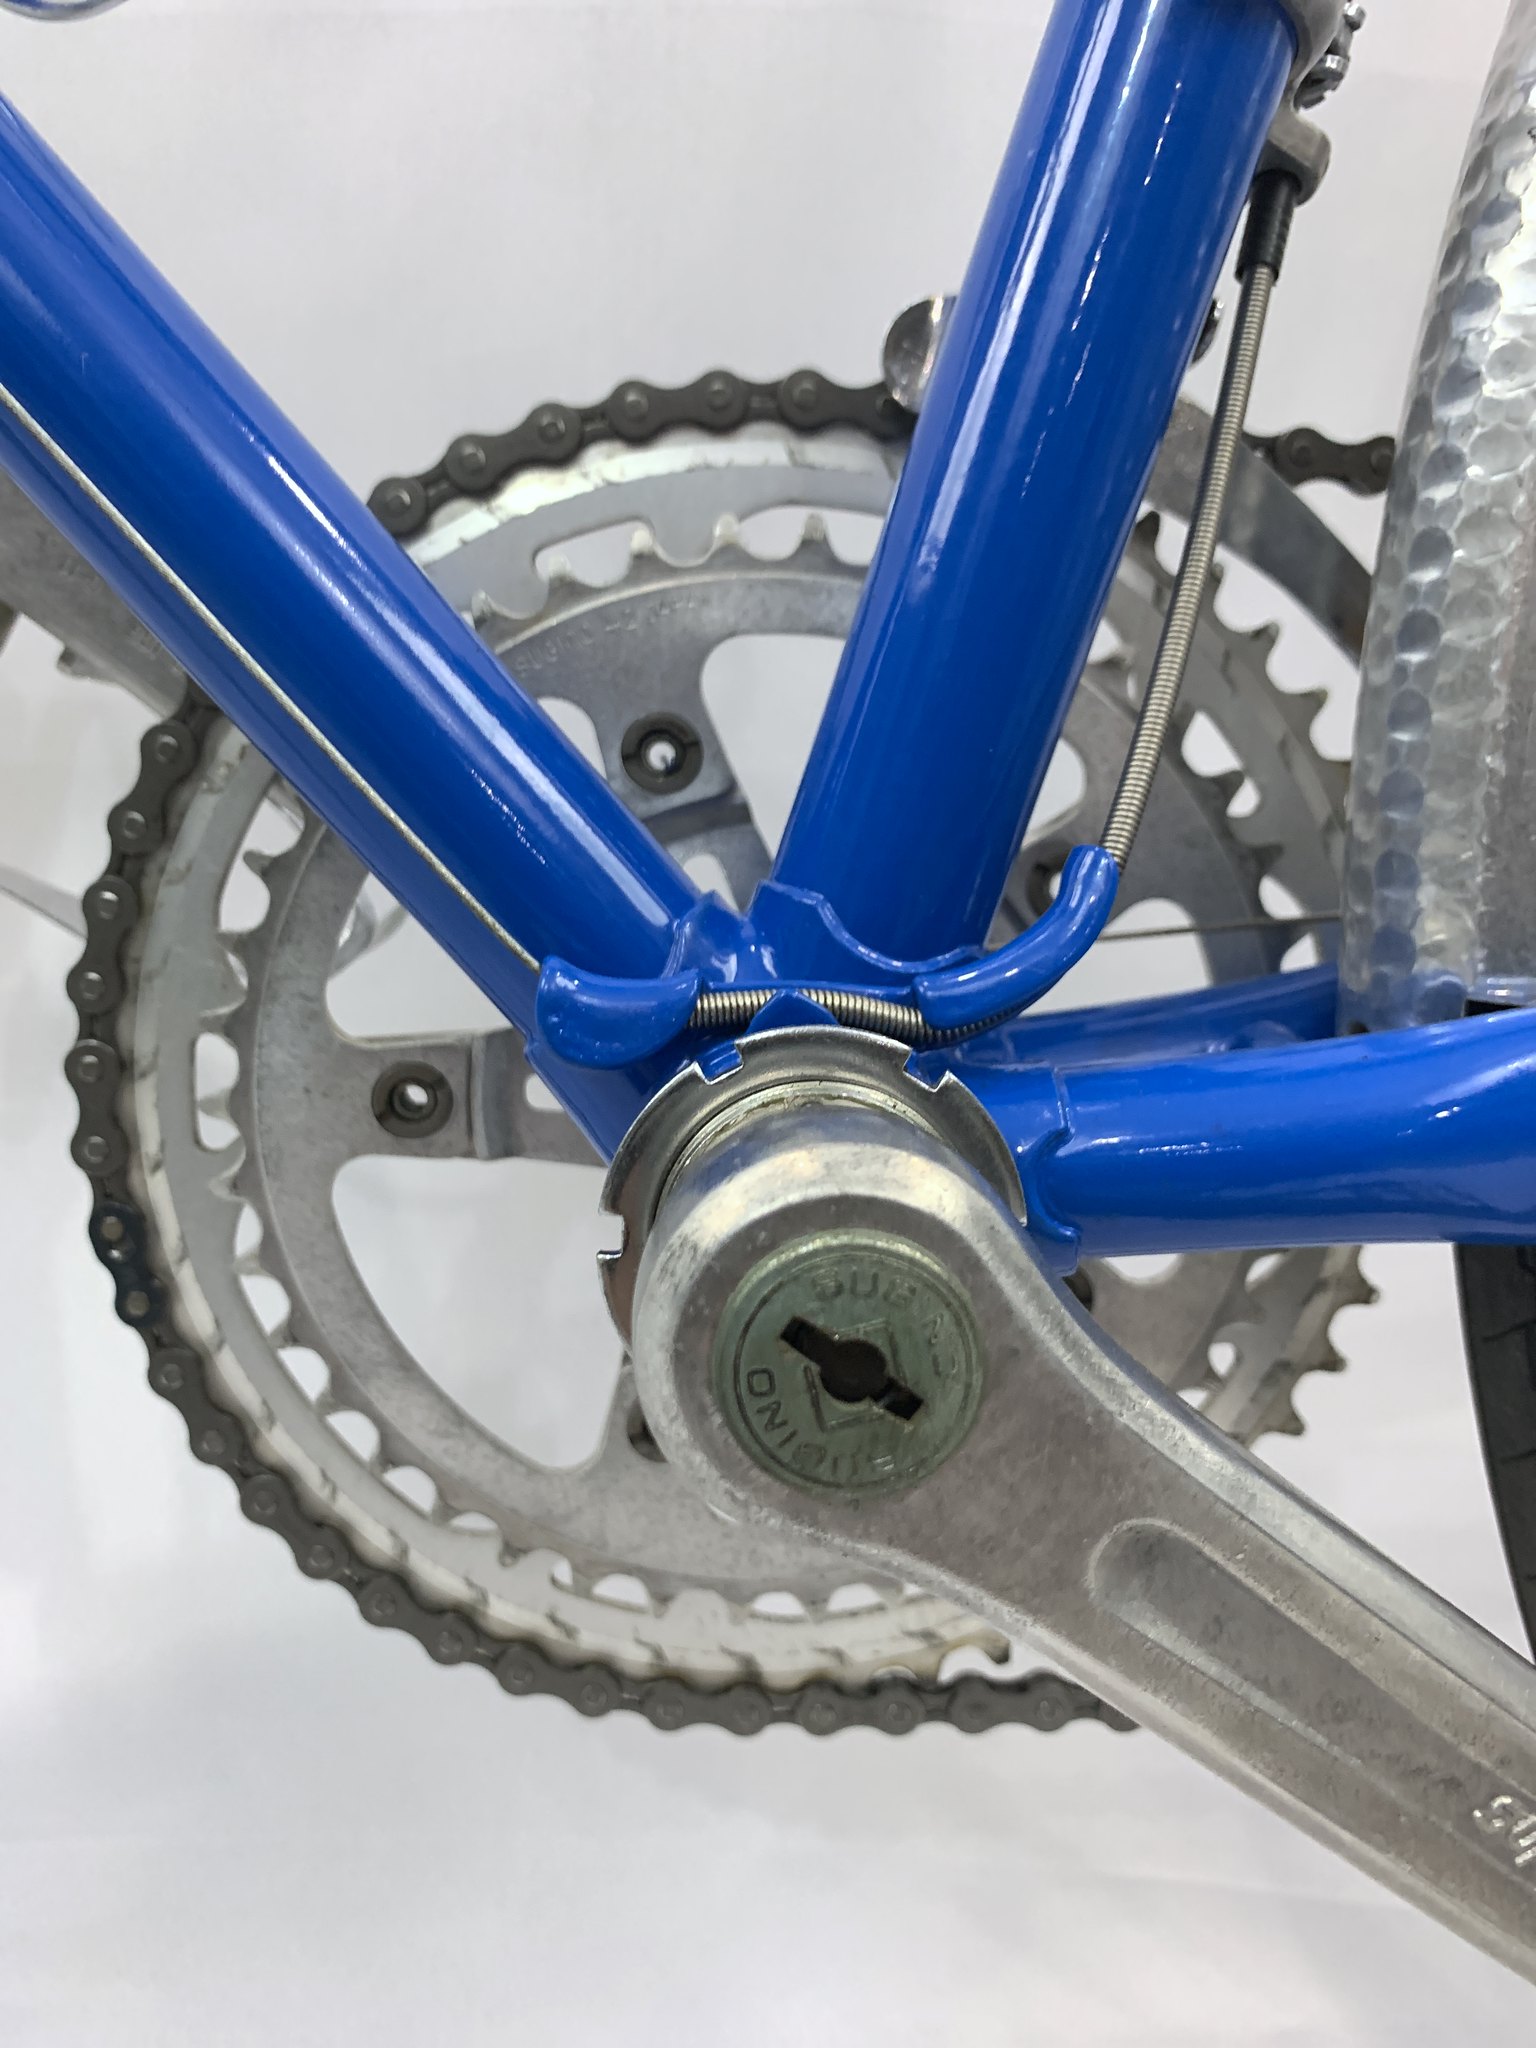
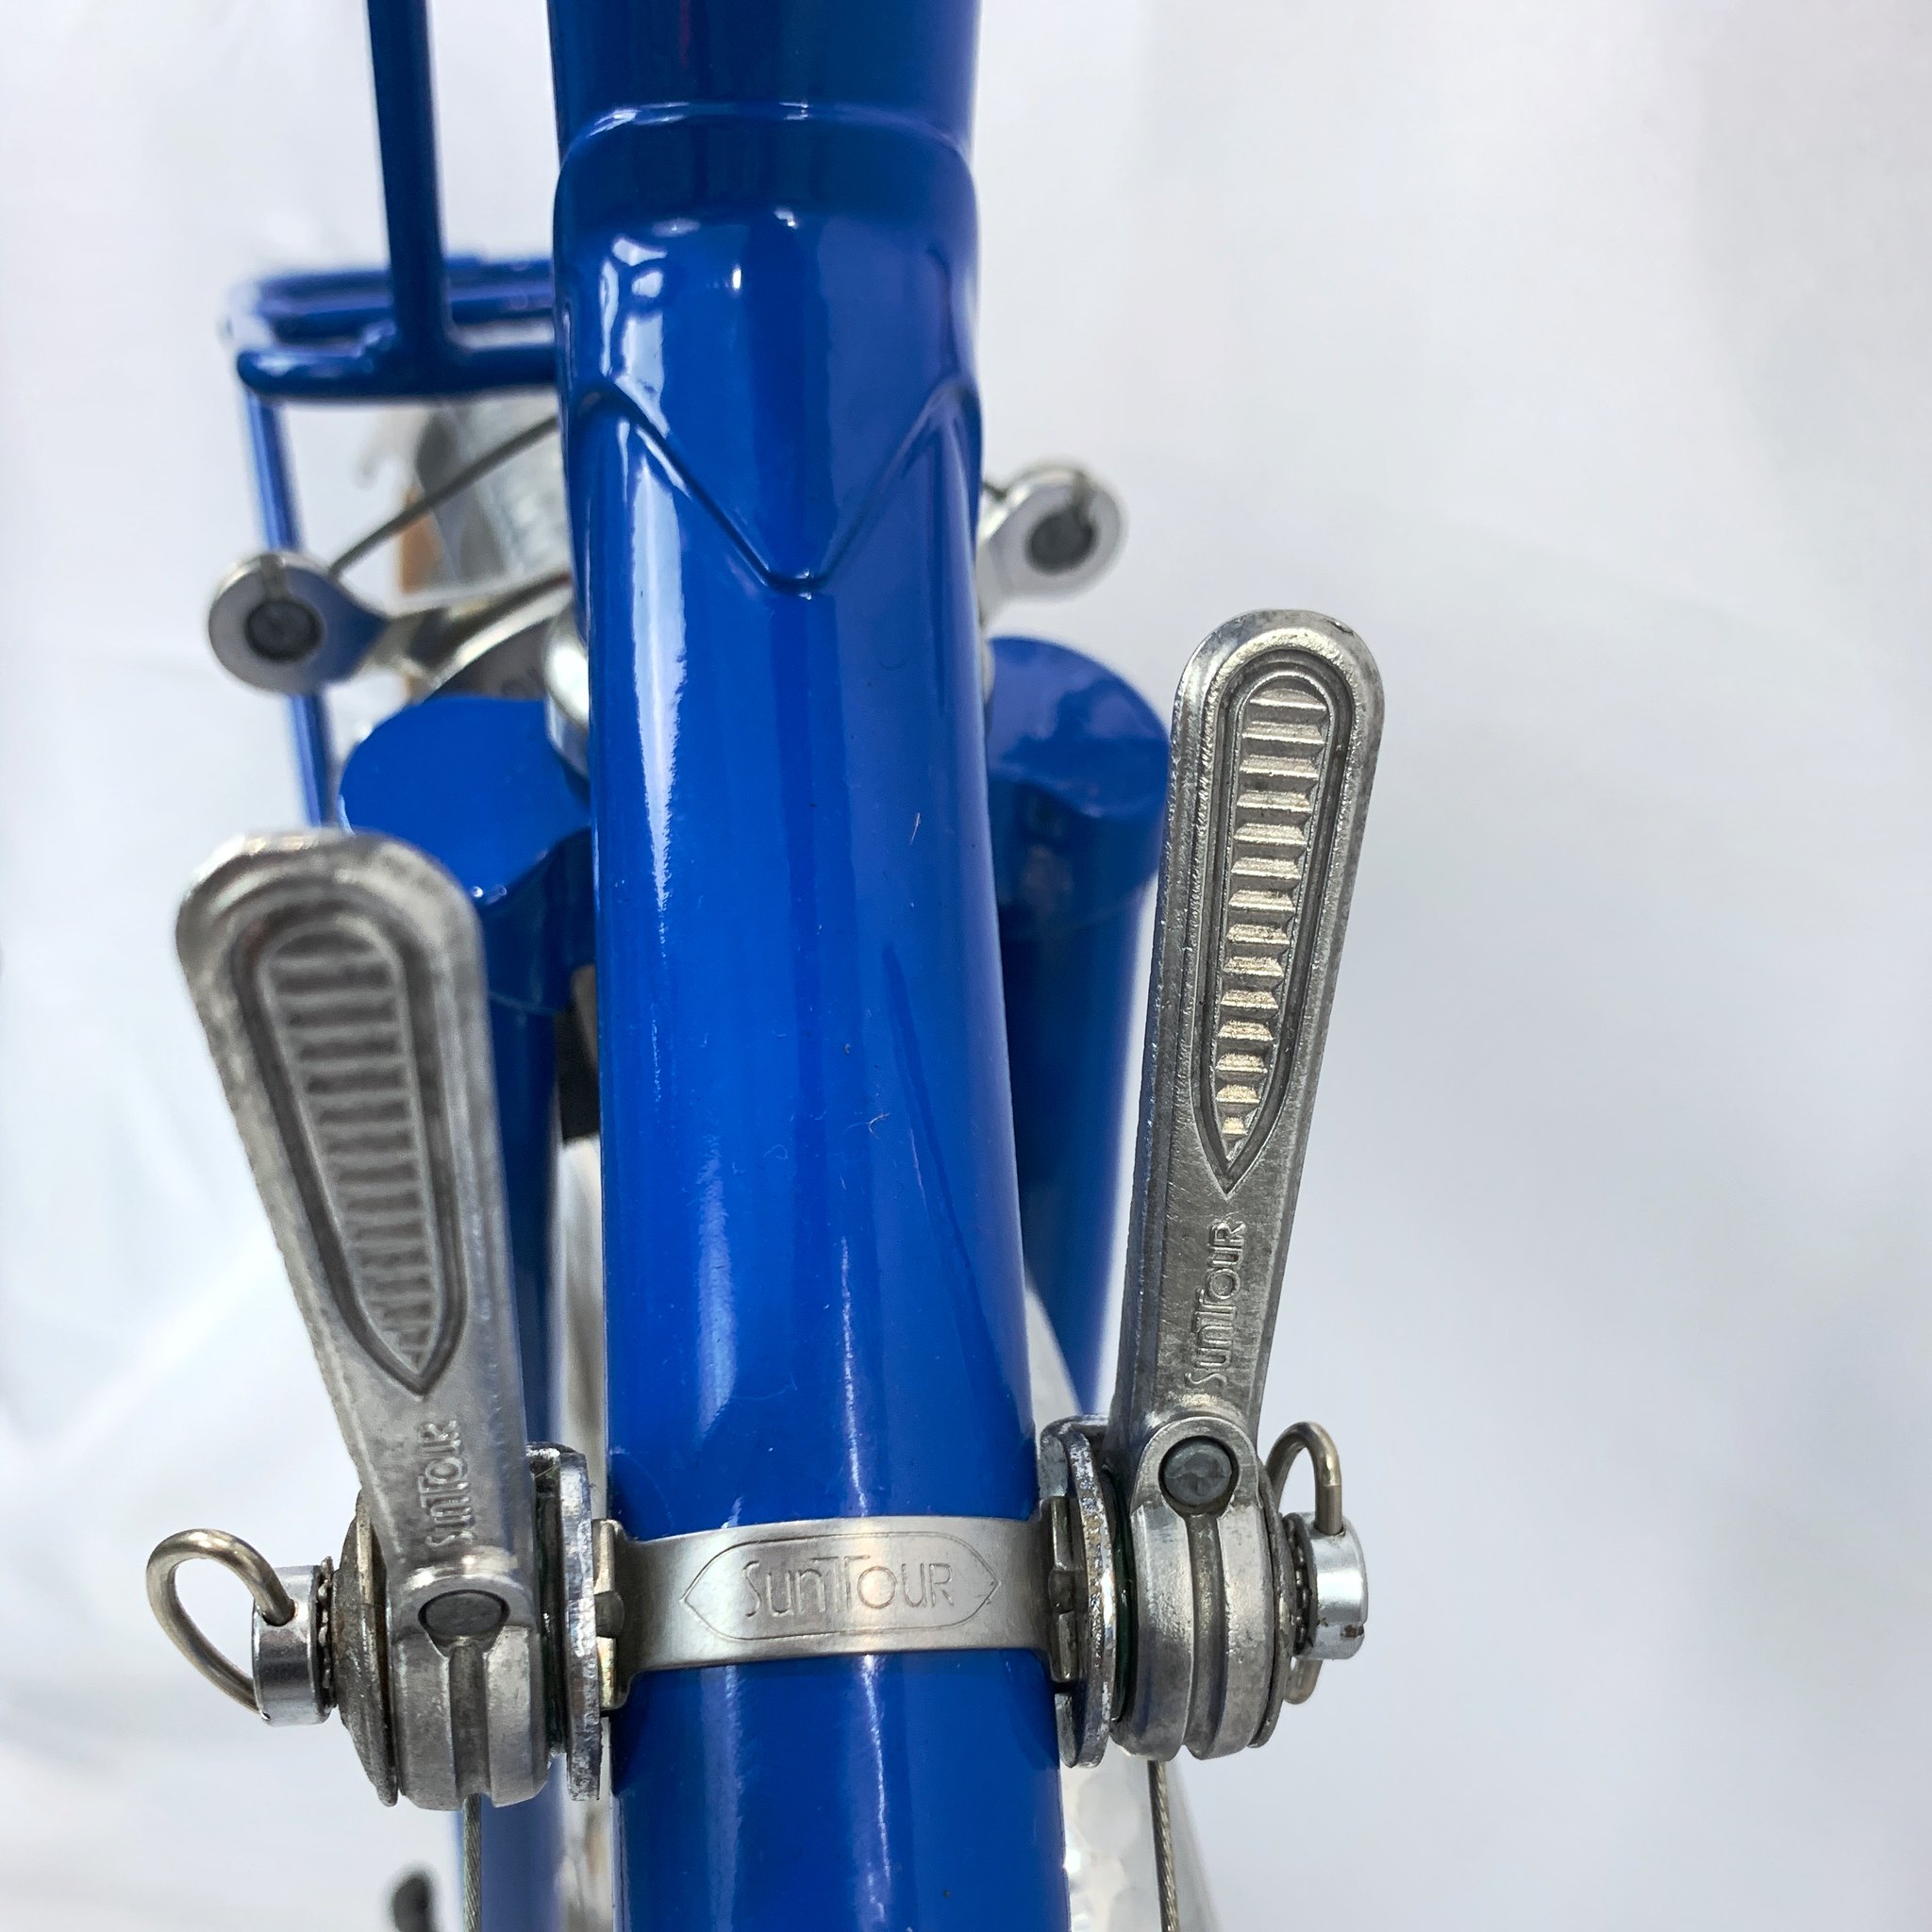
The drive train on this bike is Suntour Vx, and sourcing a replacement front derailleur was easy. Similar to Cyclone, Vx was an upper-range Suntour groupset that’s largely made of aluminum, instead of steel, to lighten the components. After cleaning and polishing the rear derailleur, shifter and crankset, I think they retain a pleasant patina of age.
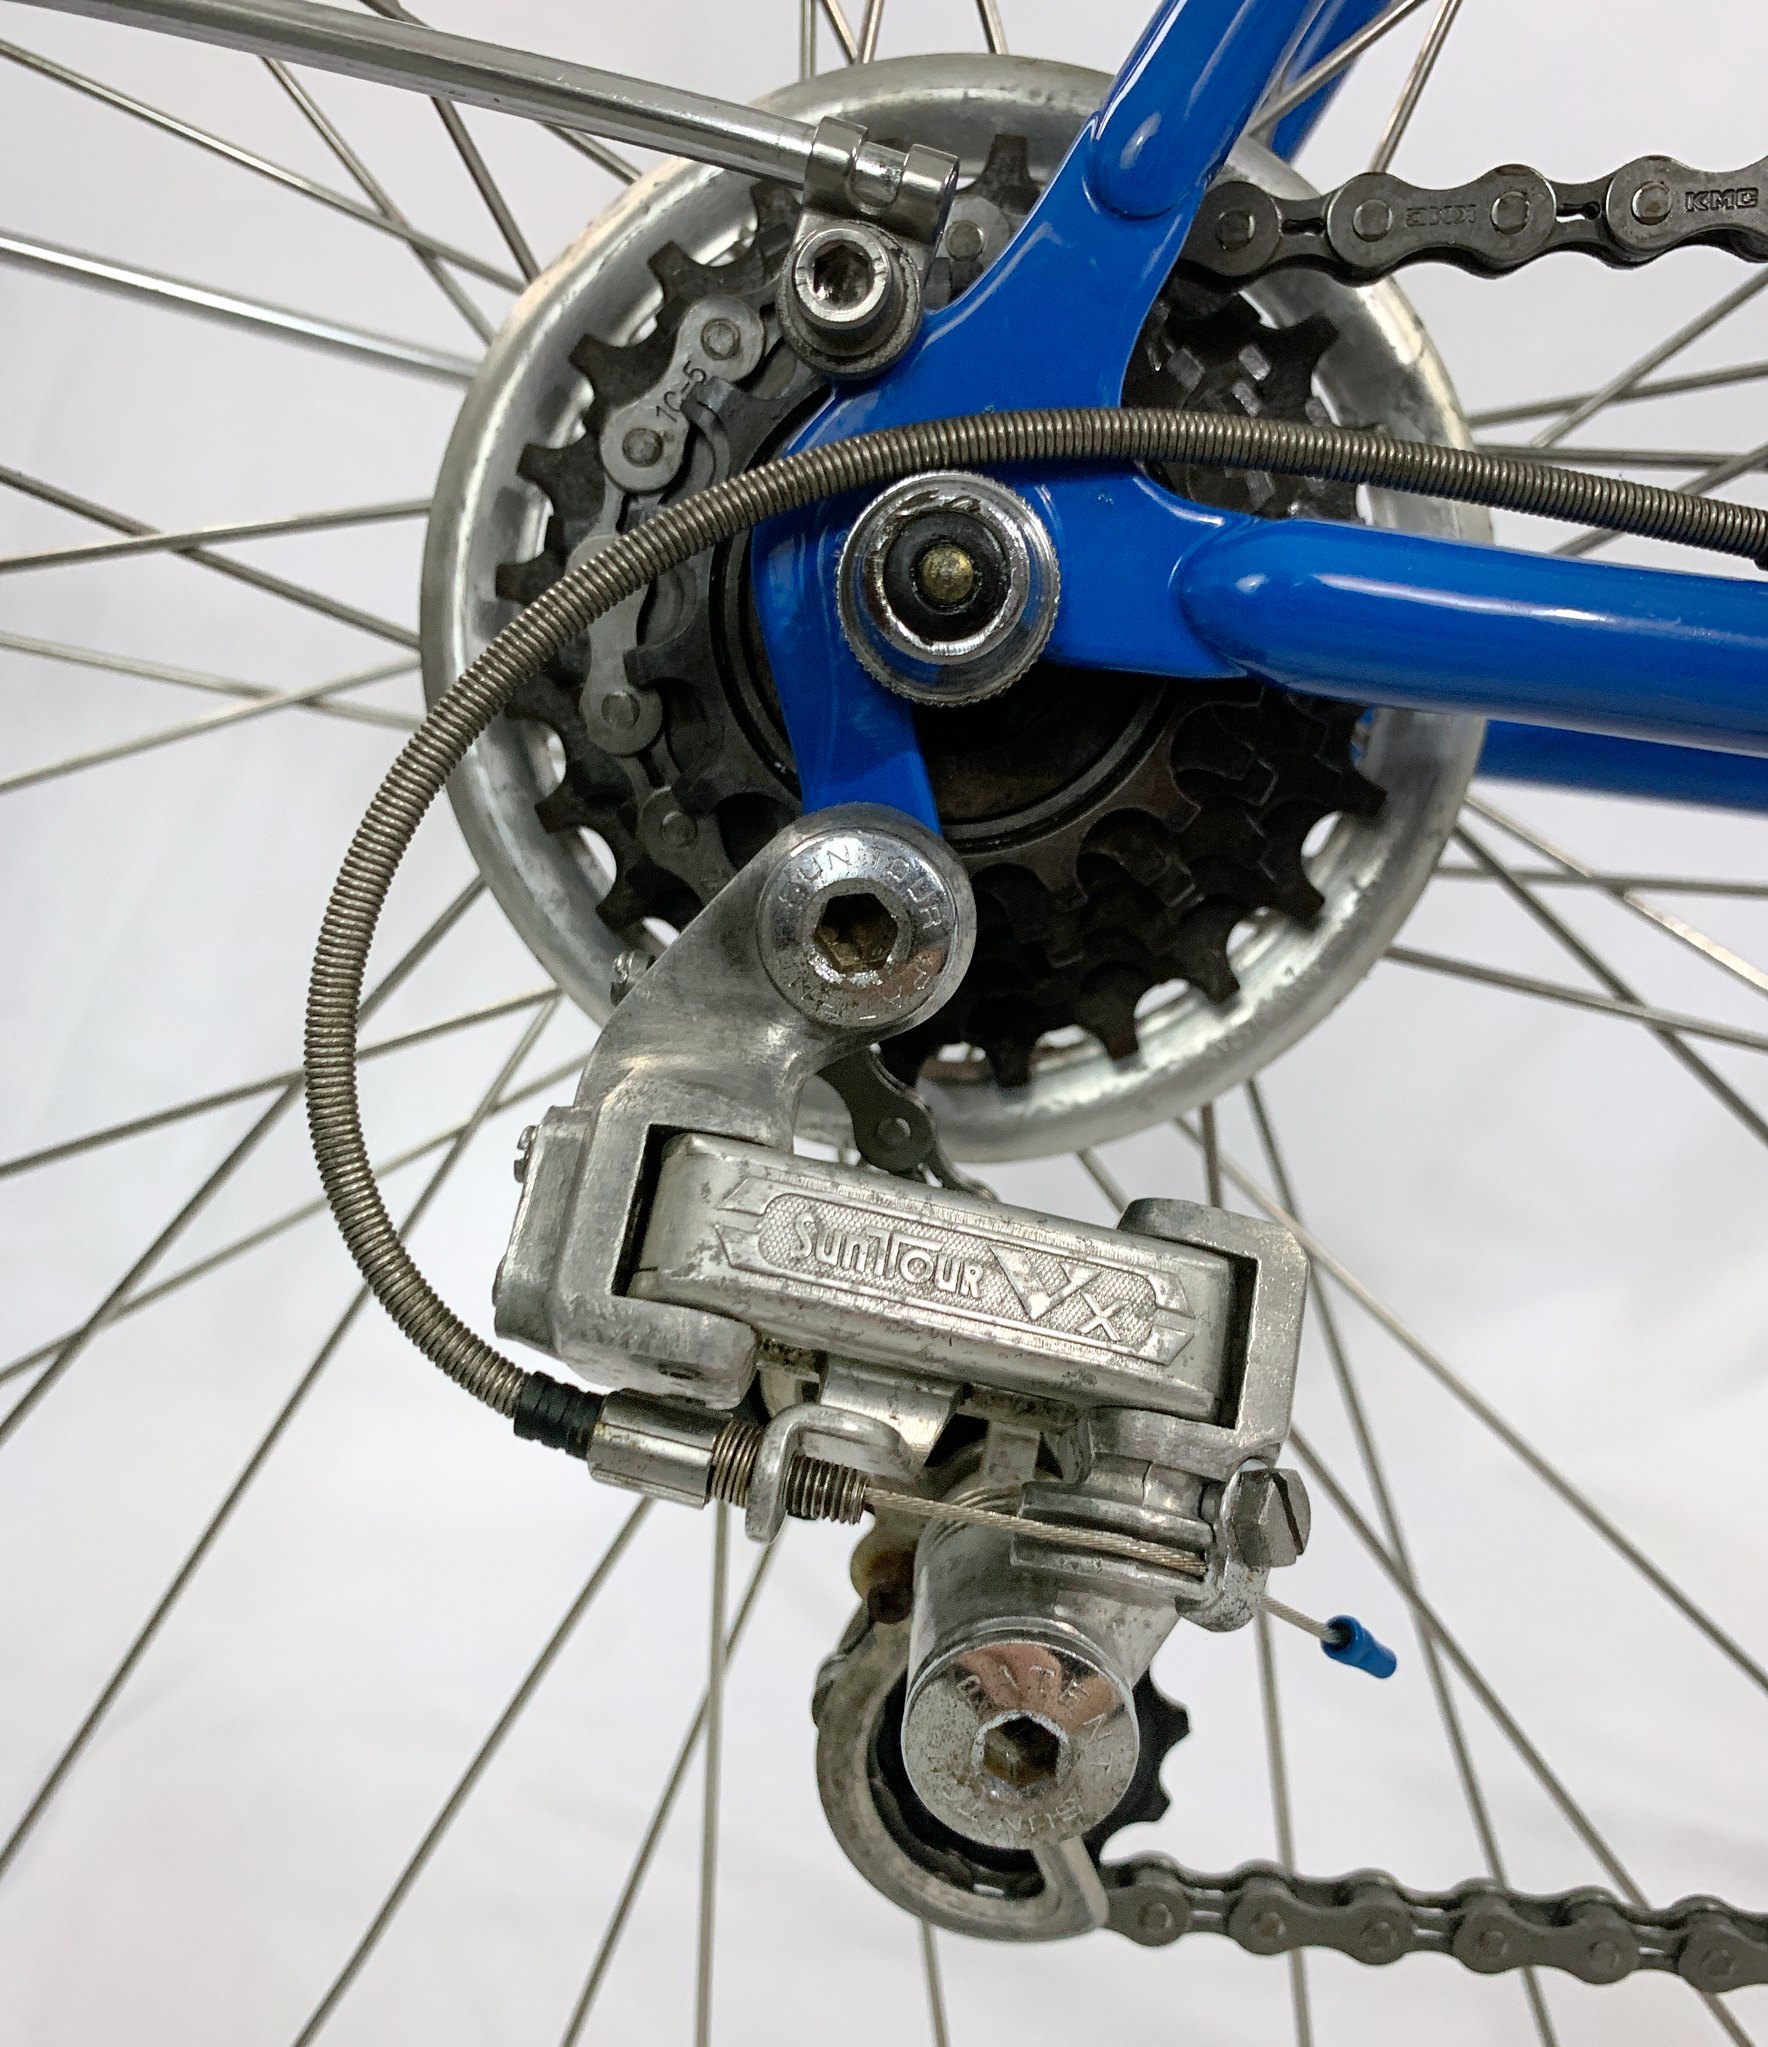
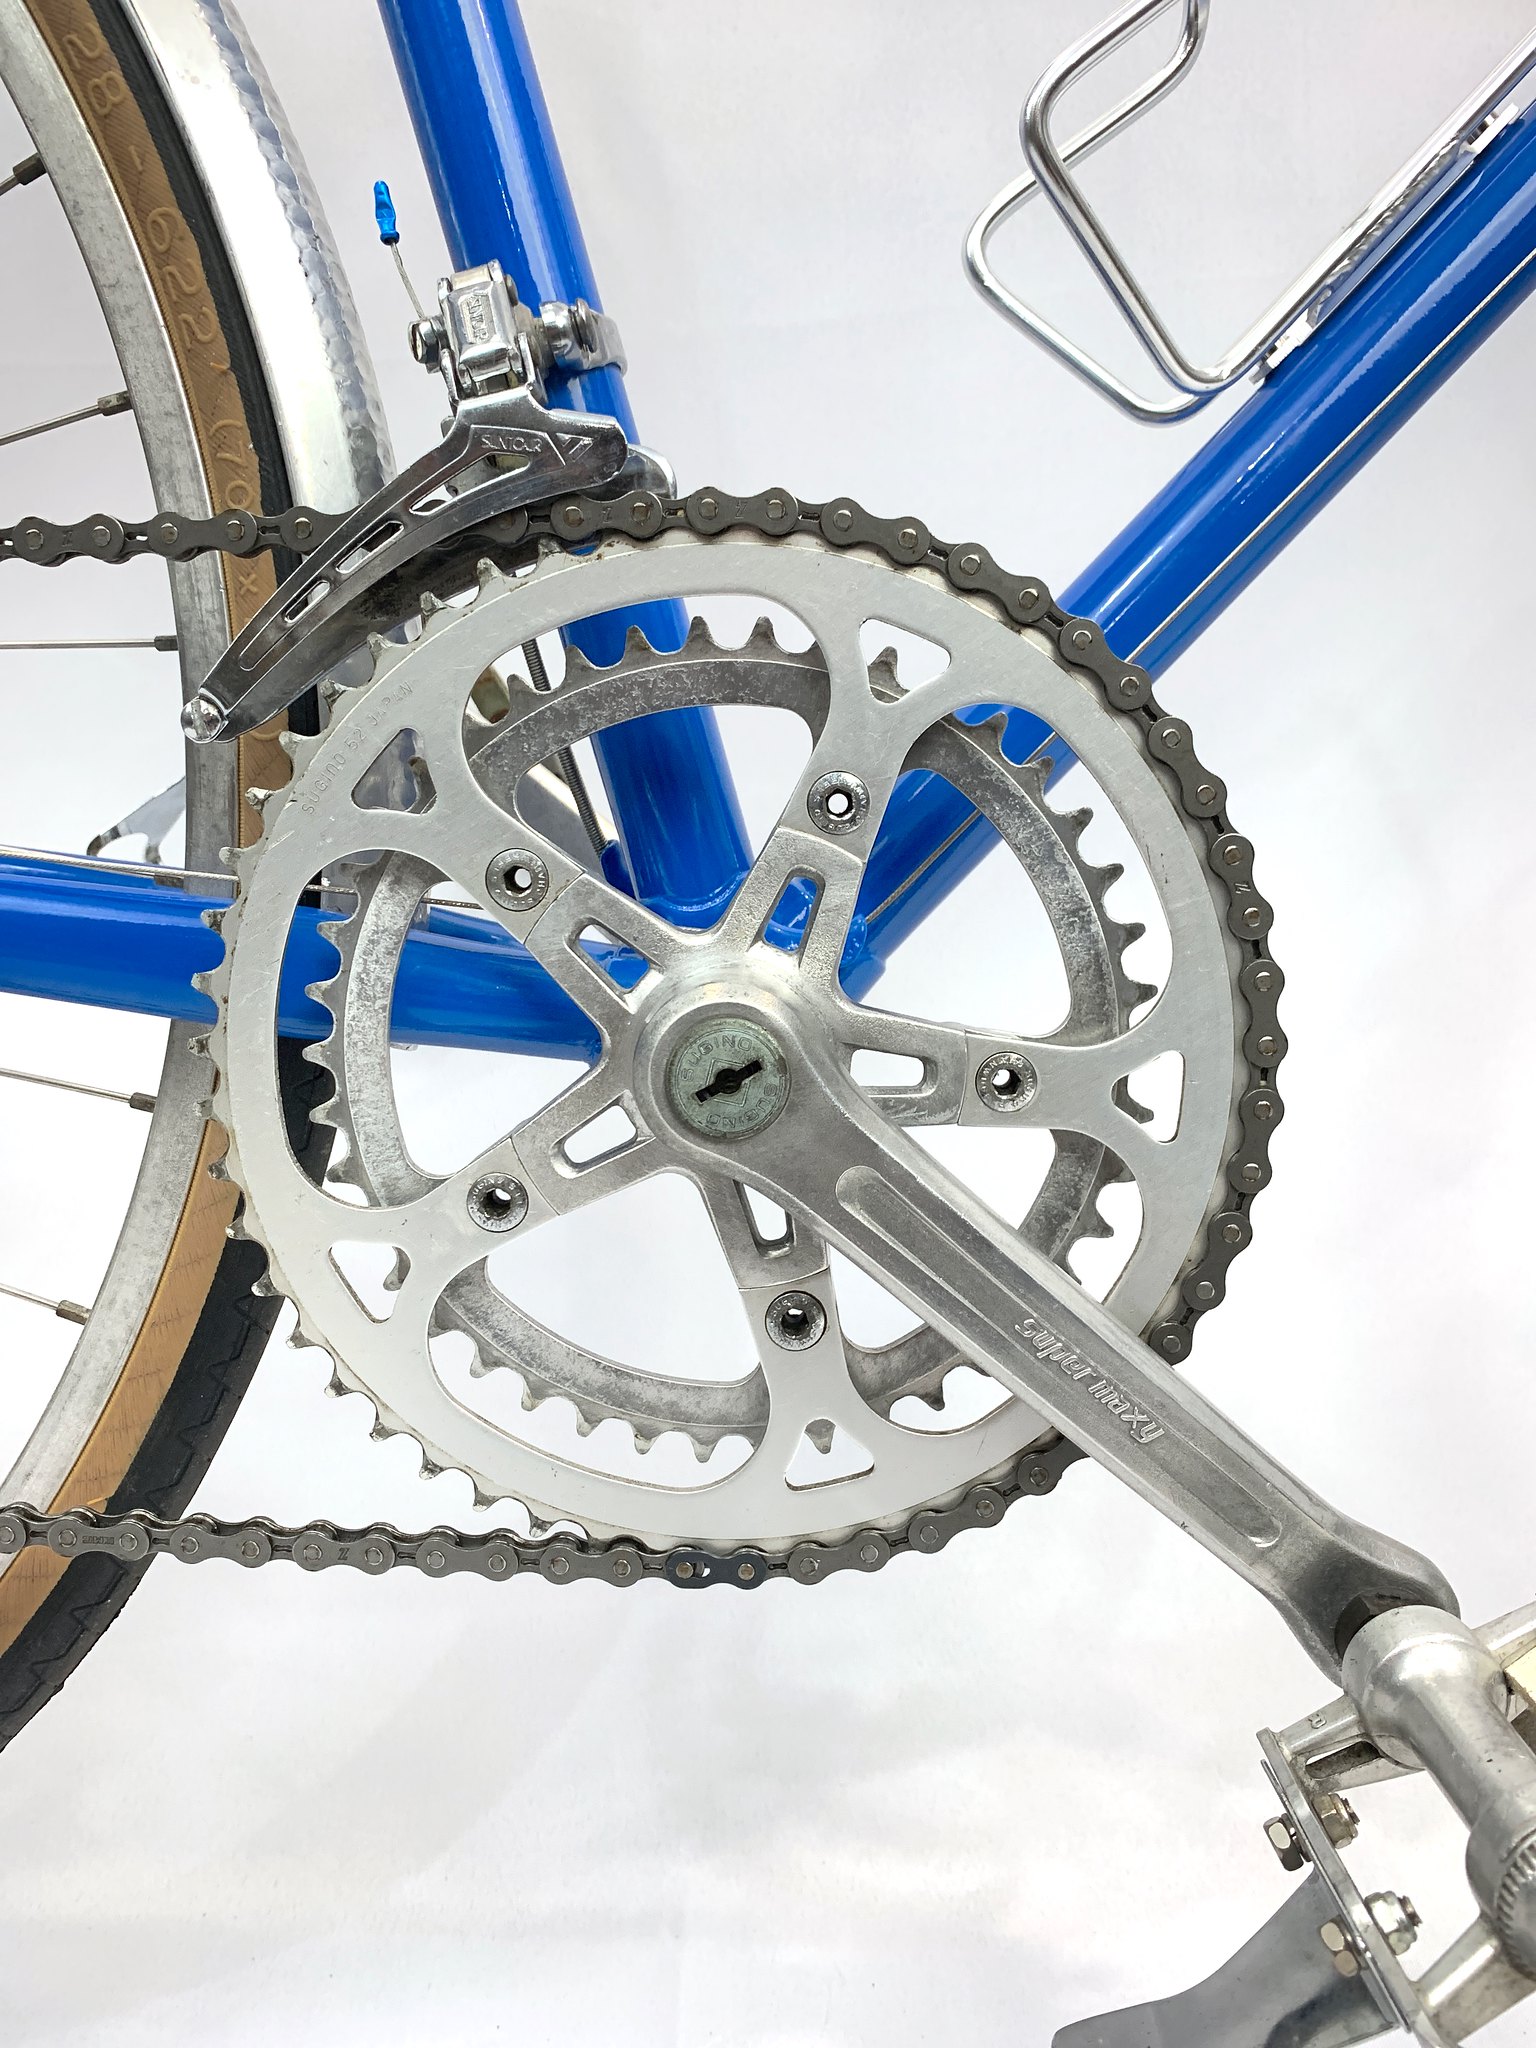
The crankset is a 110 BCD Super Maxy. A sharp eye might notice that I replaced the outer chainring. The original outer was 44 teeth, and likely changed by the previous owner, since 44/34 is not a standard combo. The Suntour Winner freewheel was dismantled and each cog carefully cleaned and checked.
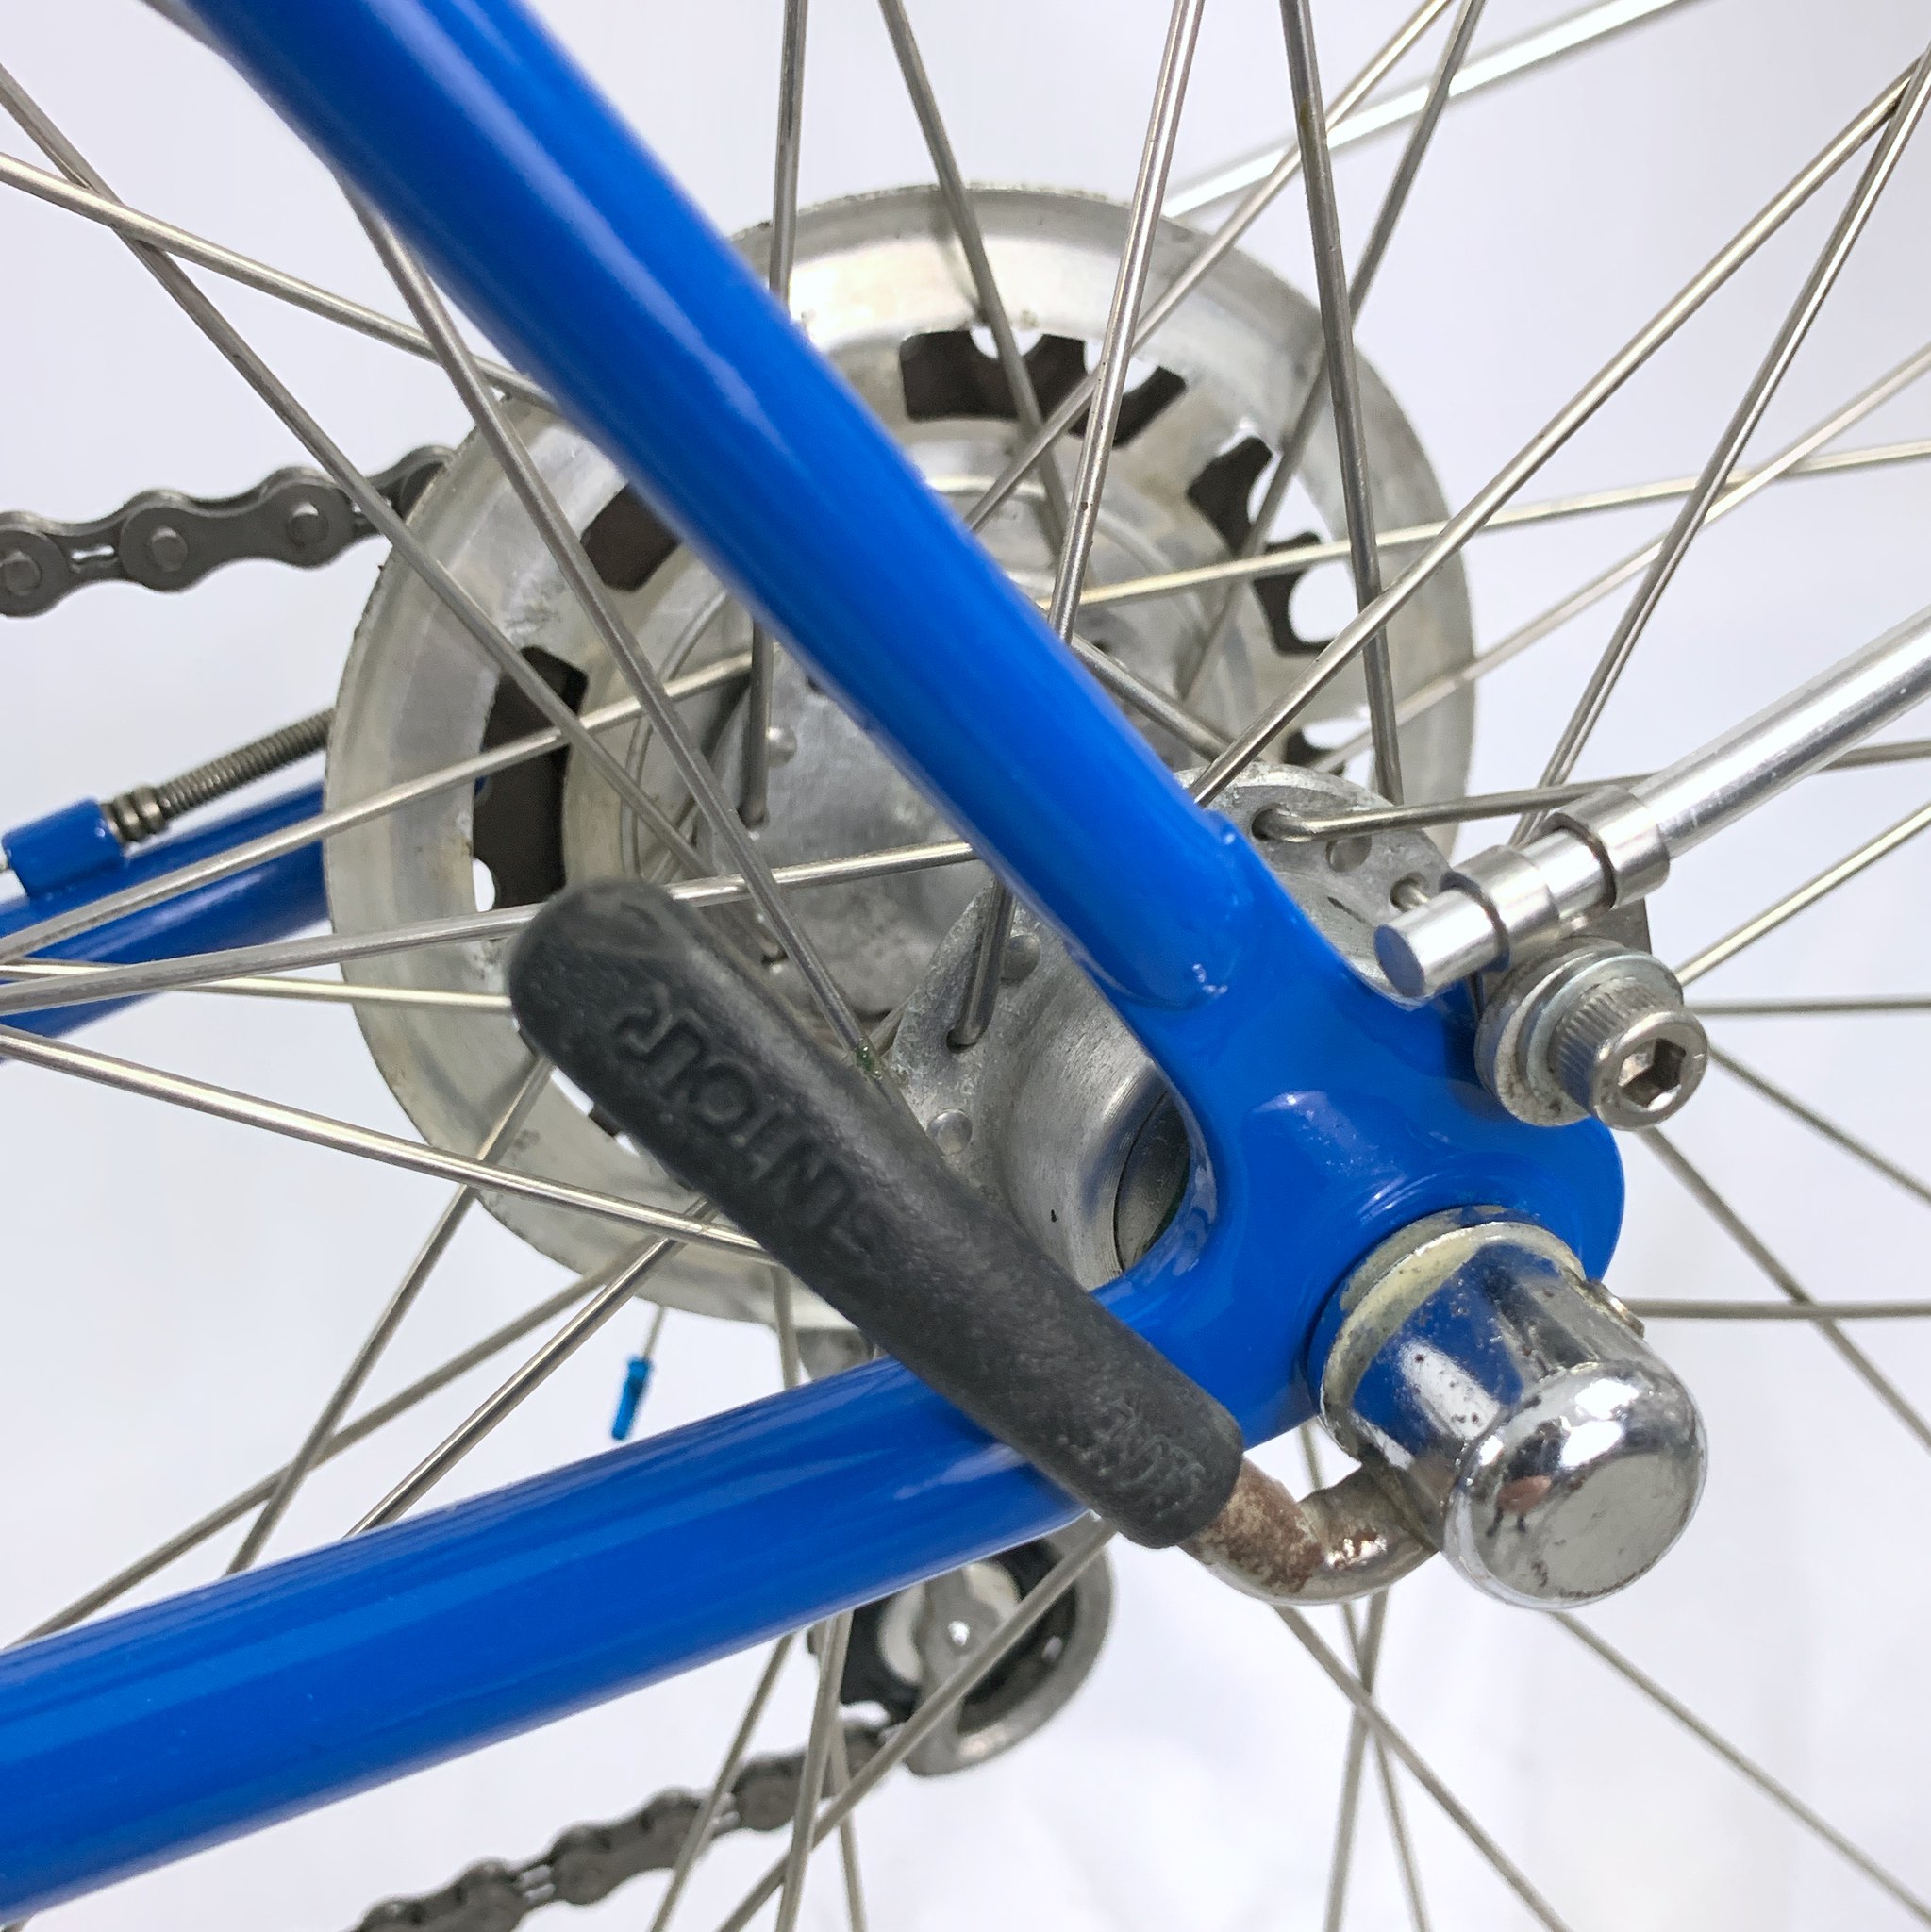
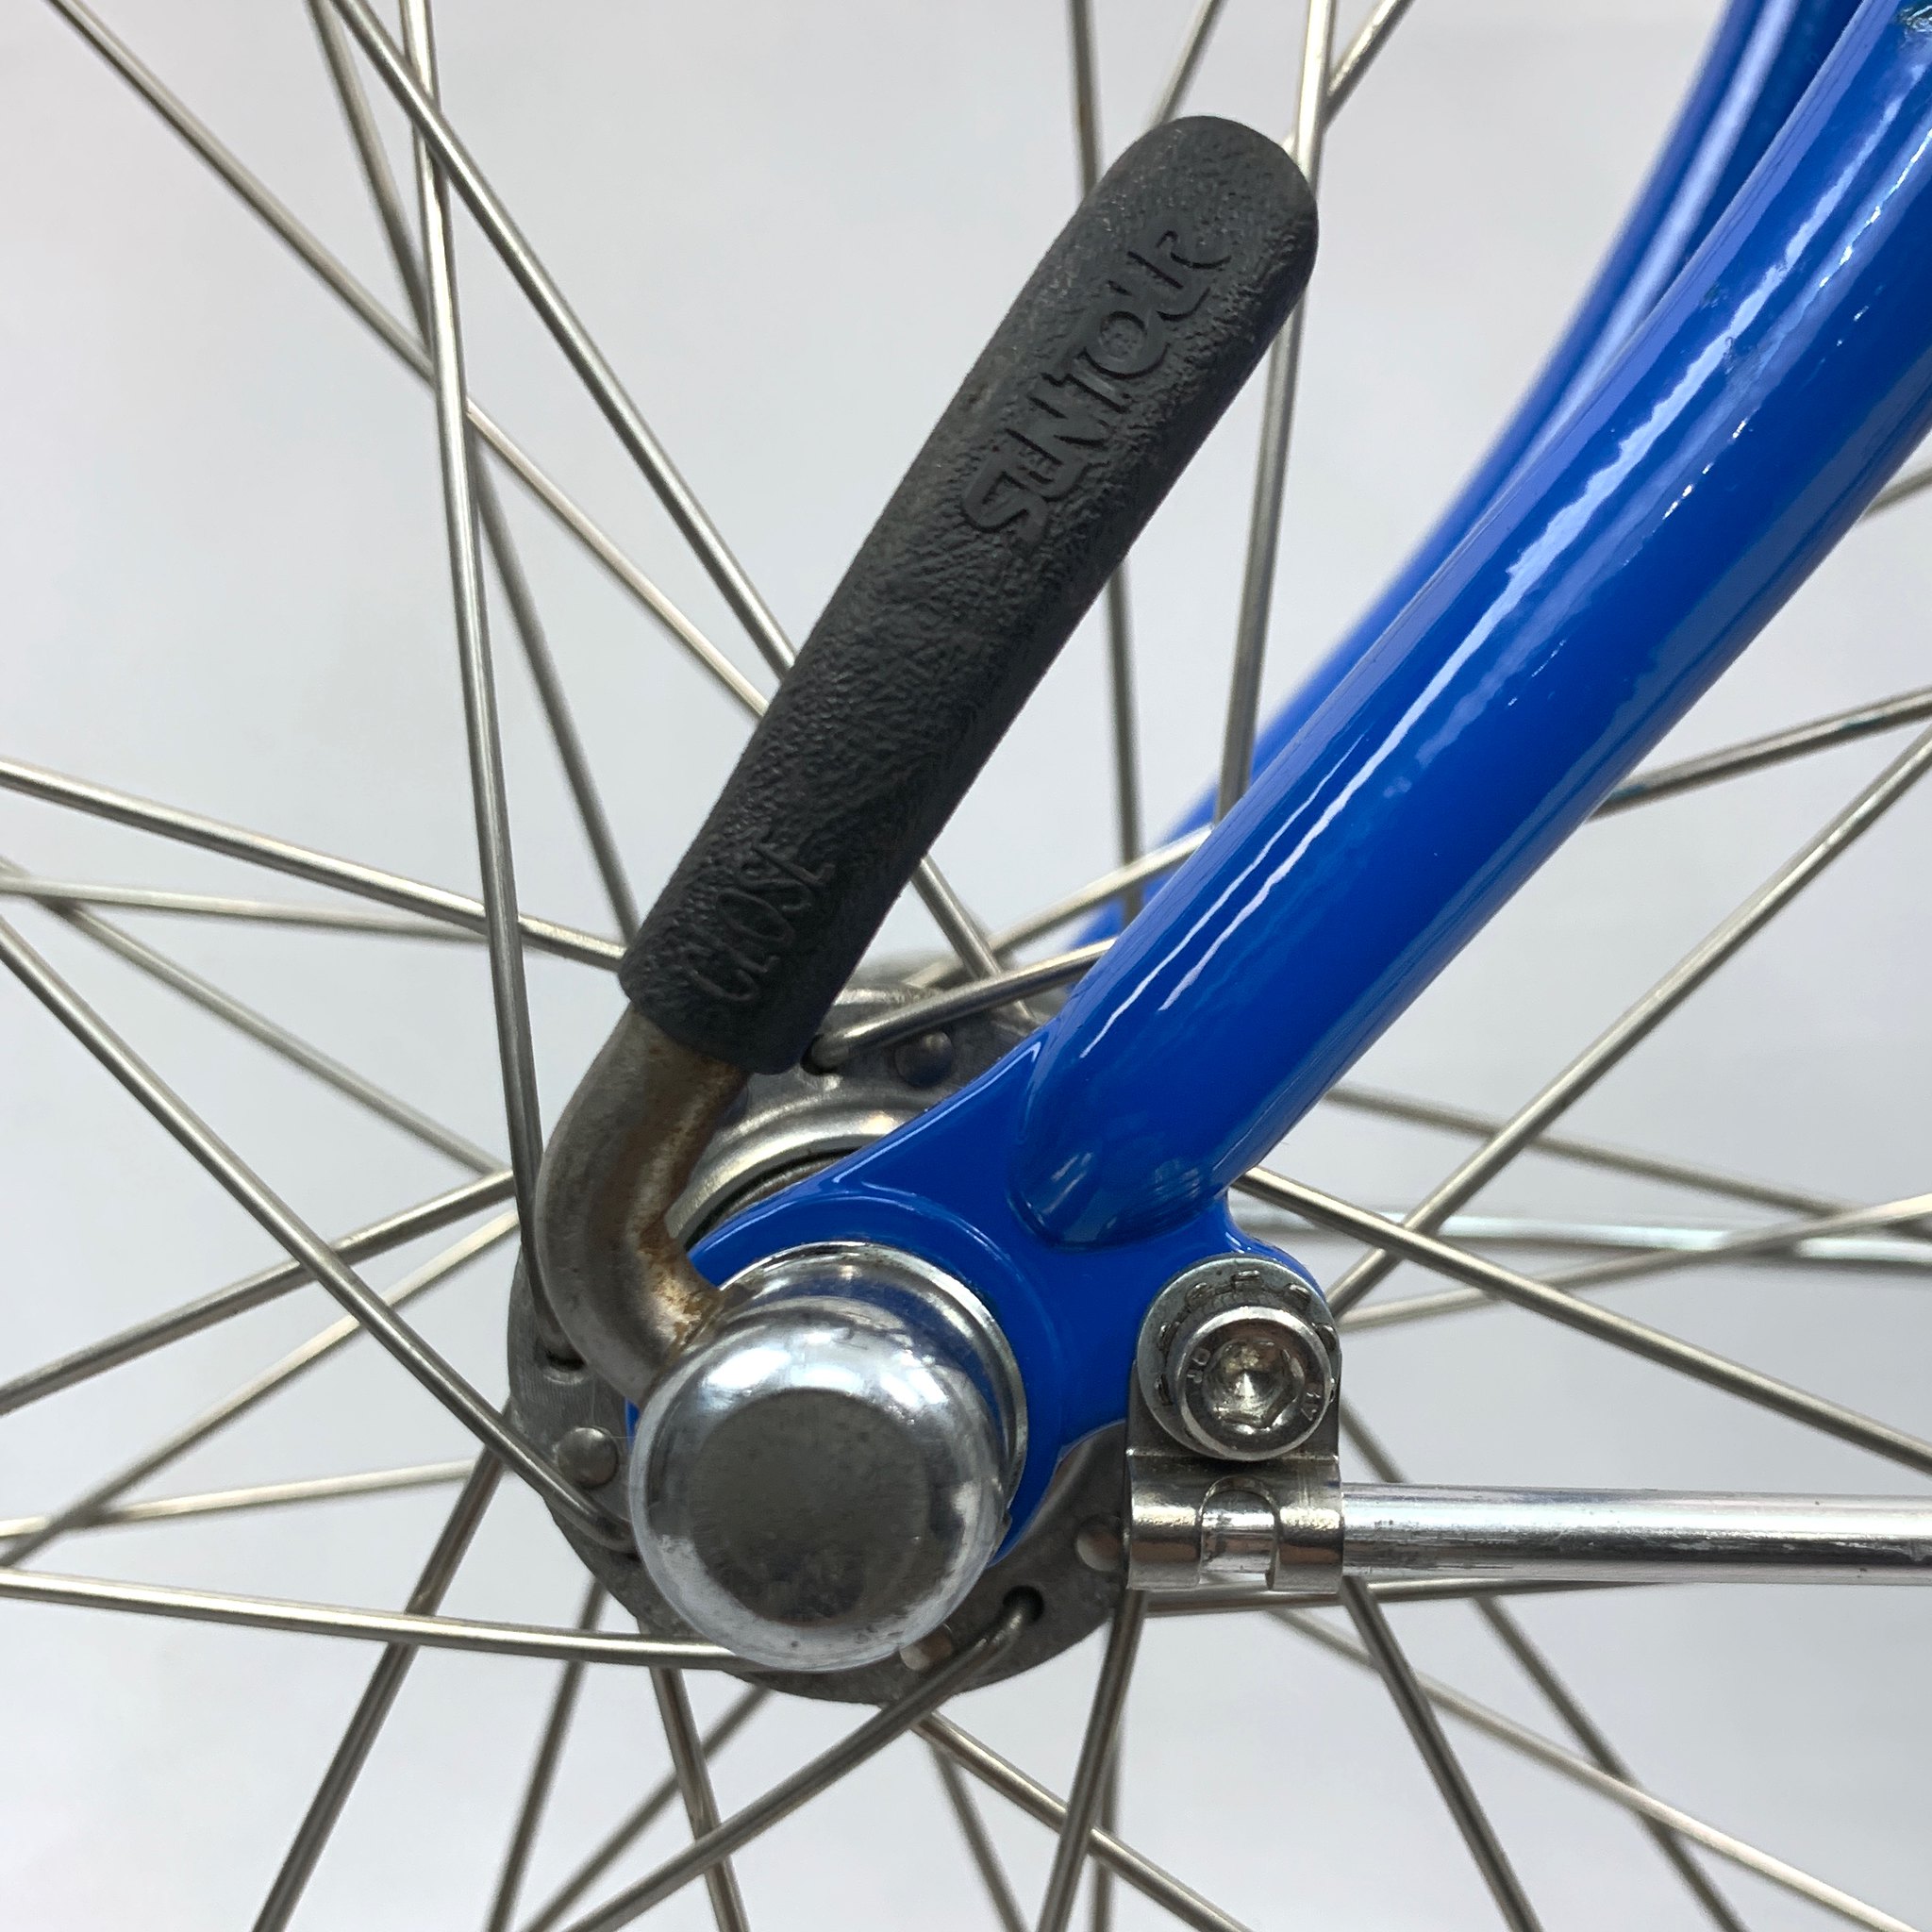
The wheels were quite a challenge, as it’s tricky to polish the rims and hubs without unlacing them first. Each one takes about two hours. First, I clean them with Simple green and brush them with a brass brush to remove the grime. Then I go about removing oxidation with red 3M pads, followed by a finer gray 3M pad. Then they get a final polish with a white 3M pad, followed by an application of Simichrome to brighten the finish. Of course, the hubs themselves are gutted, cleaned, and repacked with fresh bearings and grease.
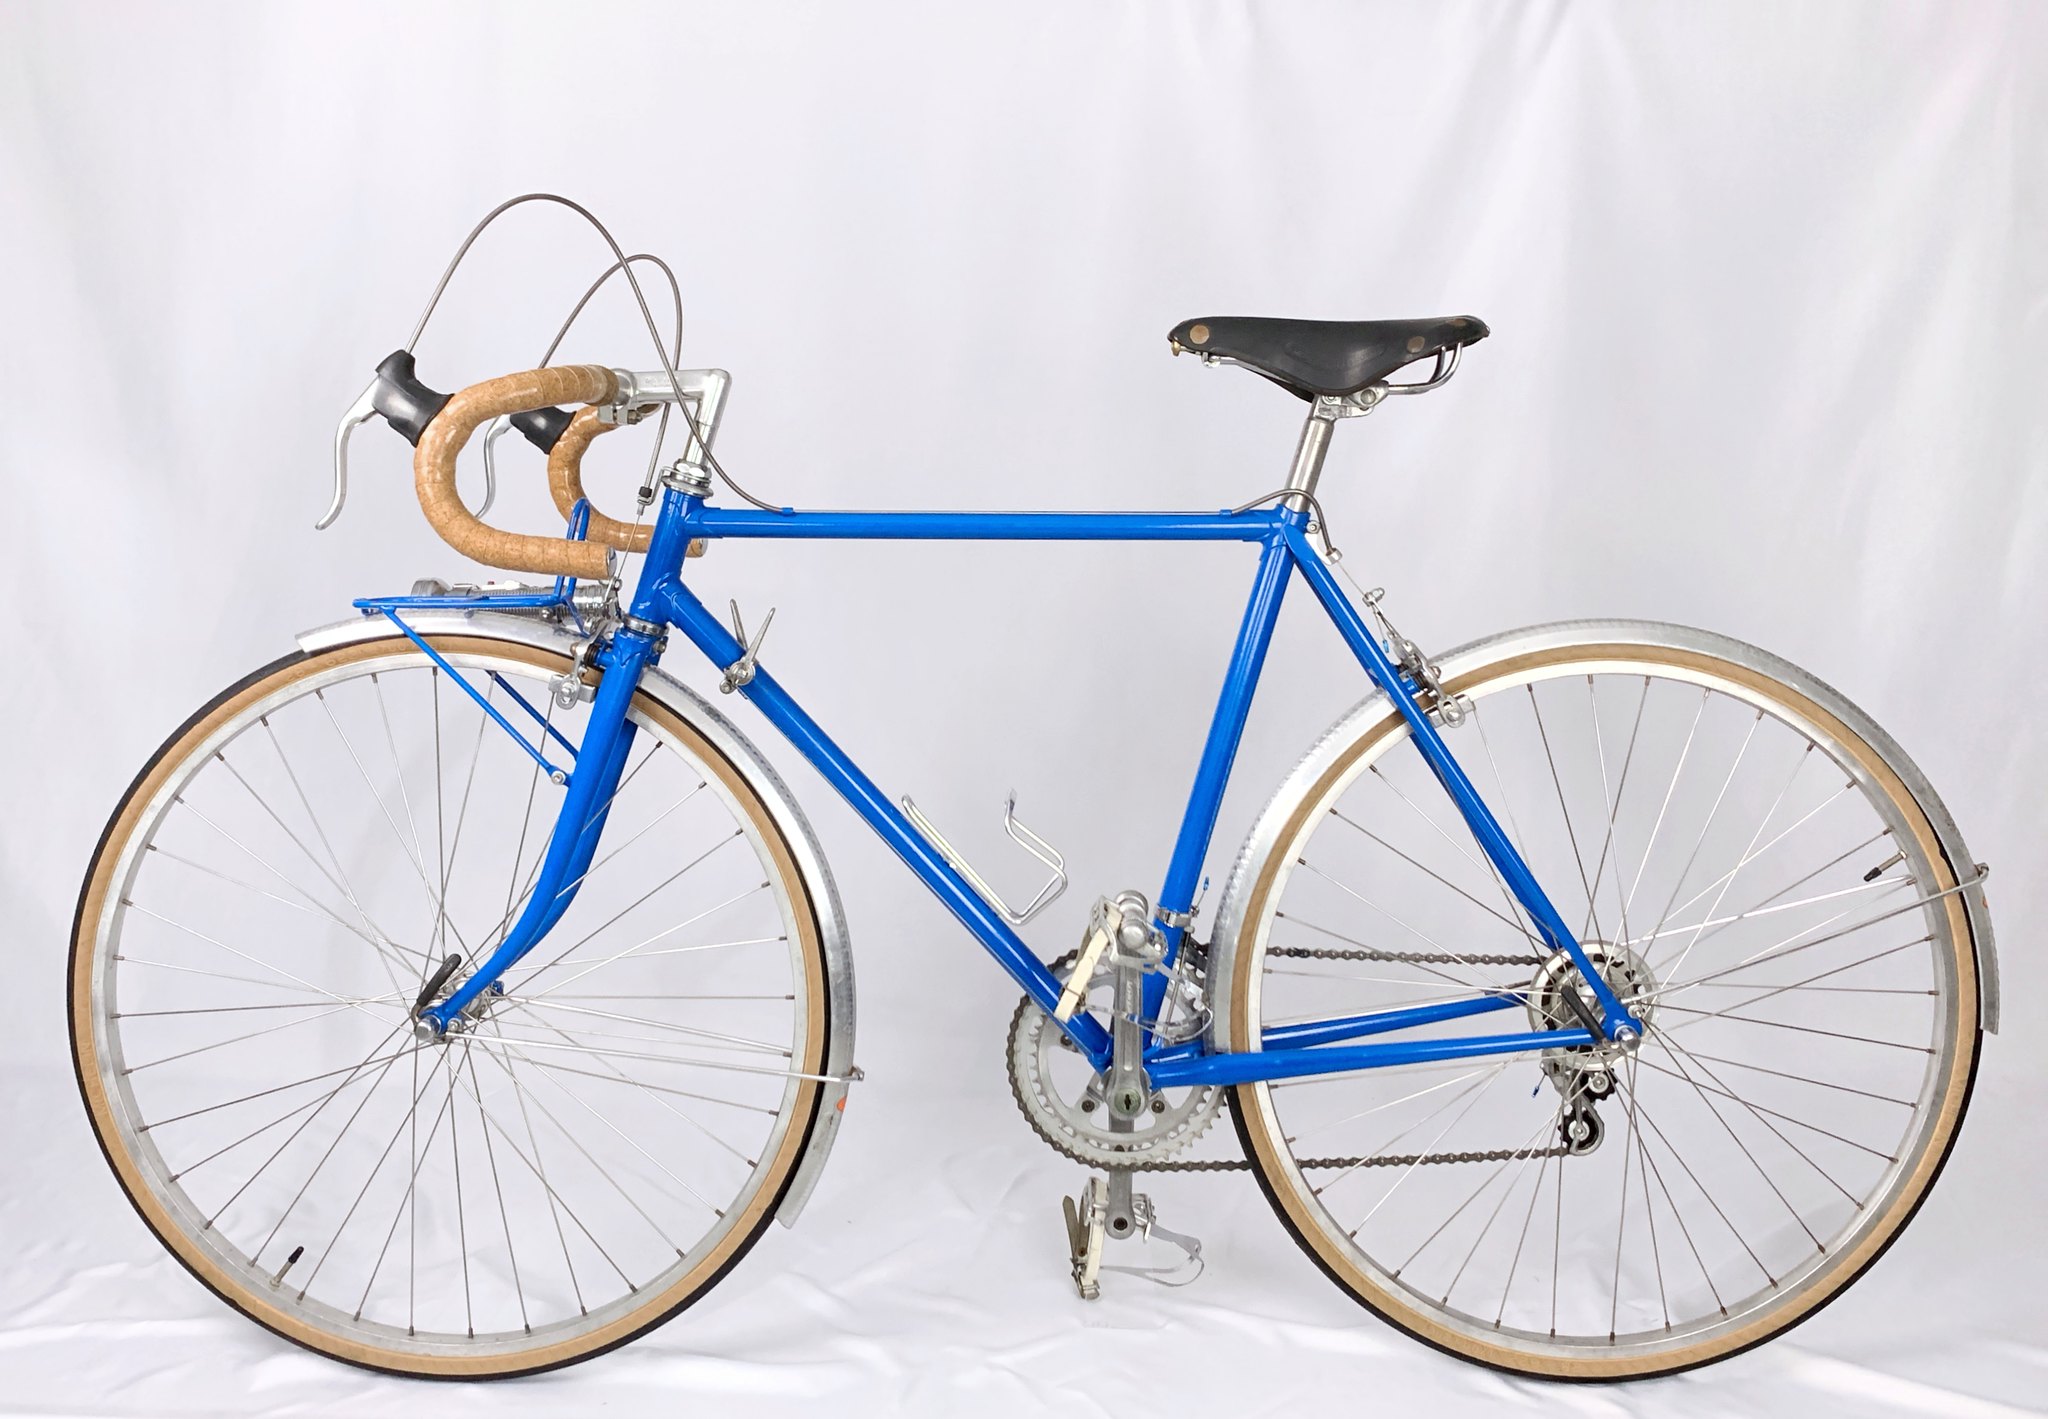
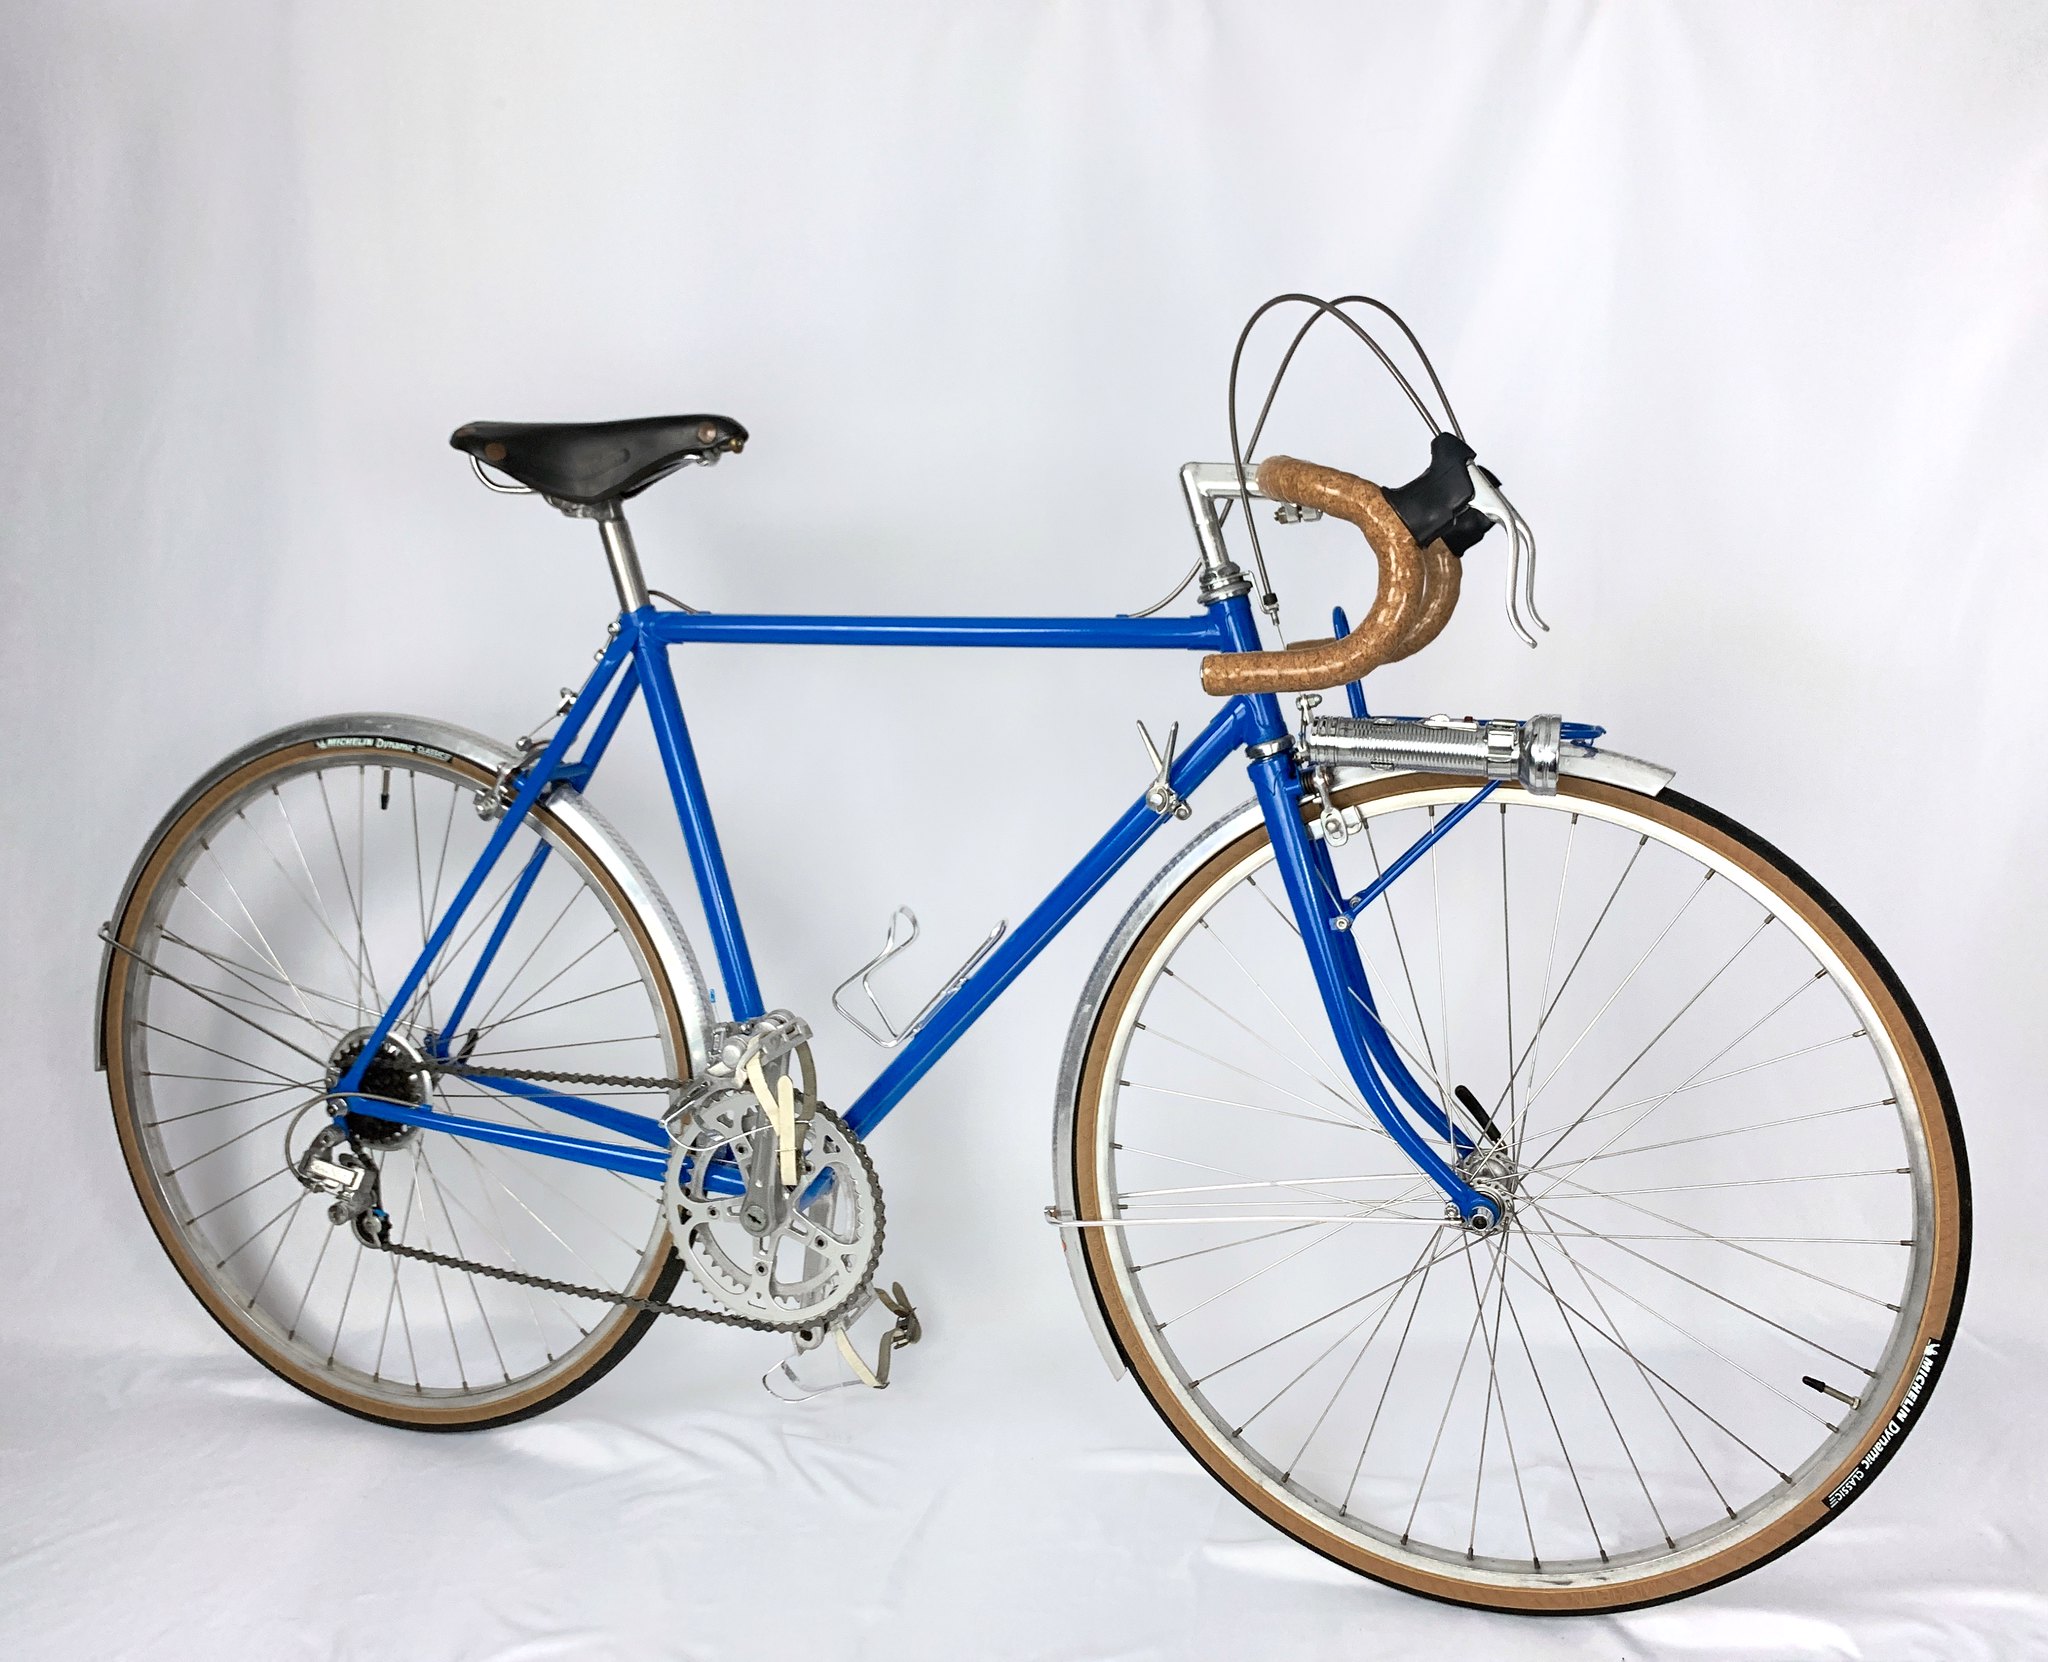
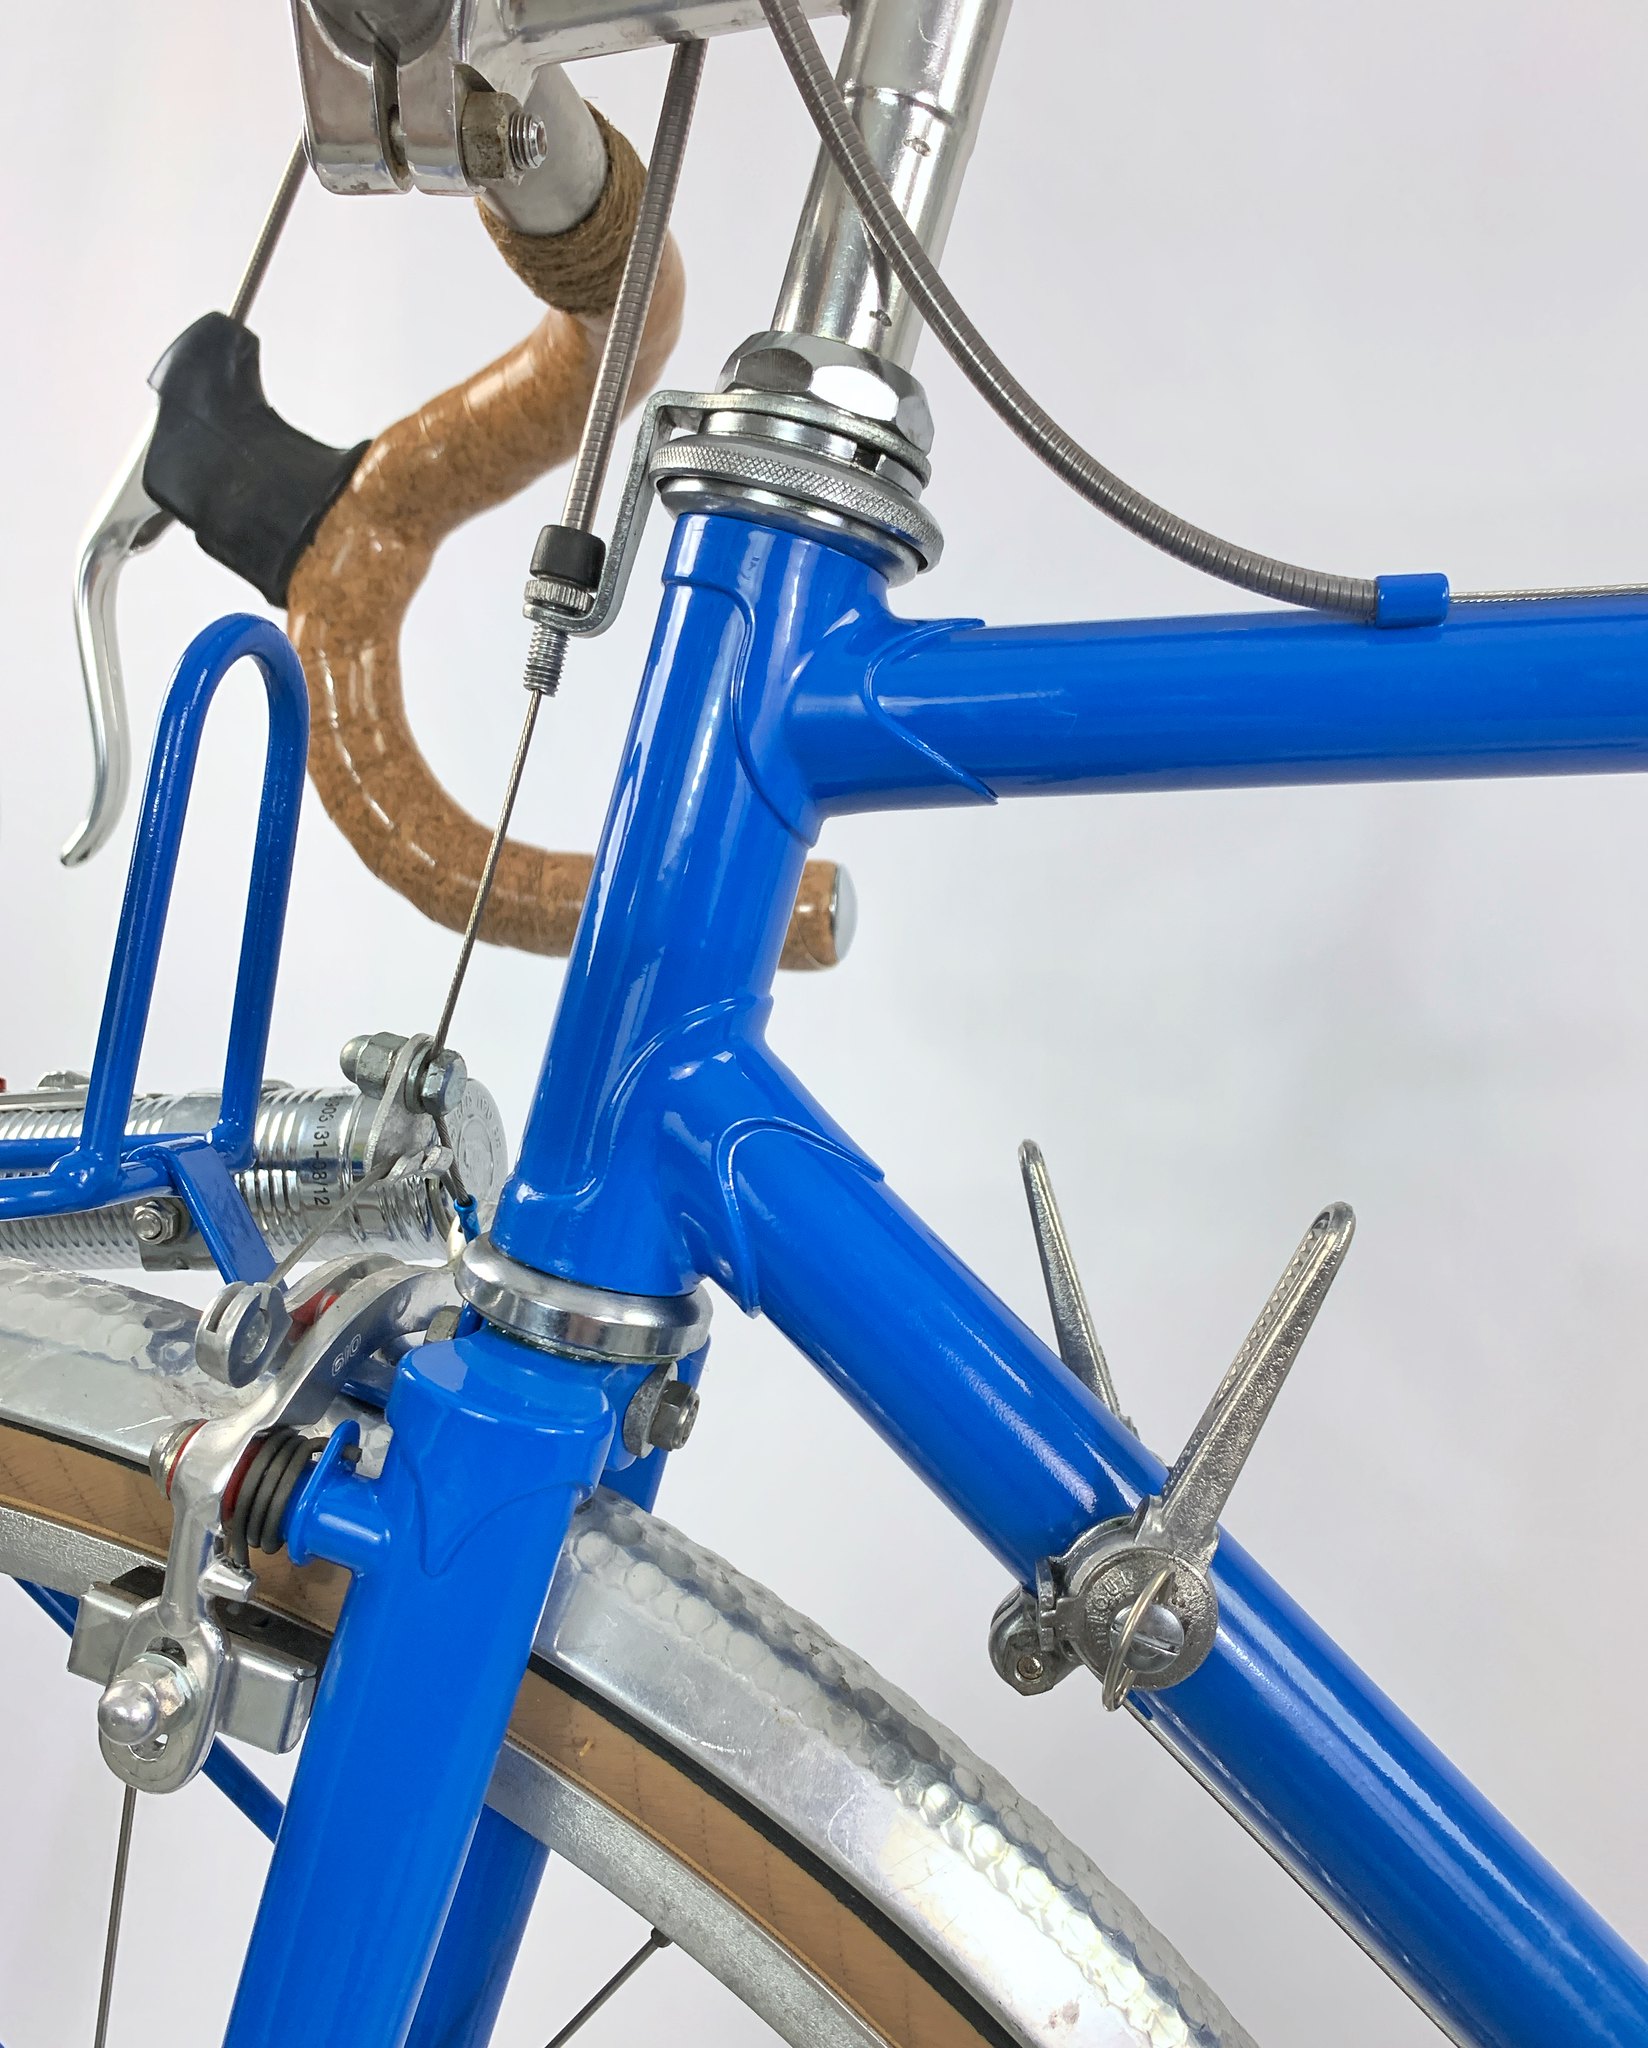
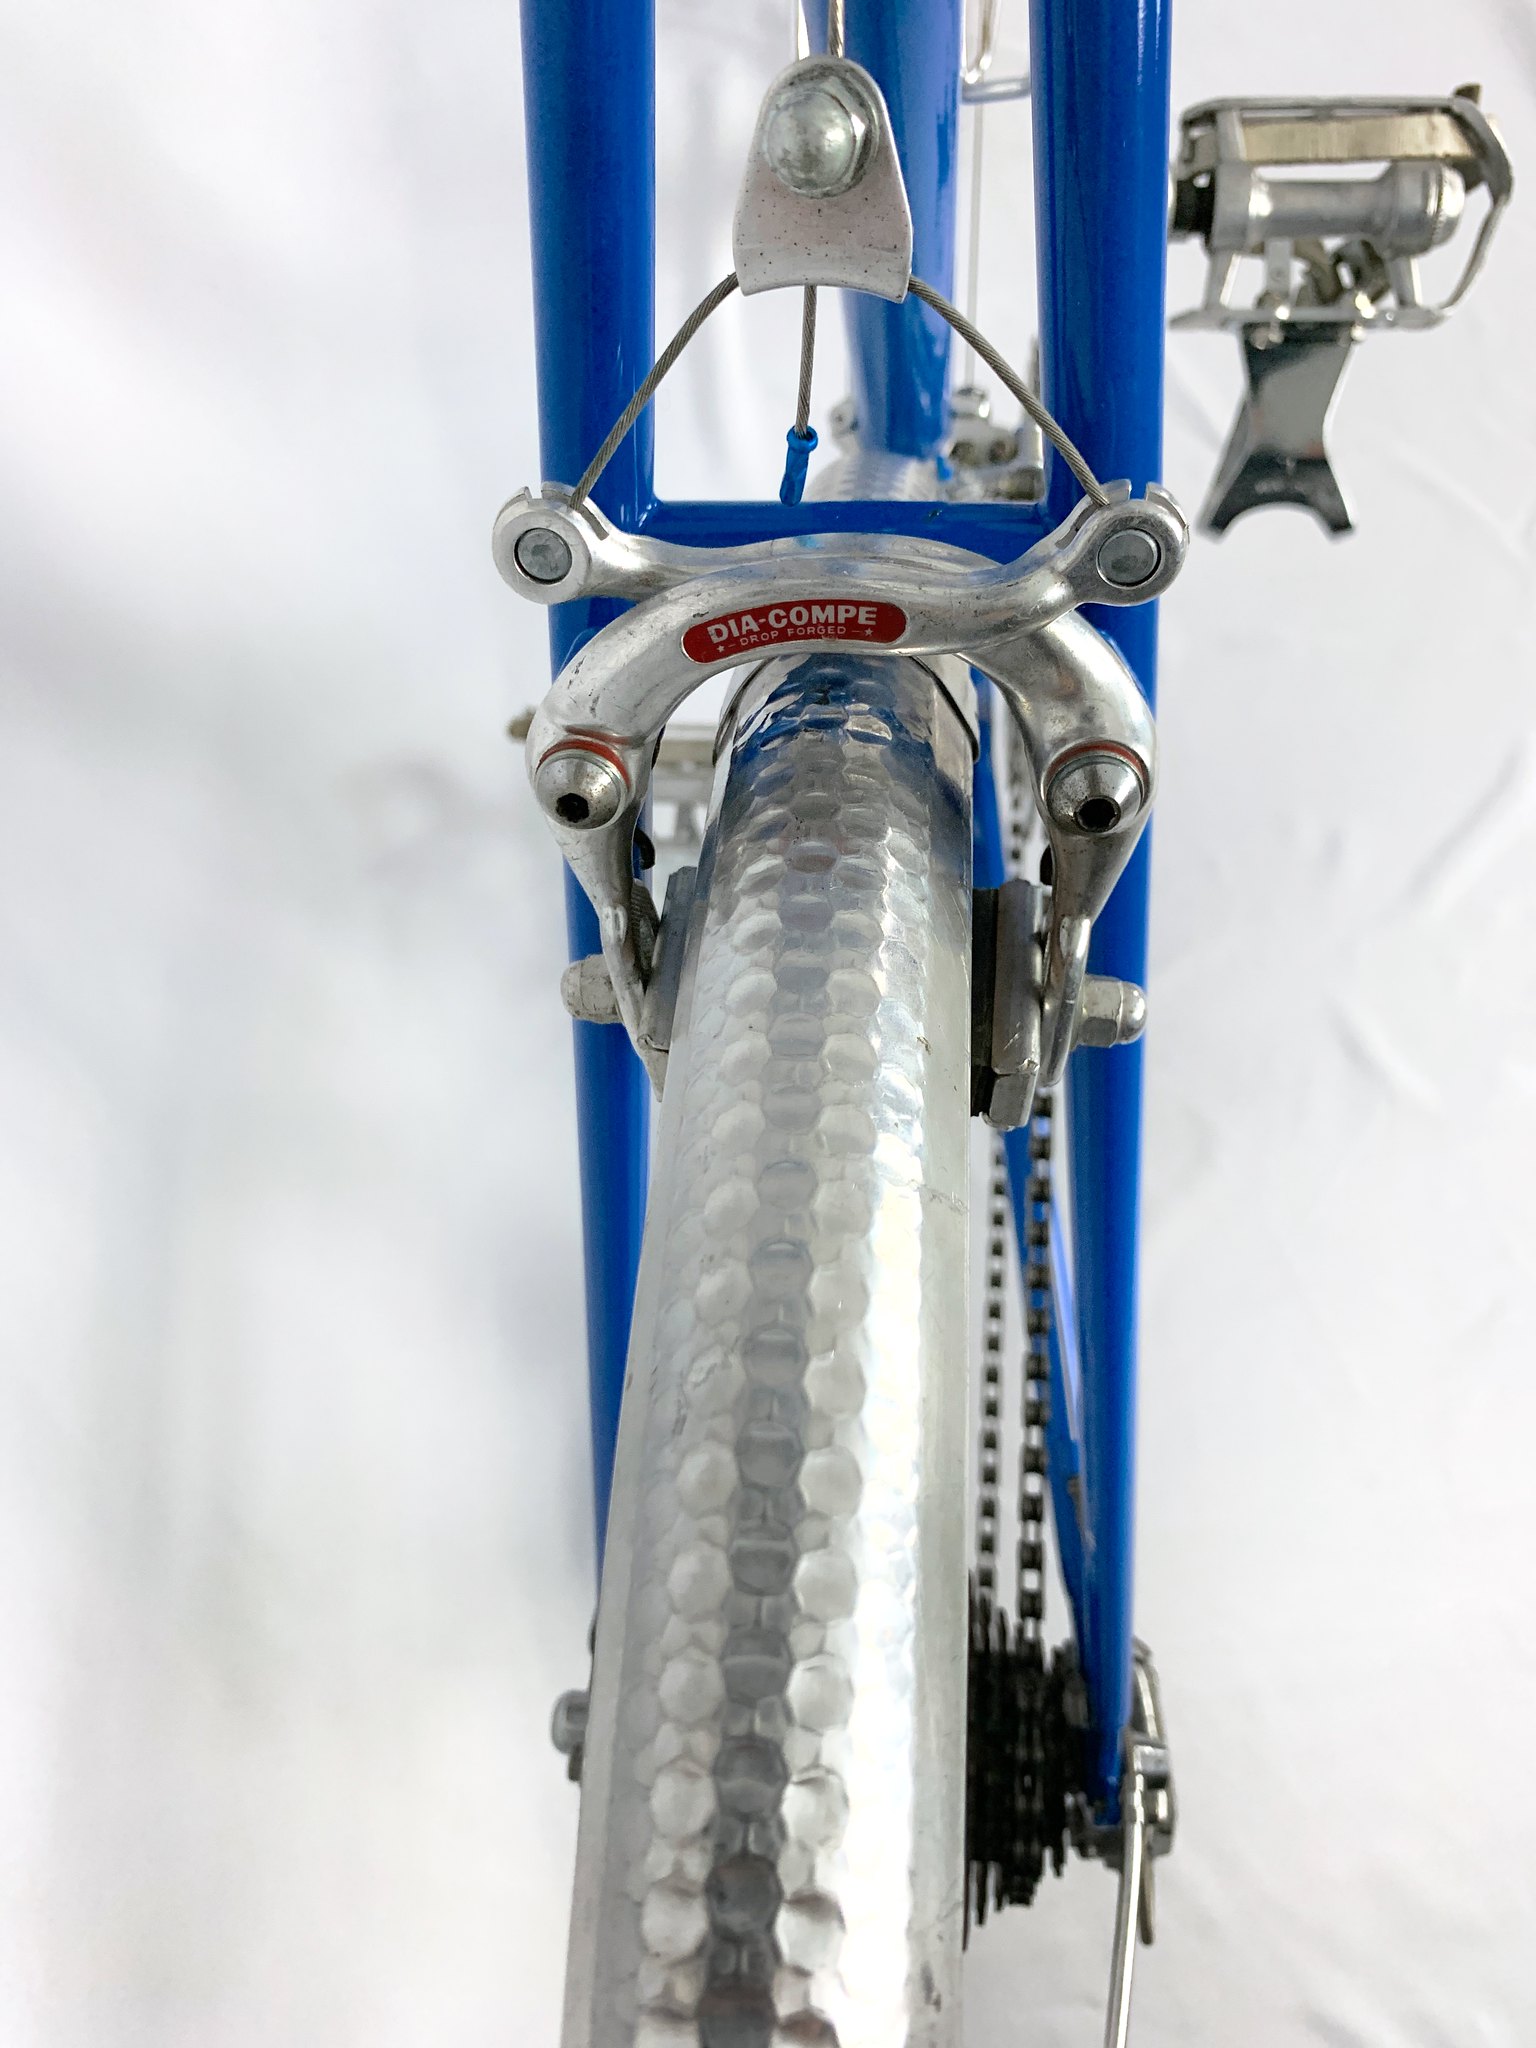
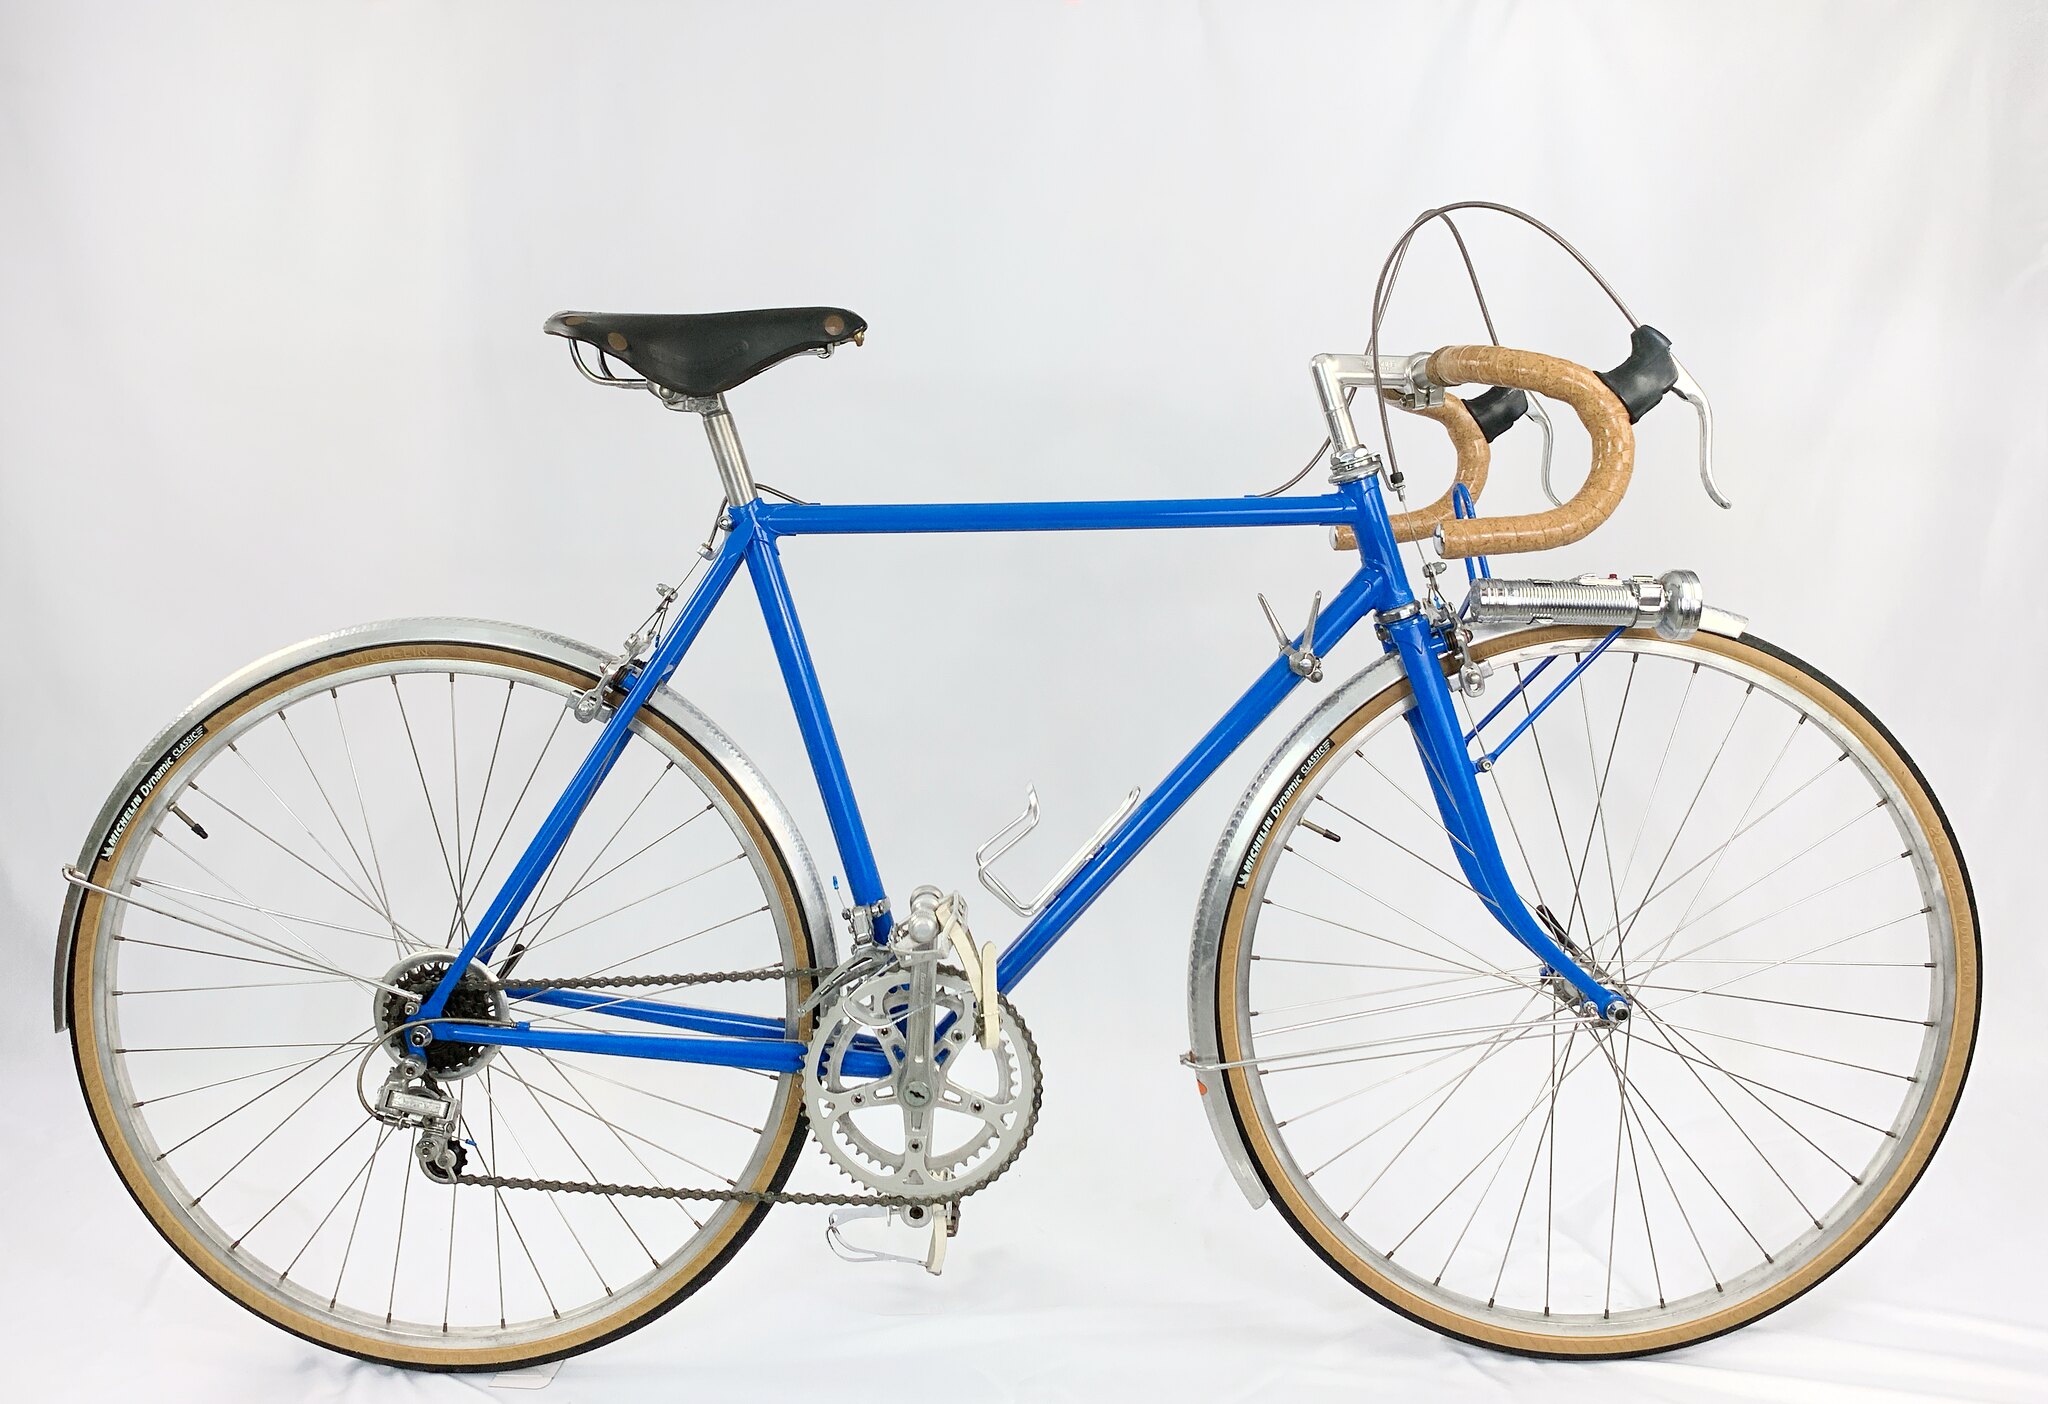
The frame itself was powder coated in a shade called “NYPD Blue” at a local shop. I had the rack powder coated to match, as the chrome had mostly flaked off. I used a new-old-stock set of Dia-Compe 610 brakes to replace the originals, which were the same model. Both of my Eurasia restorations benefitted from the fact that there’s still an ample supply of NOS Dia-Compe 610s available on the secondary market at prices low enough that replacing worn ones is still a cost-effective choice. I happened to have a matching Dia-Compe stem, which I used instead of the original Nitto stem. The original had only 70mm of reach, which isn’t comfortable for most folks, while the Dia-Compe is a standard 90mm.
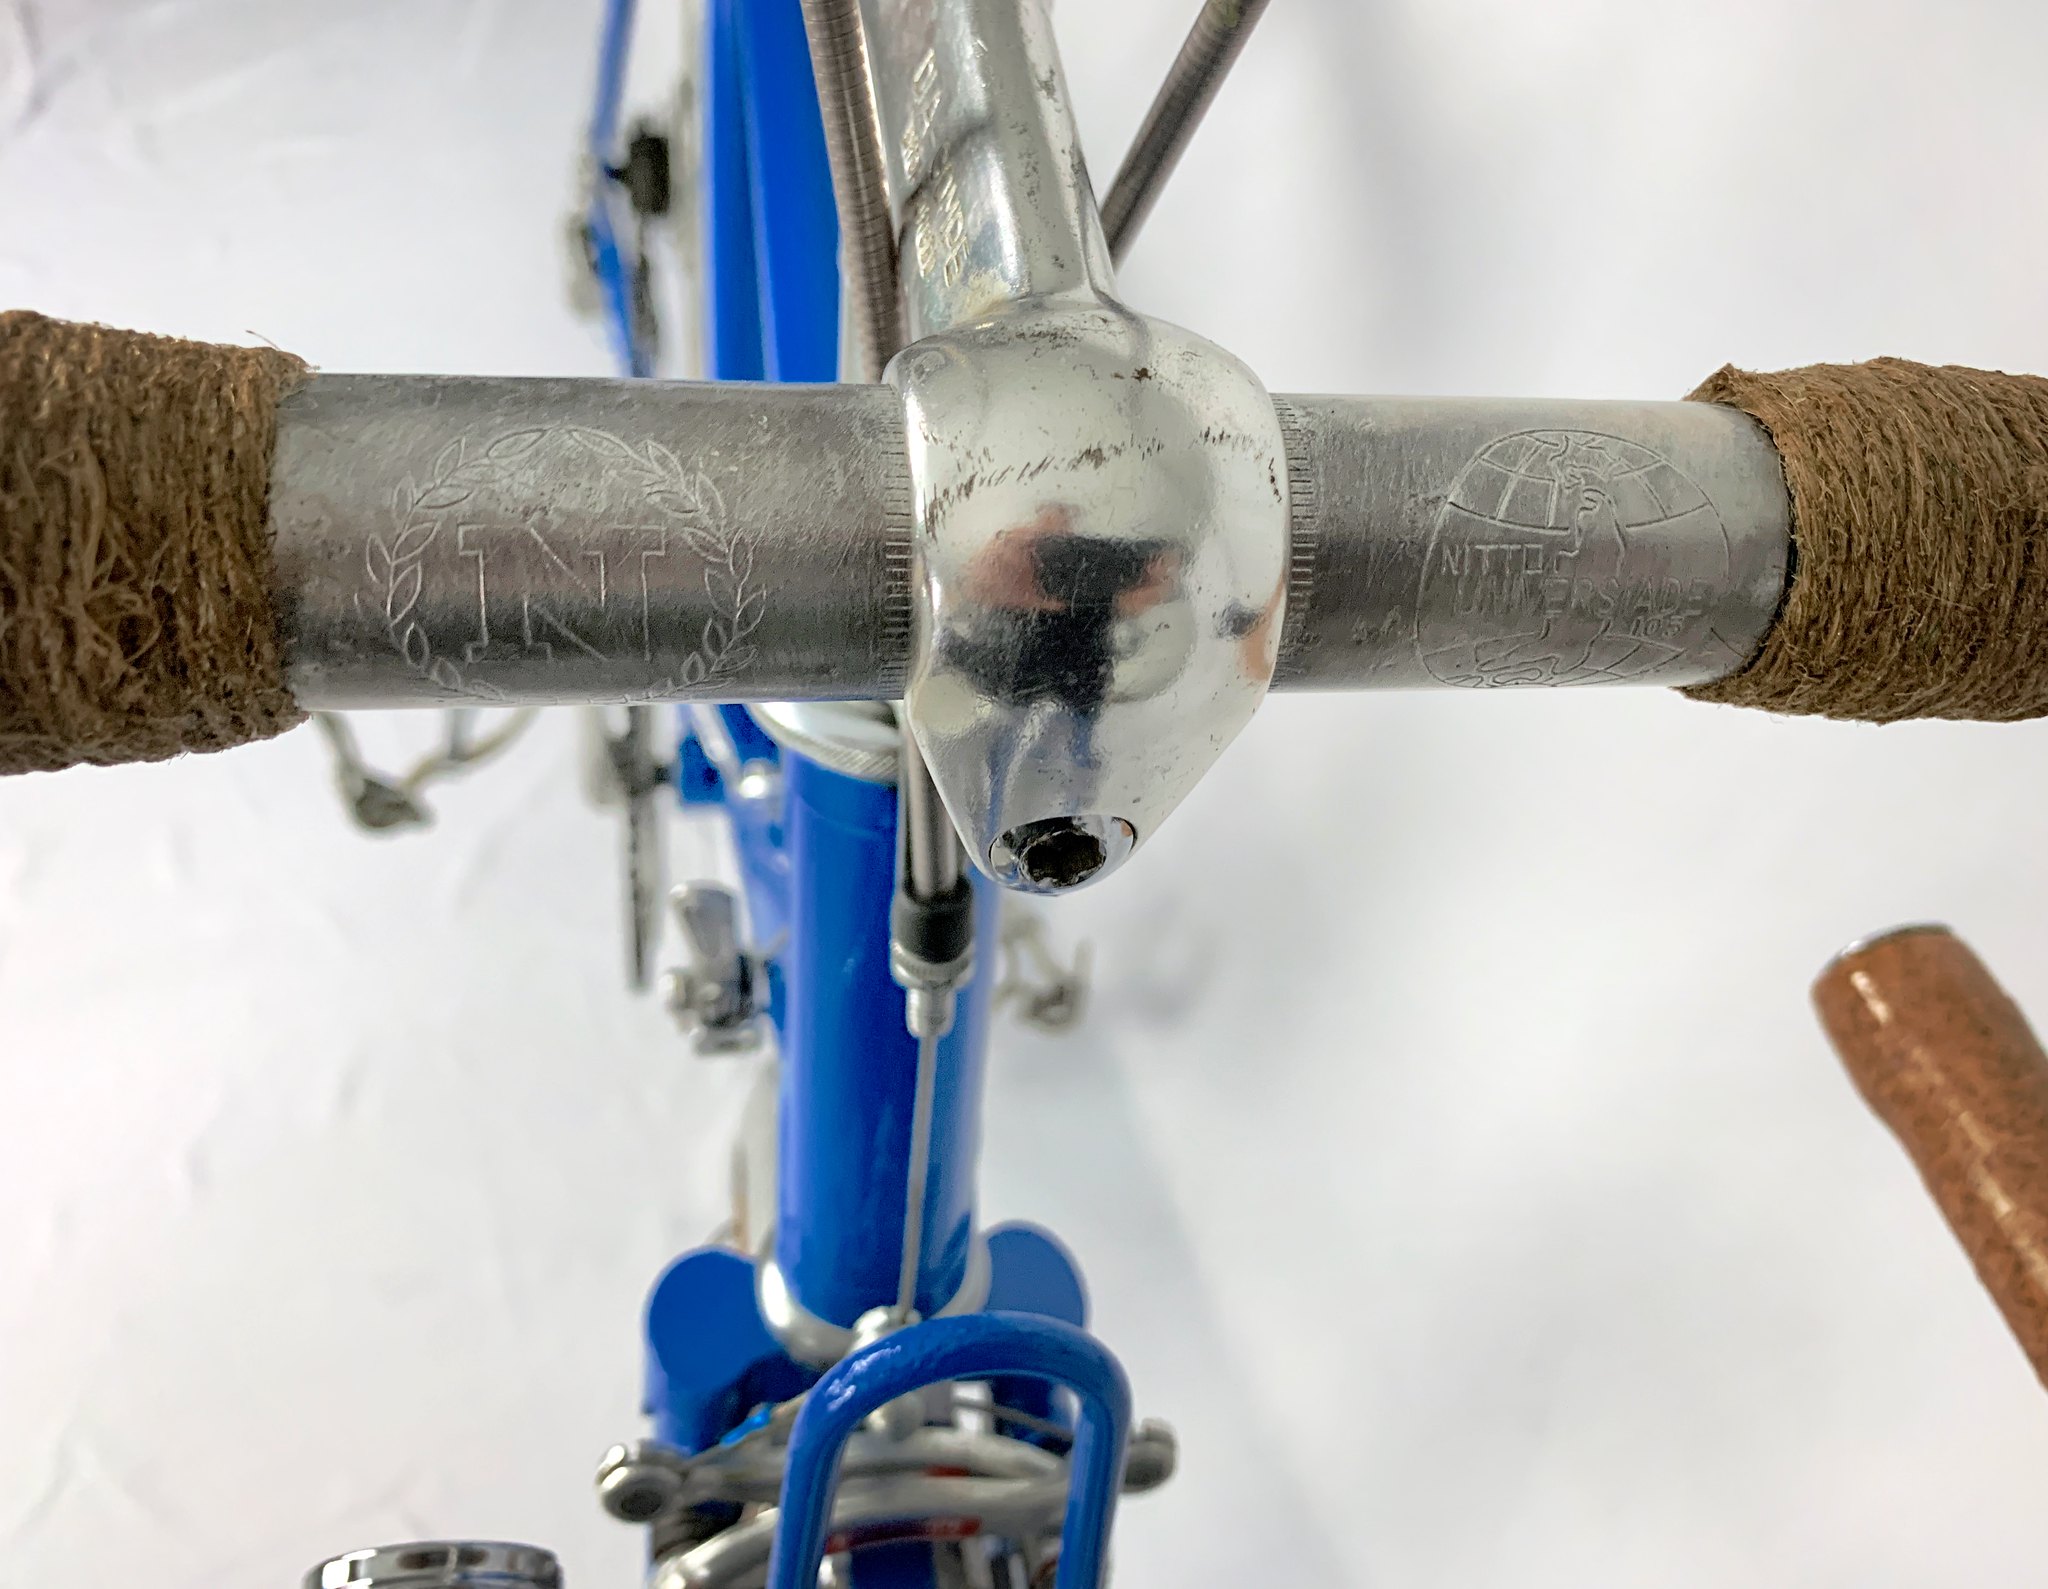
The handlebars are the original Nitto Universidad model, with a standard road bend and no flare. I wrapped them in cork tape and finished the ends with hemp twine in the Rivendell method. I then coated it all in several applications of clear shellac for a shiny finish. I left the shellac un-tinted, because I noticed that the cork tape matched the side walls of the brand new Michelin 700x28c tires nicely.
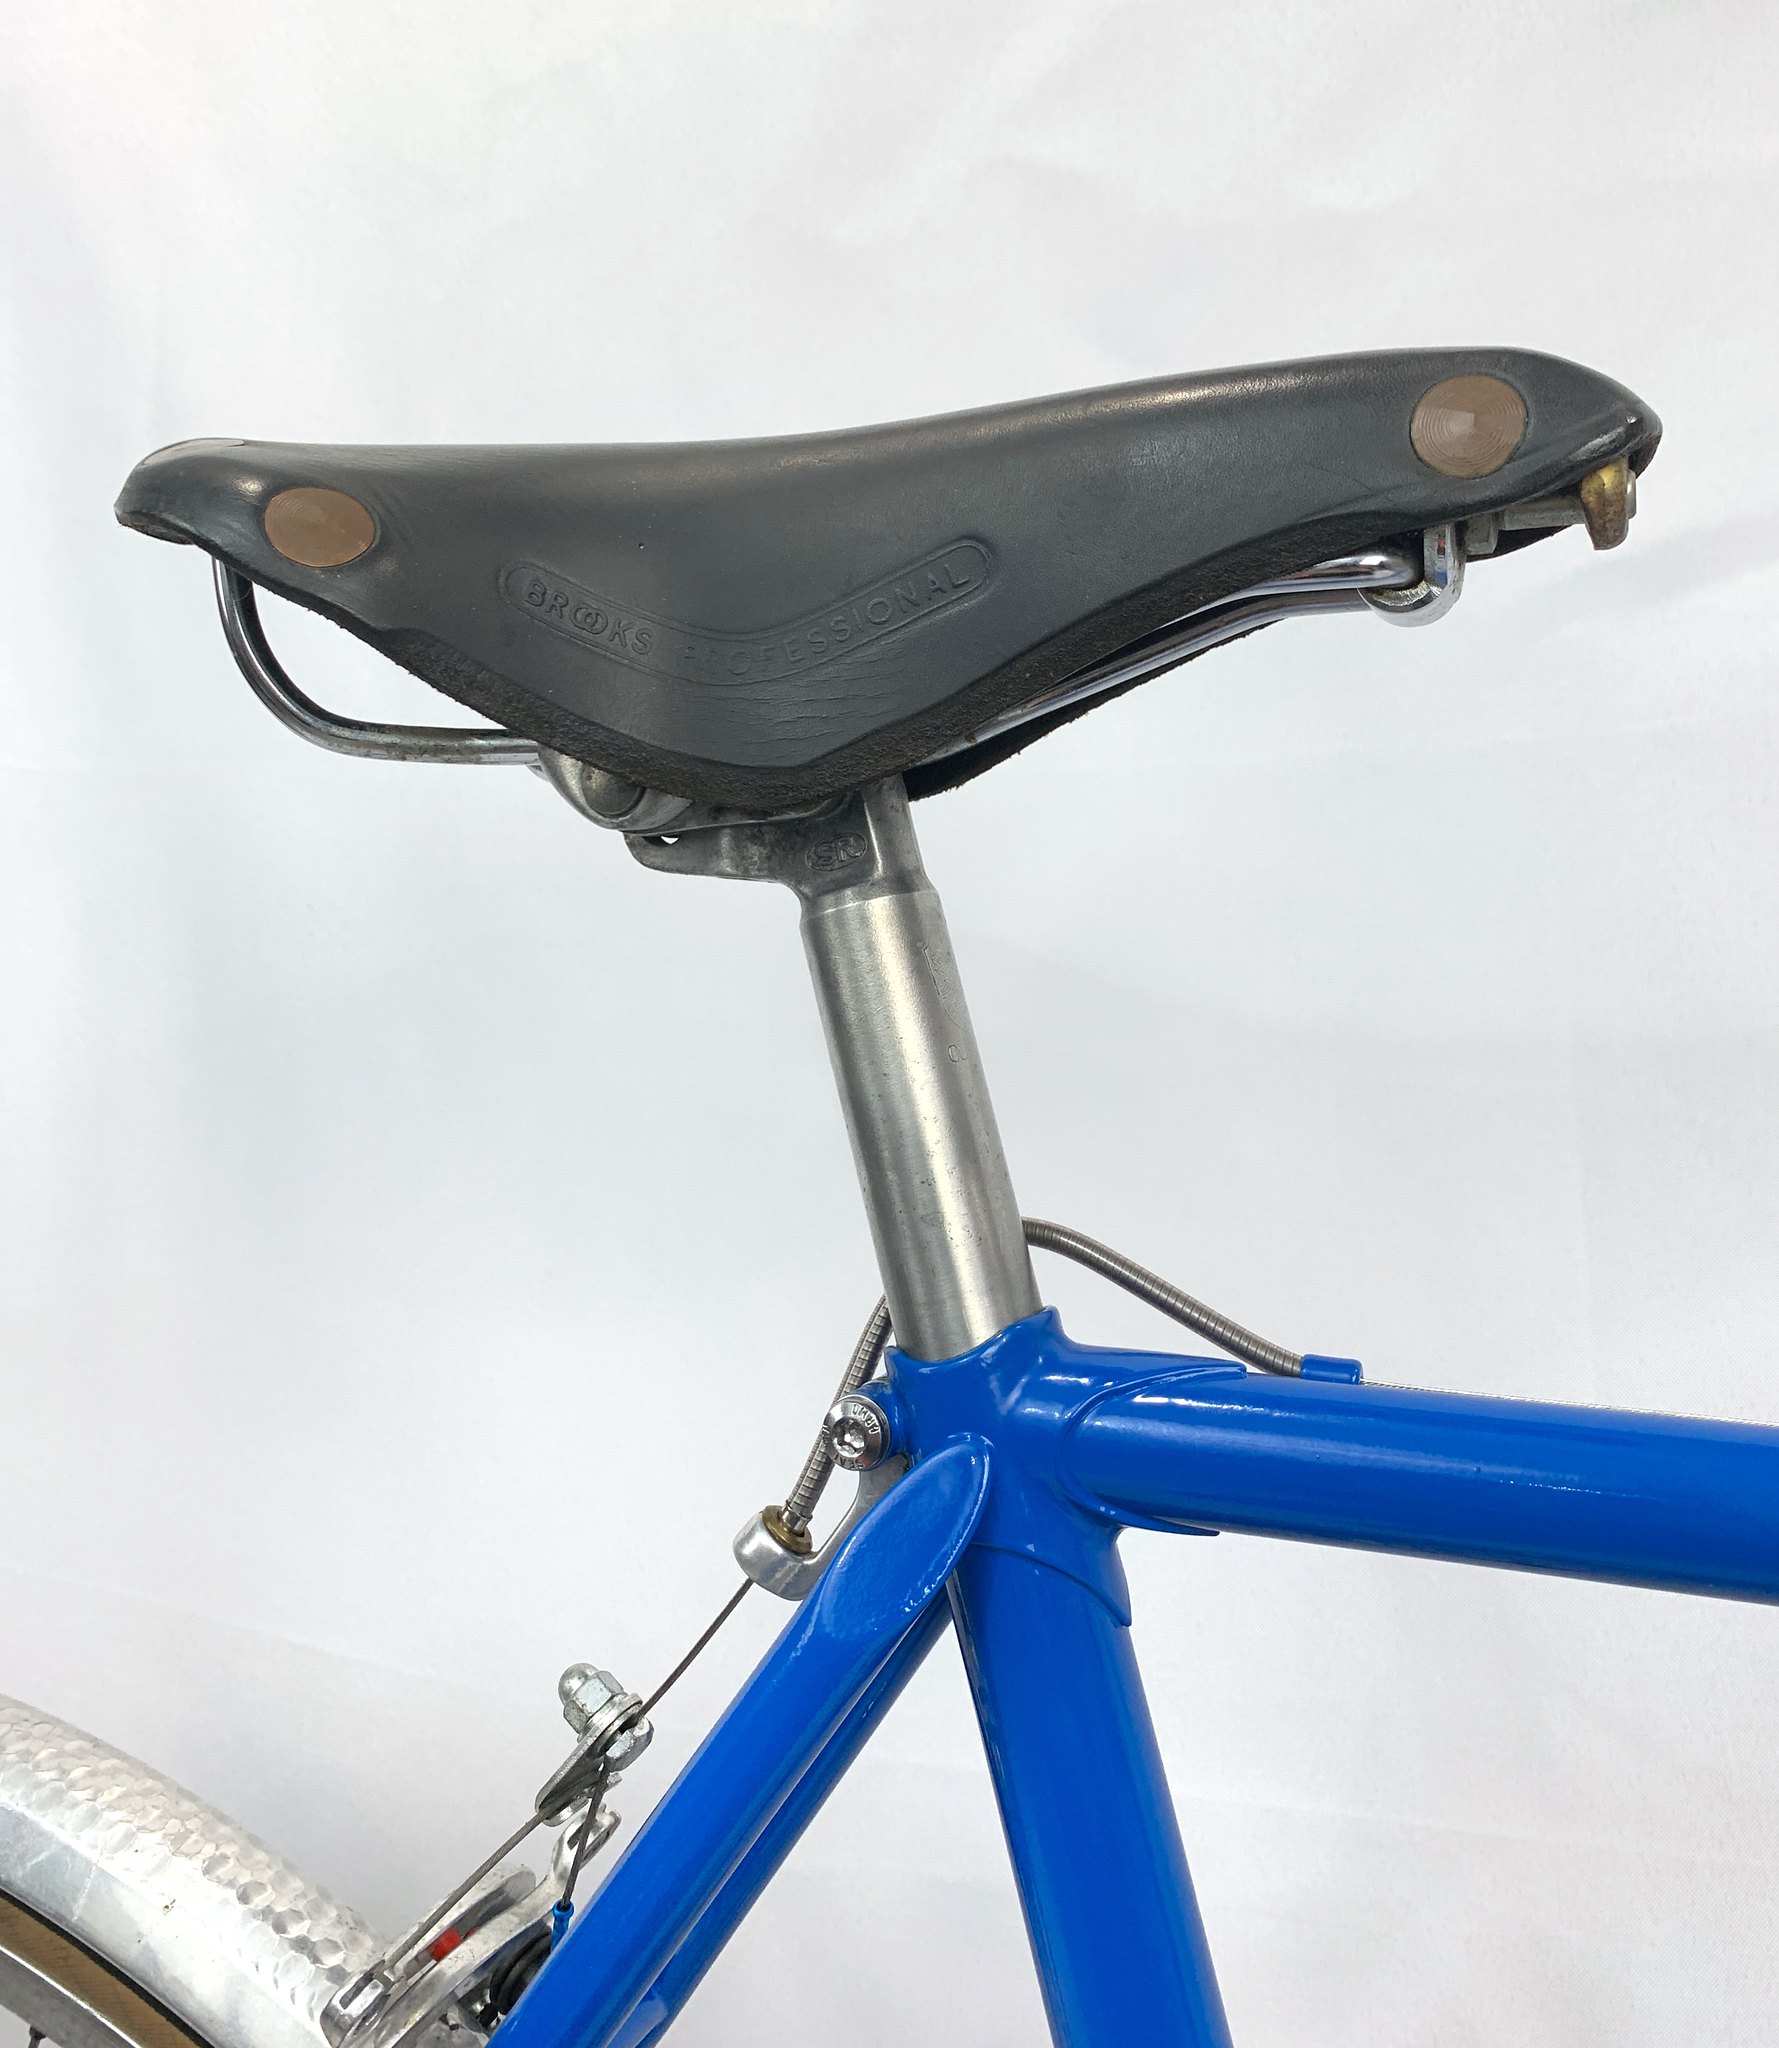
I cabled the bike using new silver housing instead of black, as it originally used gray housing. I like how it blends into the overall blue-and-silver colorway of the bike.
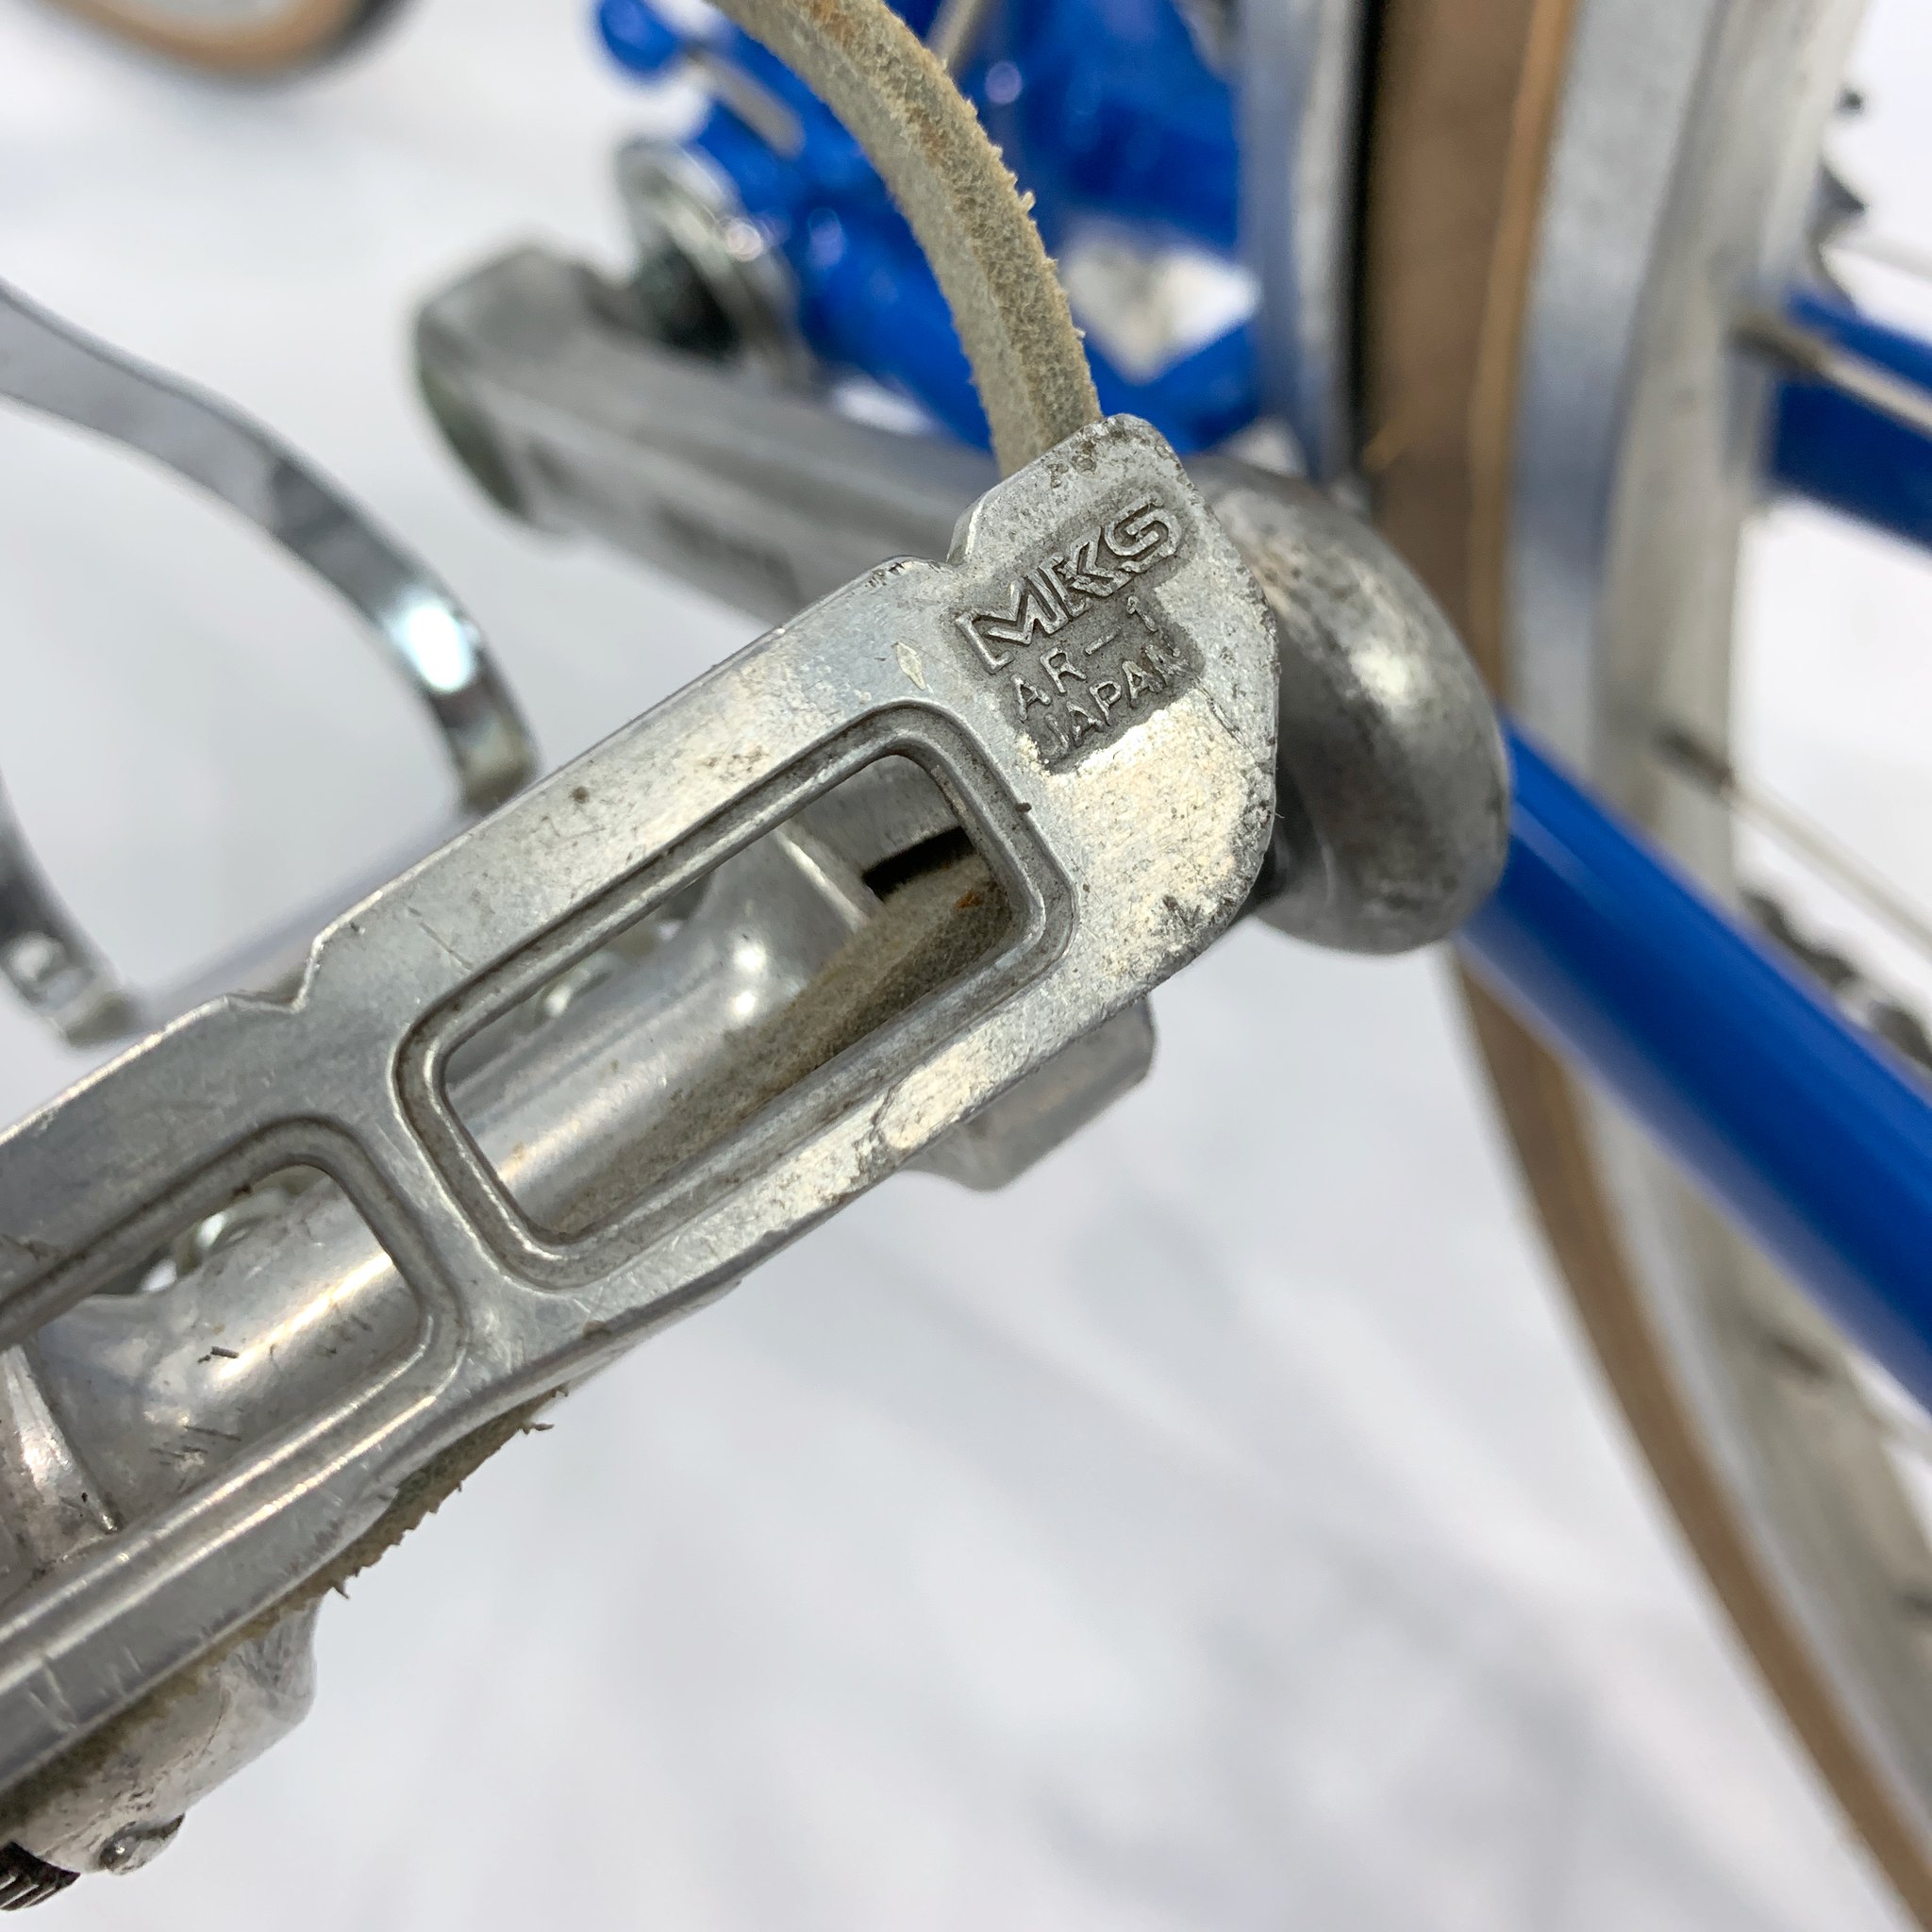
I finished the build with a few extra goodies: a Brooks Professional saddle (the original Ariake Jaguar saddle was worn out), a set of gently used Velo Orange hammered aluminum fenders, and MKS AR-1 pedals with matching cages & white leather straps.
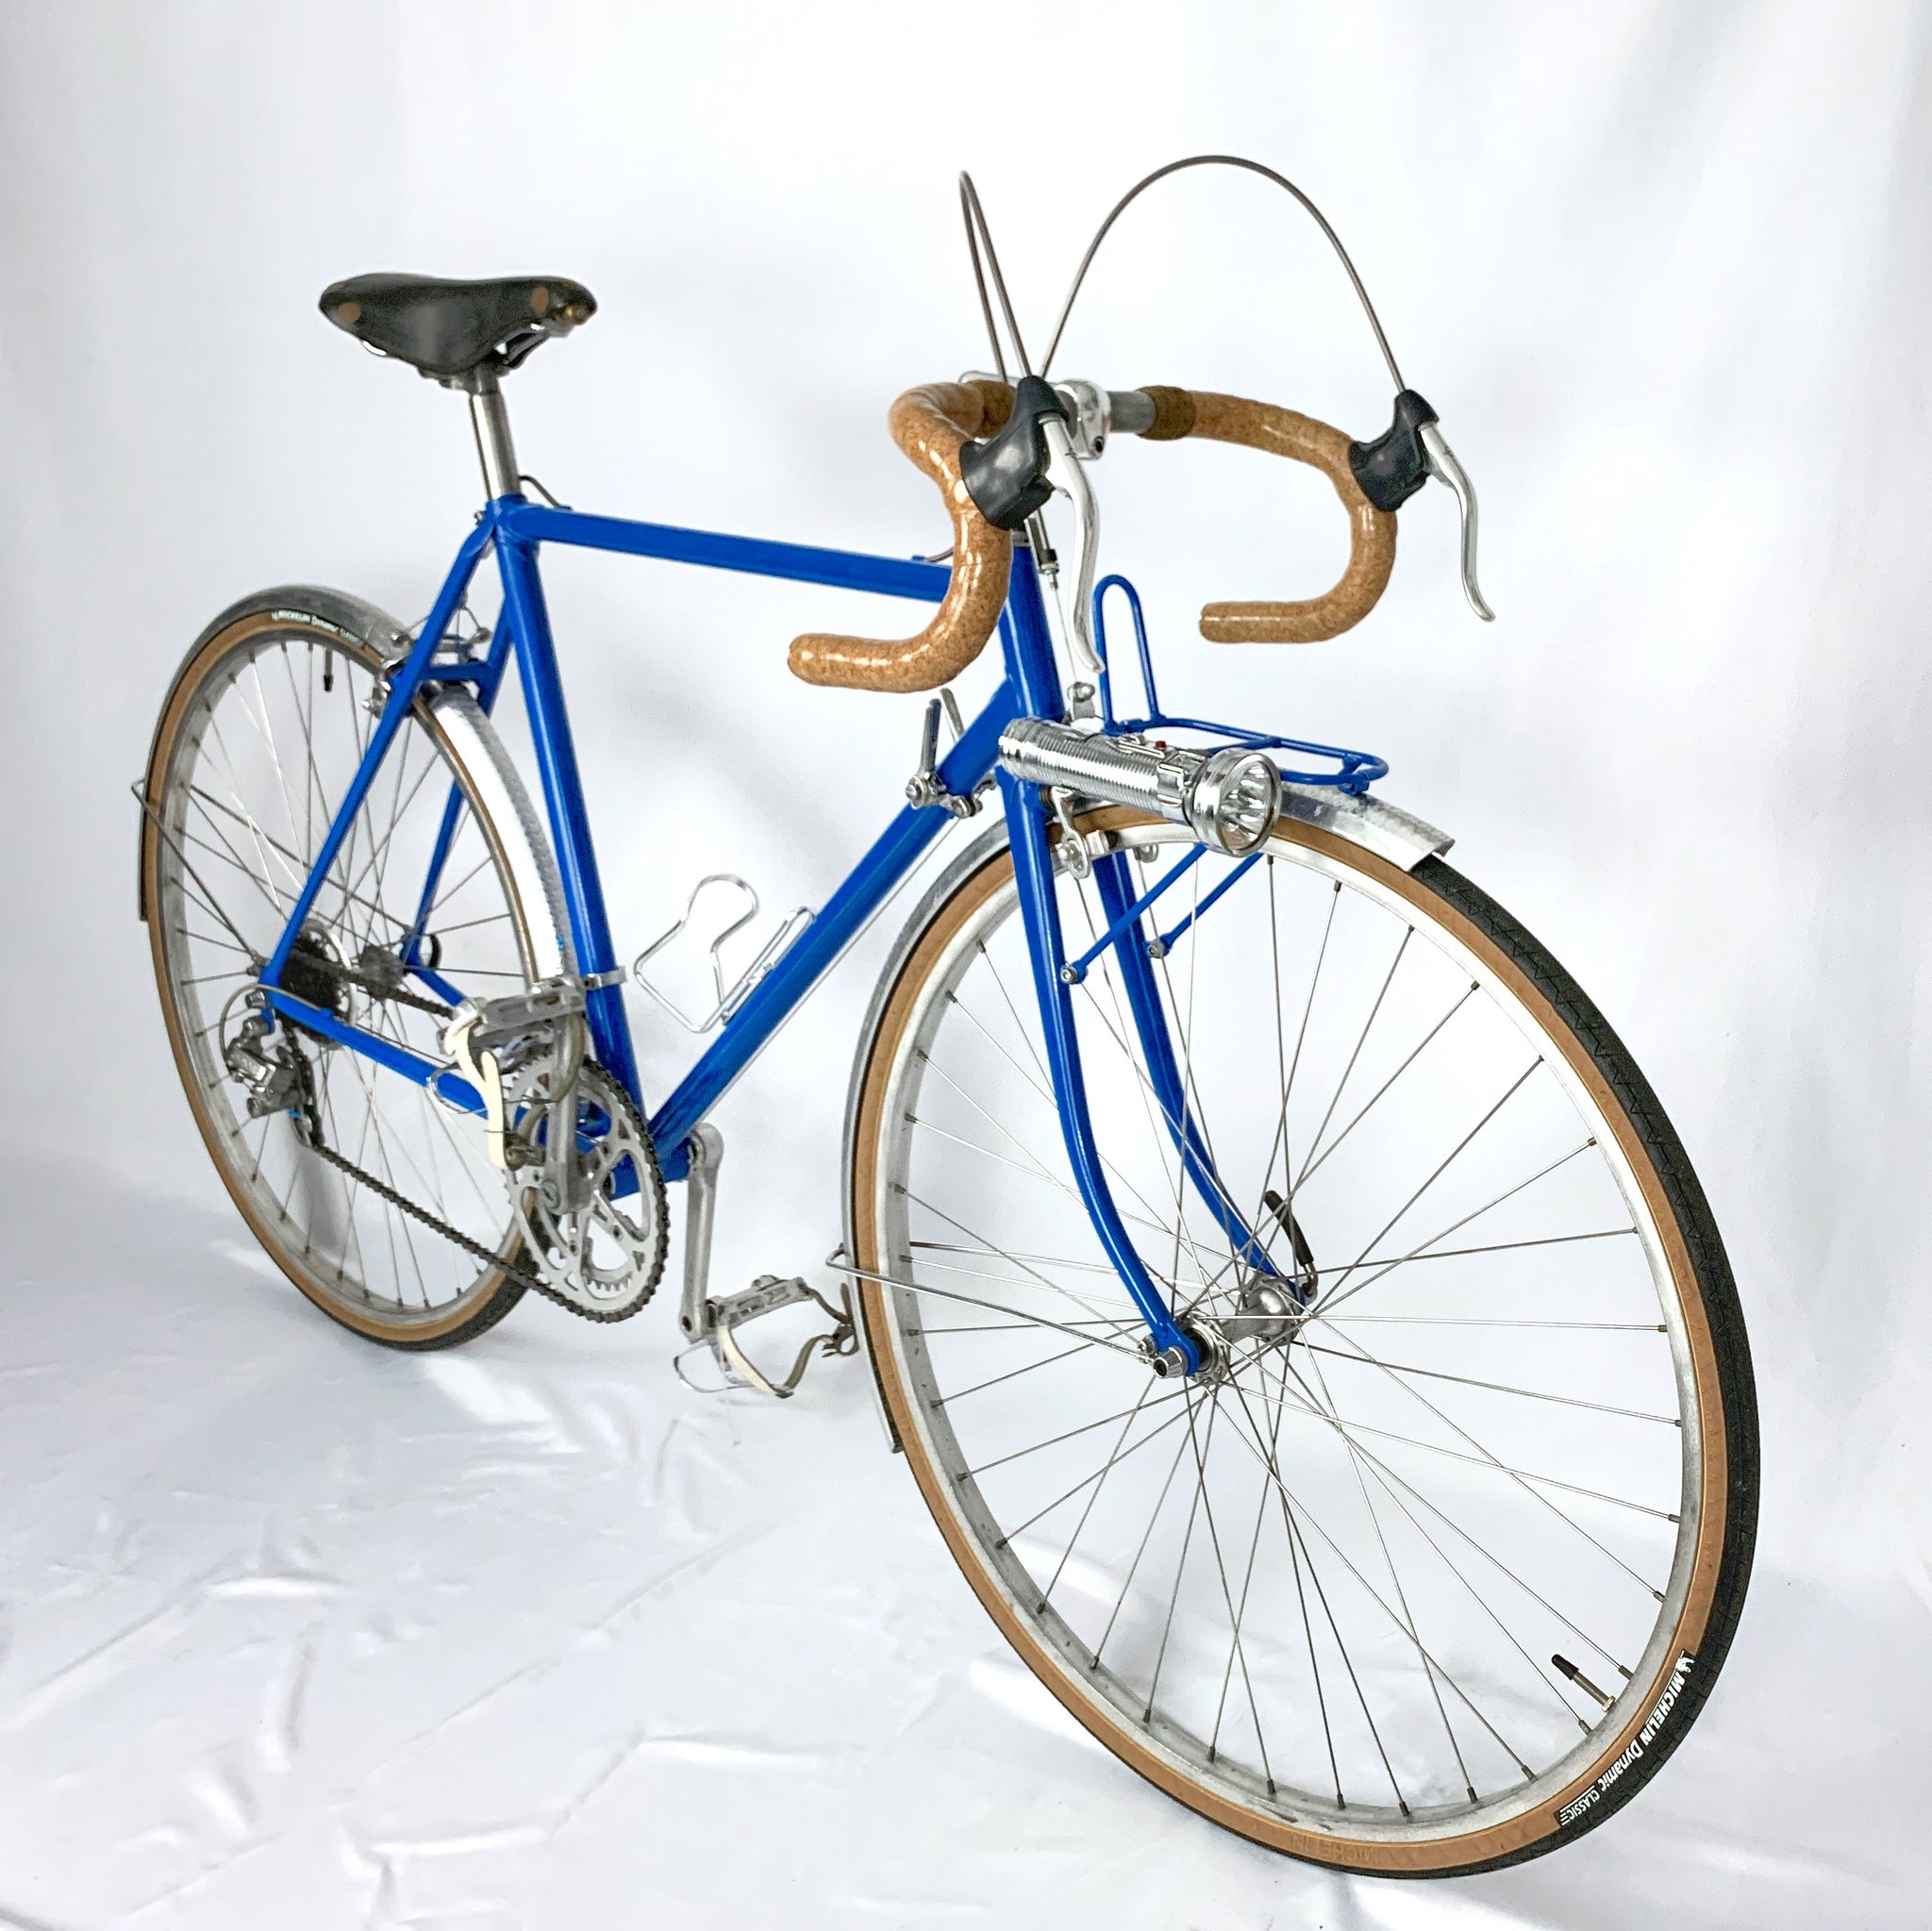
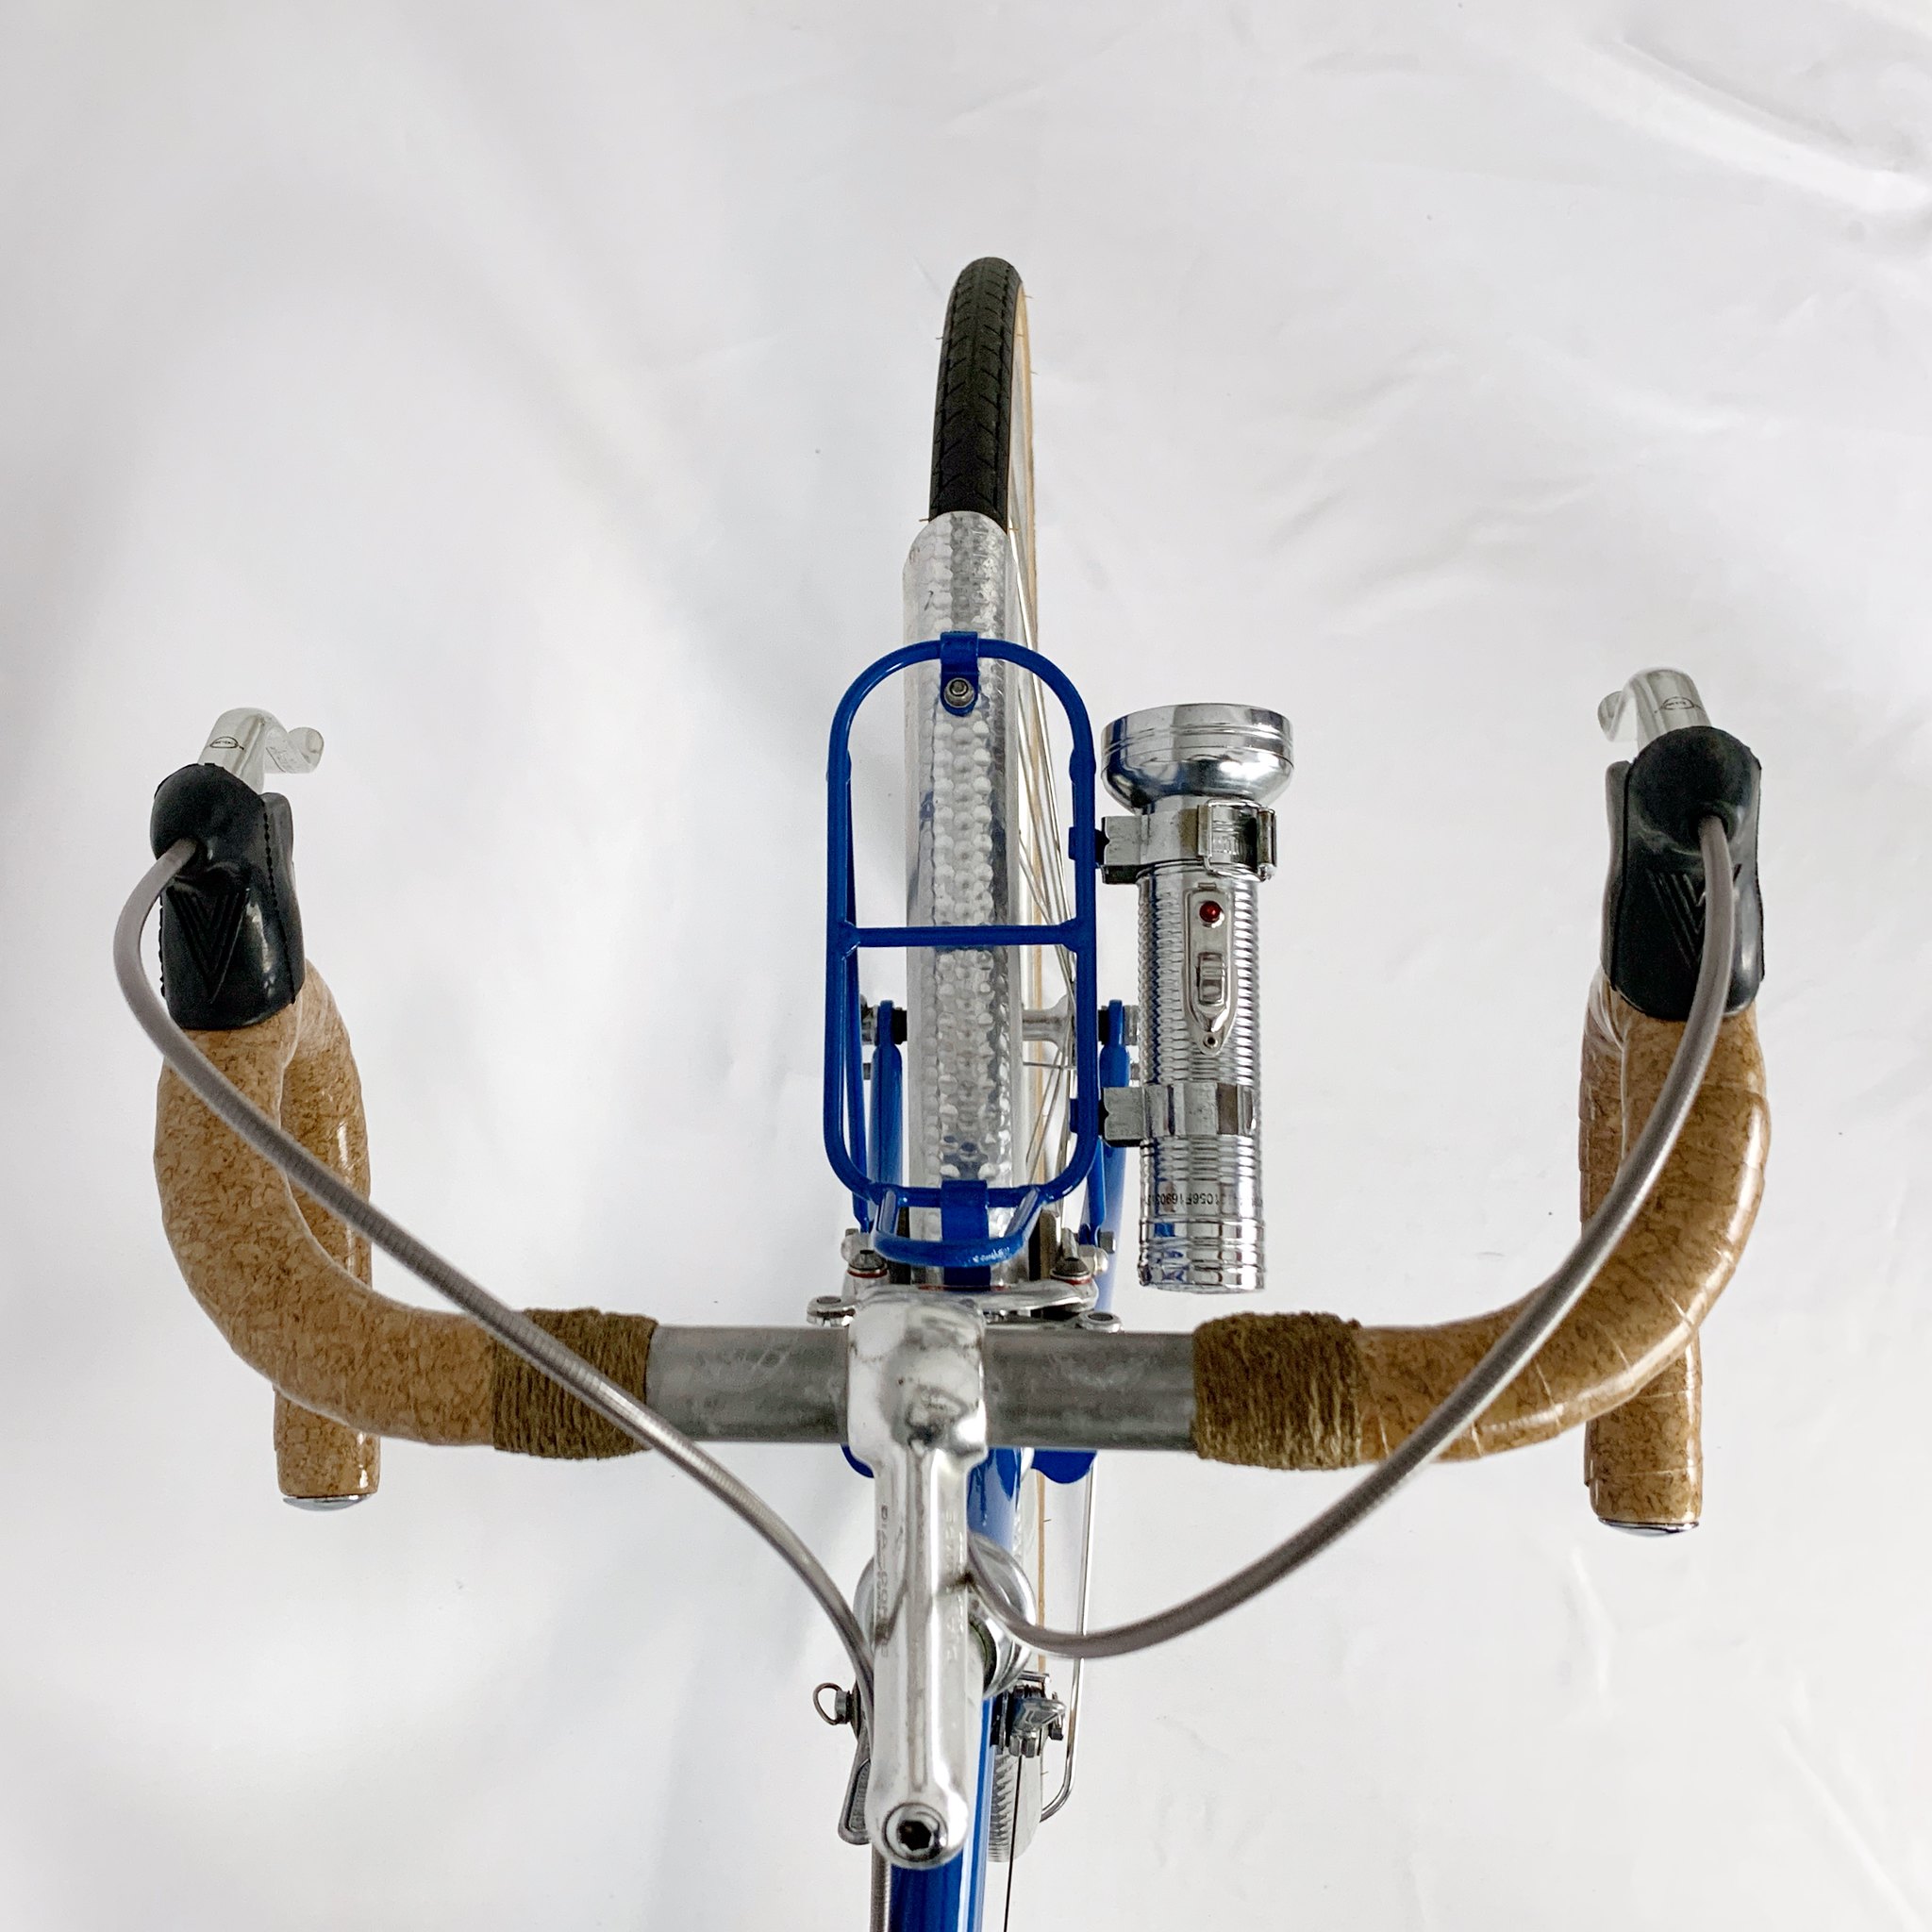
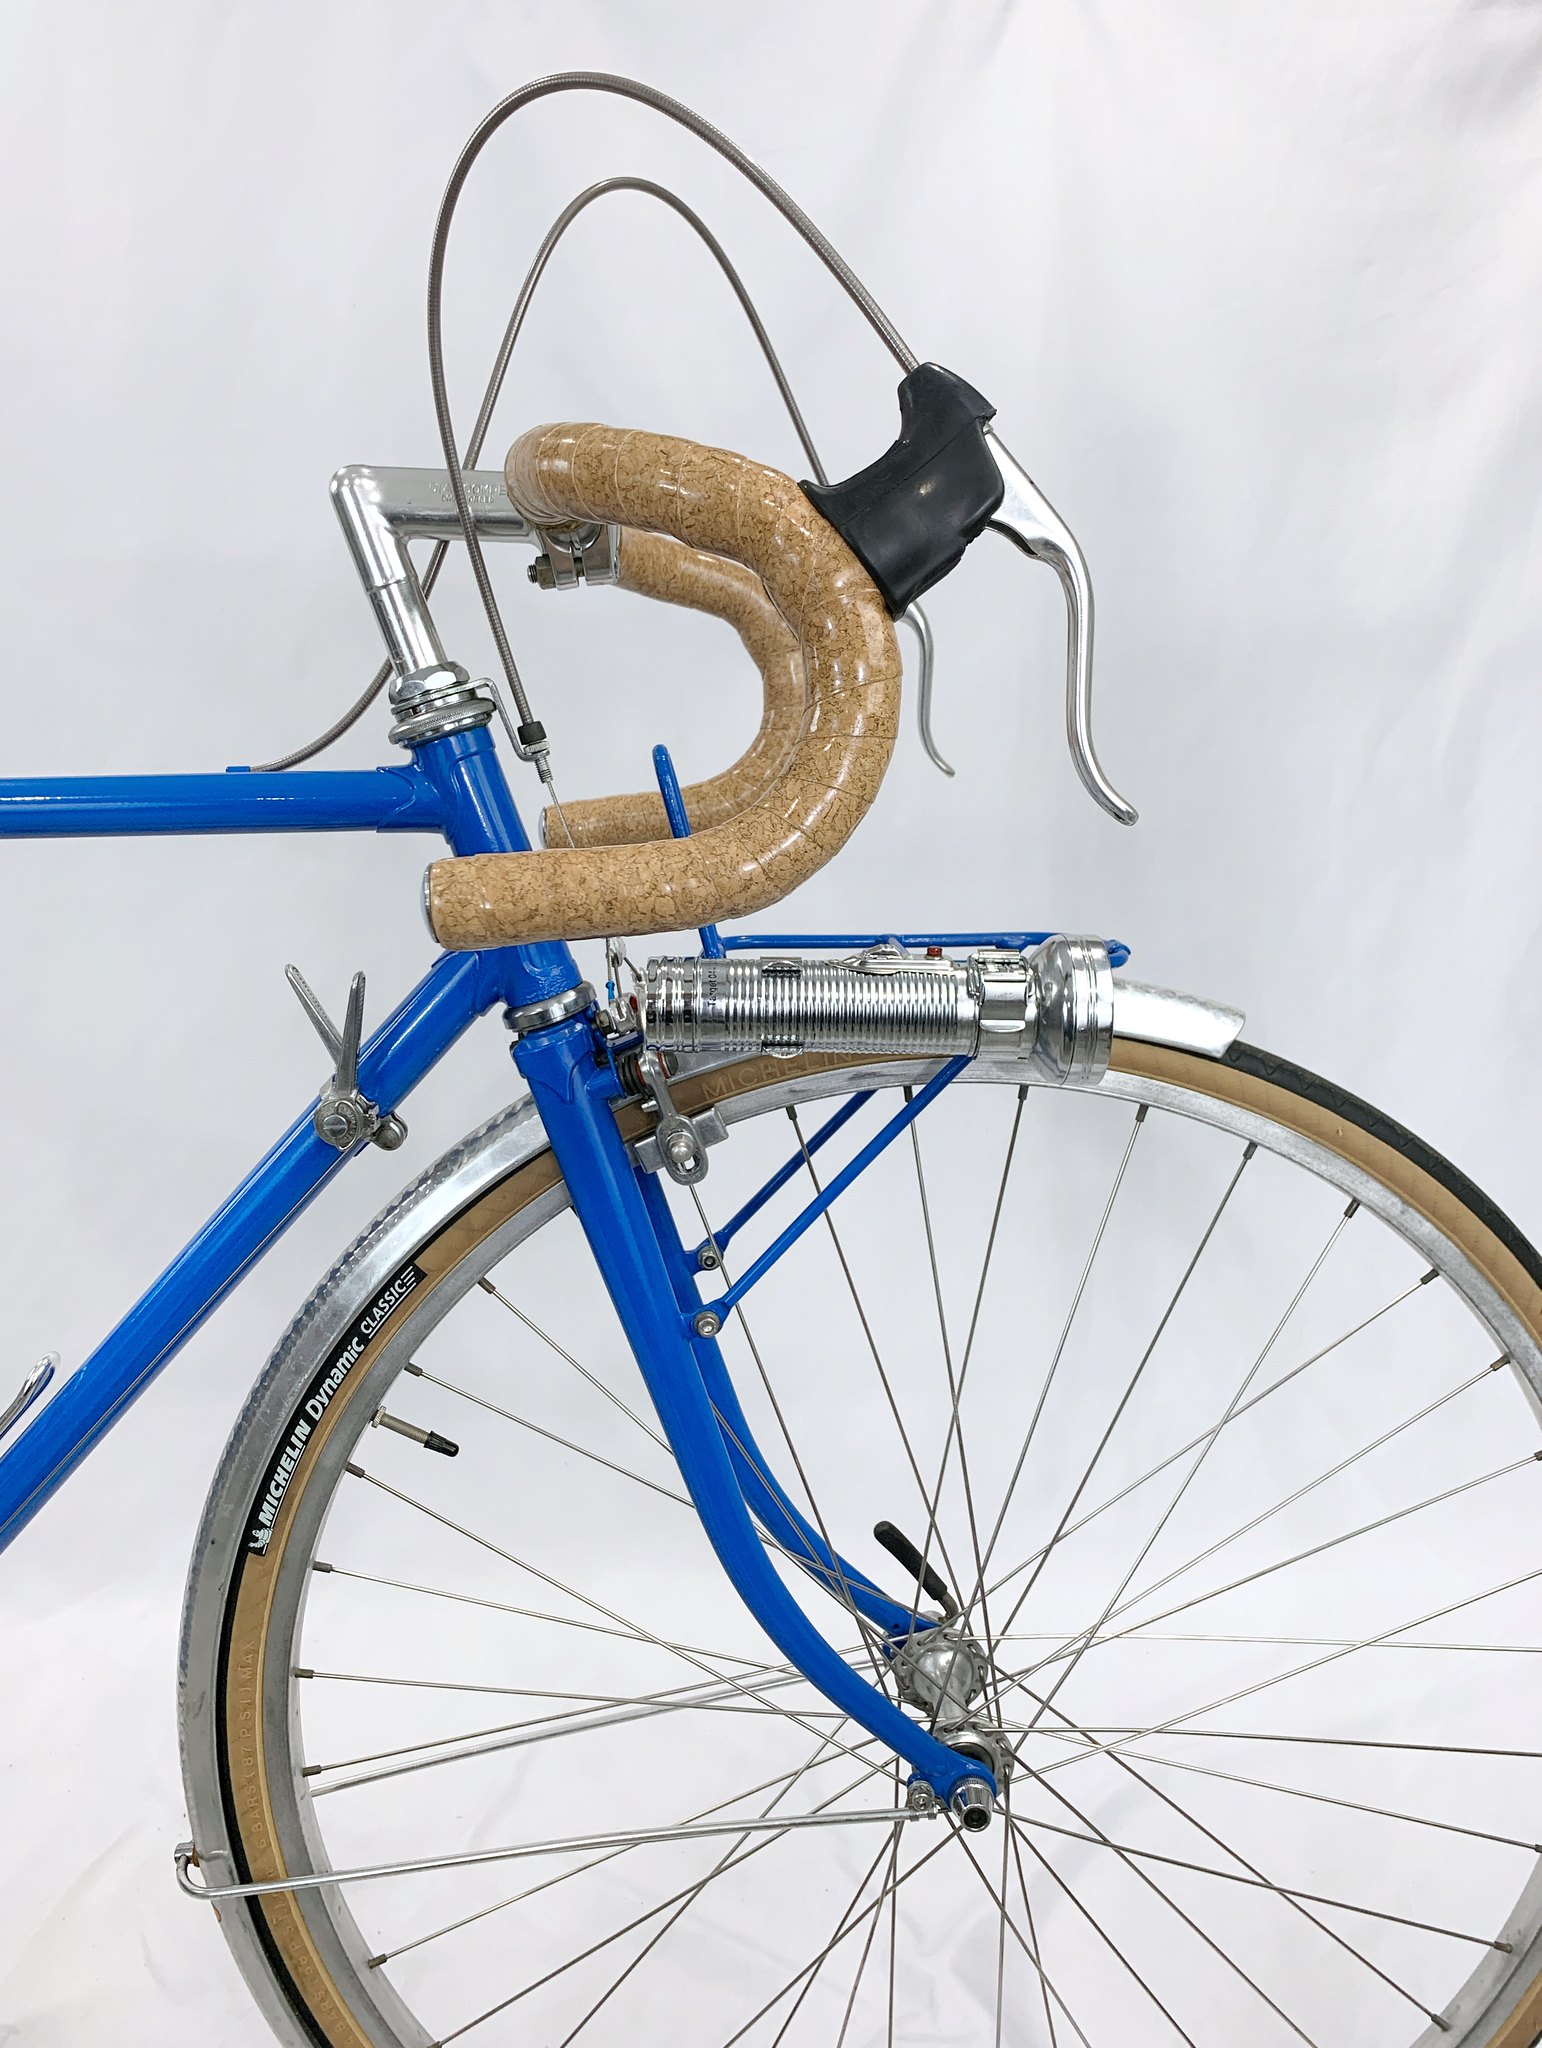
As I got the bike ready for photos, I felt like there was still something missing. That’s when I remembered that these bikes often sported flashlights mounted to the front rack for night riding.
I just happened to have a period-correct flashlight mount in my stash. It came from a Zunow randonneur bike of the same era, and is a two-piece affair consisting of a spring-clip to hold the back of the flashlight and a locking buckle that securely holds the front.
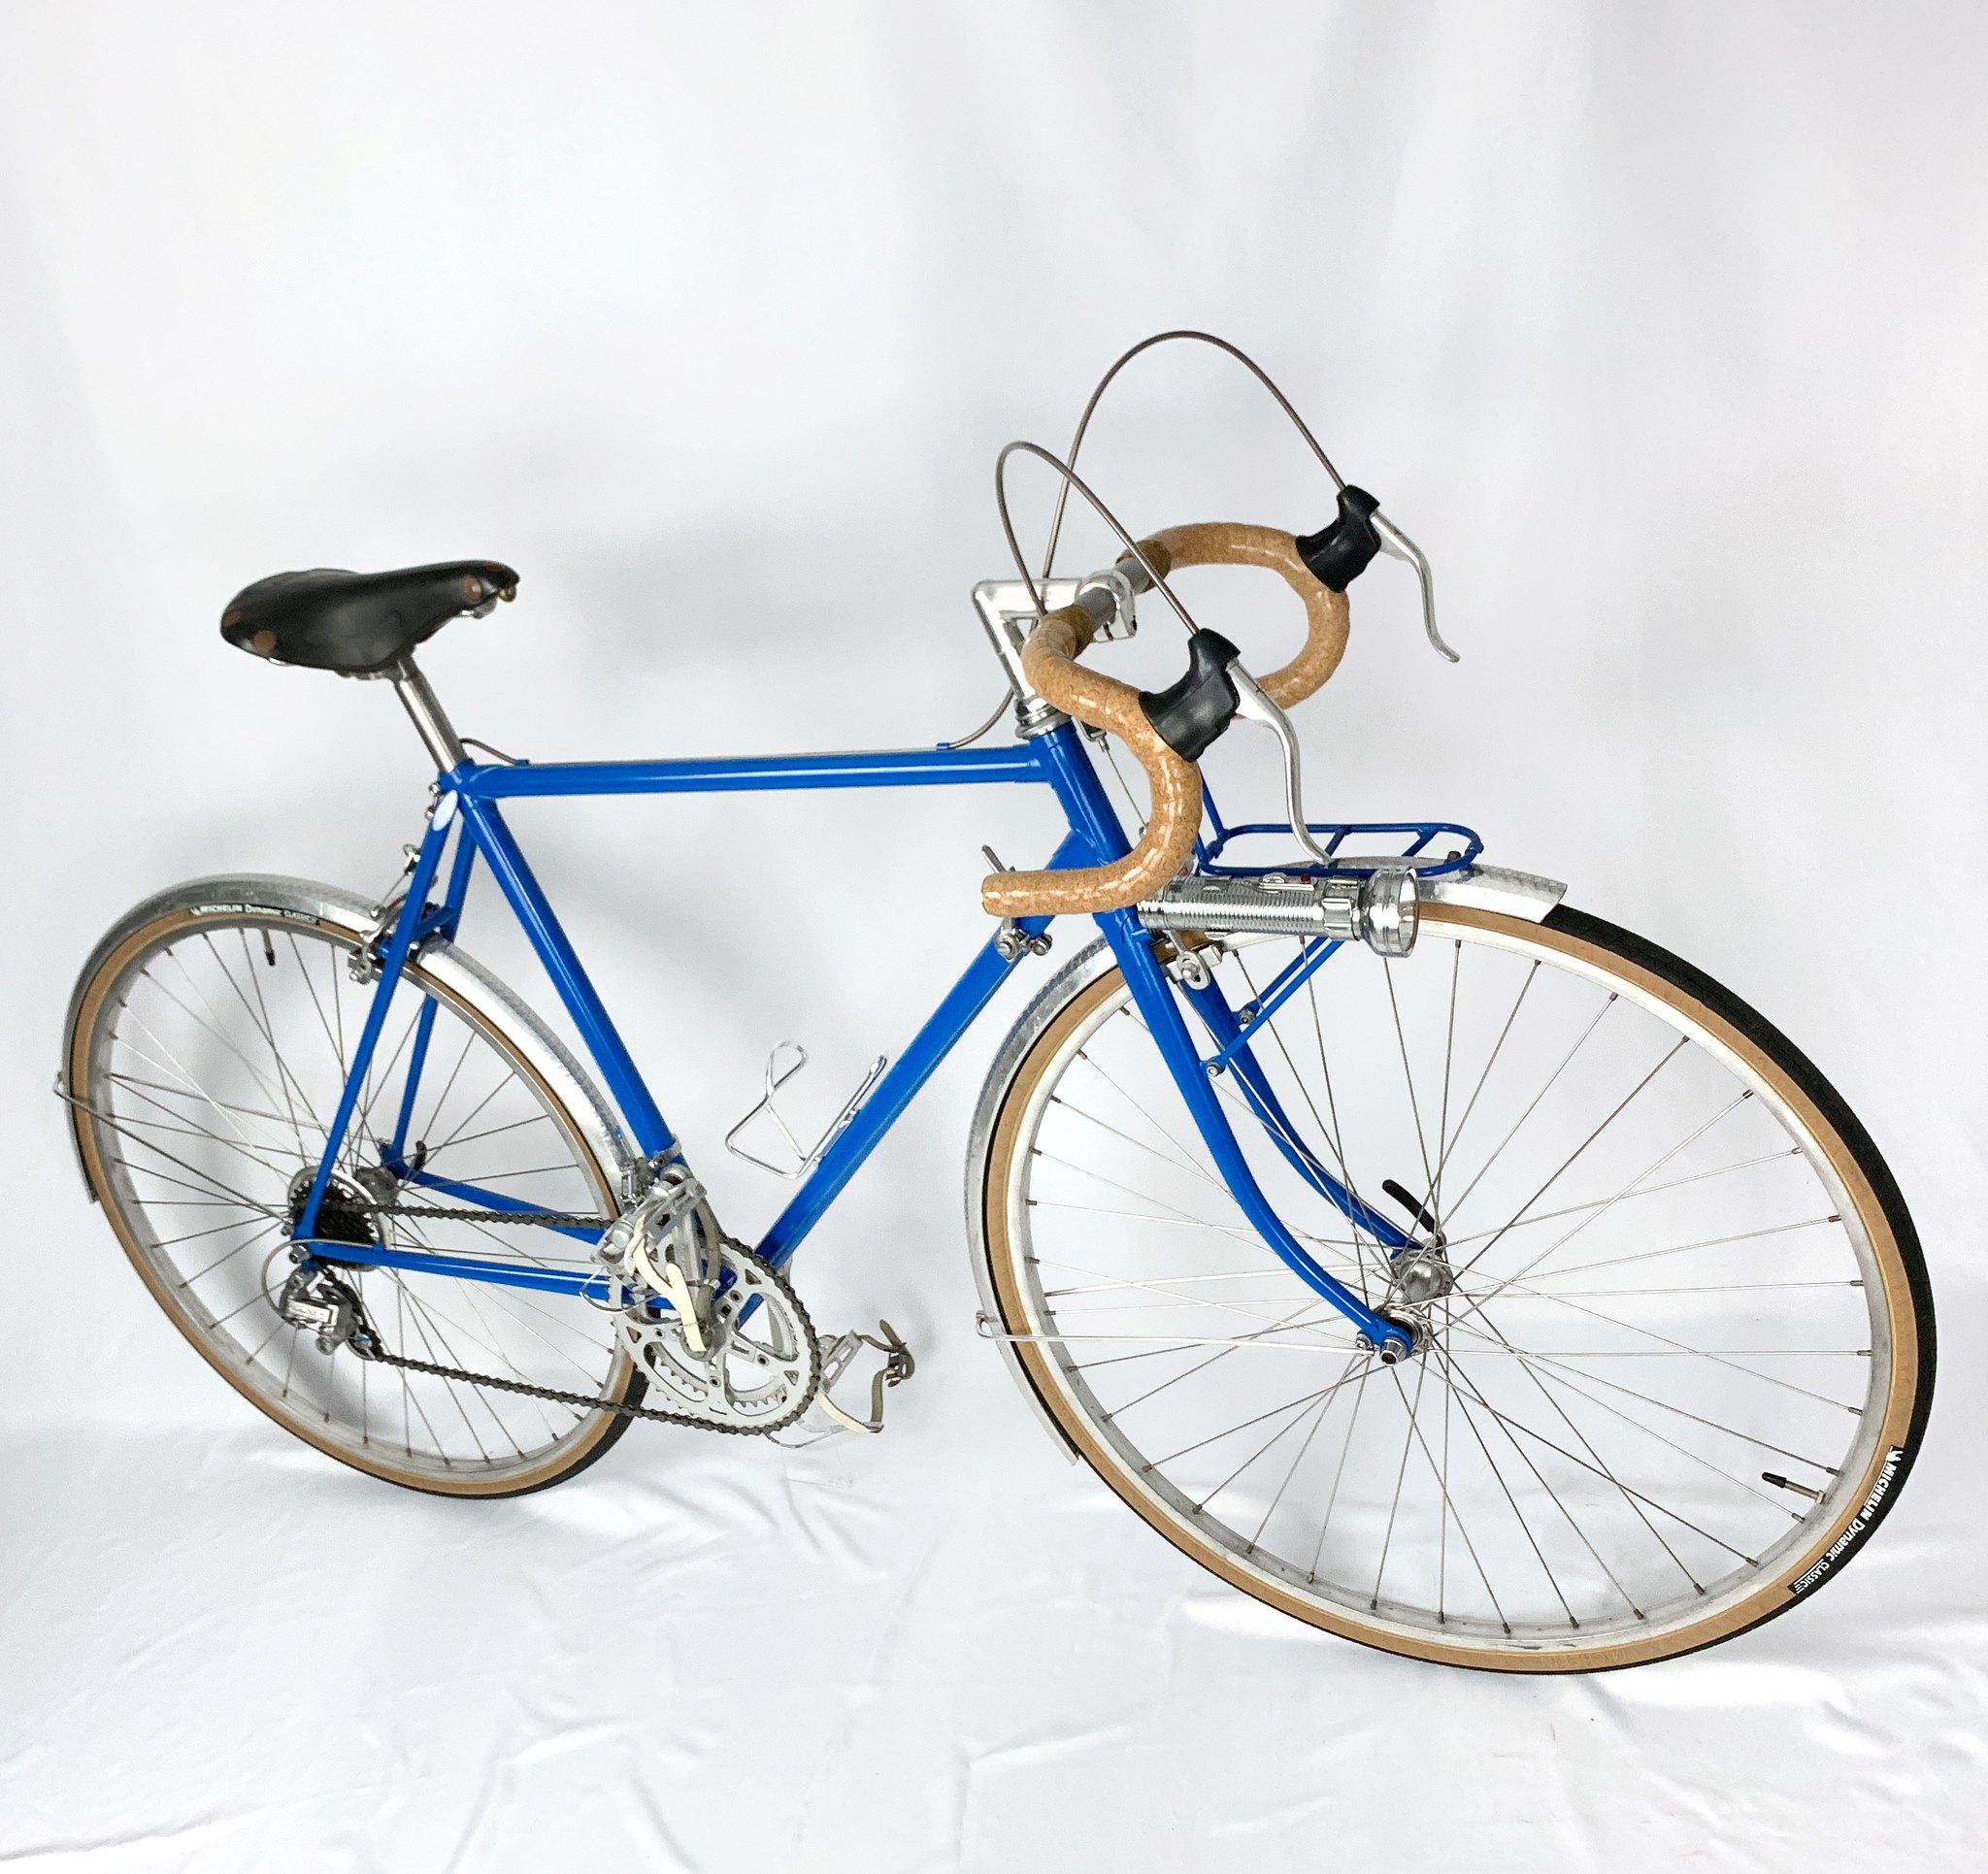
Overall, this restoration came together much faster than the black Eurasia, probably because I’m now familiar with the bike, as well as being able to start from a complete bike and replace a few select parts, instead of starting with a bare frame. It took about three days of focused work to strip, clean, and restore the components, and then two days to build it up once everything was ready. Thanks to the ridiculous shipping charges and fees, it ended up costing me more than the black Eurasia, but I think the end result was worth it.
The Eurasia is a very rare bike in the USA, and represents the level of quality and attention to detail one can expect from a Japanese bike from the early 1980s. Today, the geometry, direct-mount brakes, internal wiring and other features of a fine sportif bicycle can only be found on hand-made custom bikes with multi-year wait lists, but for a few years in the 70s and 80s, the Eurasia gave everyone the opportunity to own one.
Check out the gallery below and drop me a line in the comments if you have any questions or thoughts to share.