
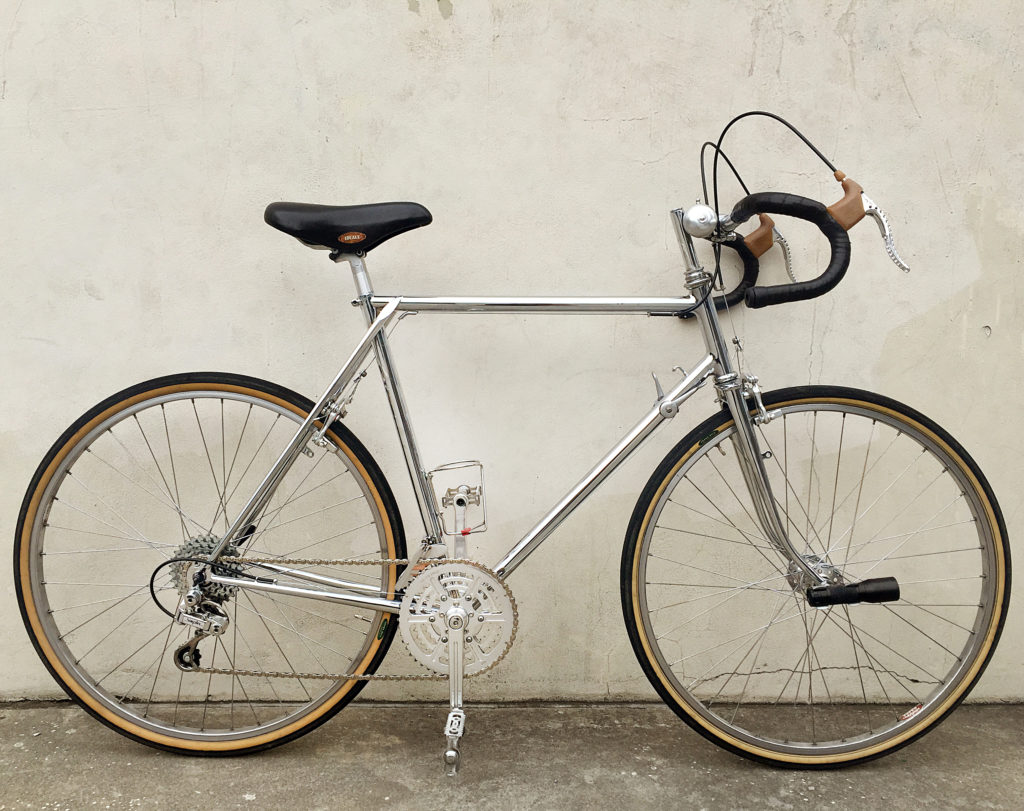
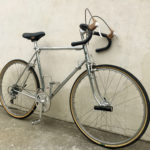
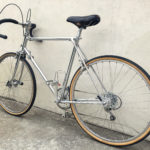
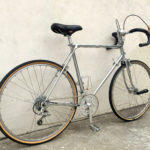
In the fall of 2014, I acquired one of my “grail bikes,” a Jo Routens randonneur. I wrote it about it here, after it arrived from France and I had ridden it around the city for a few months. Then in the summer, I took the plunge on a full restoration, with the goal of bringing it to the 2015 Eroica California event in Paso Robles, California.
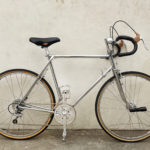
 It was quite an undertaking, and definitely the most expensive and technically complex restoration I have ever embarked on. The results were spectacular!
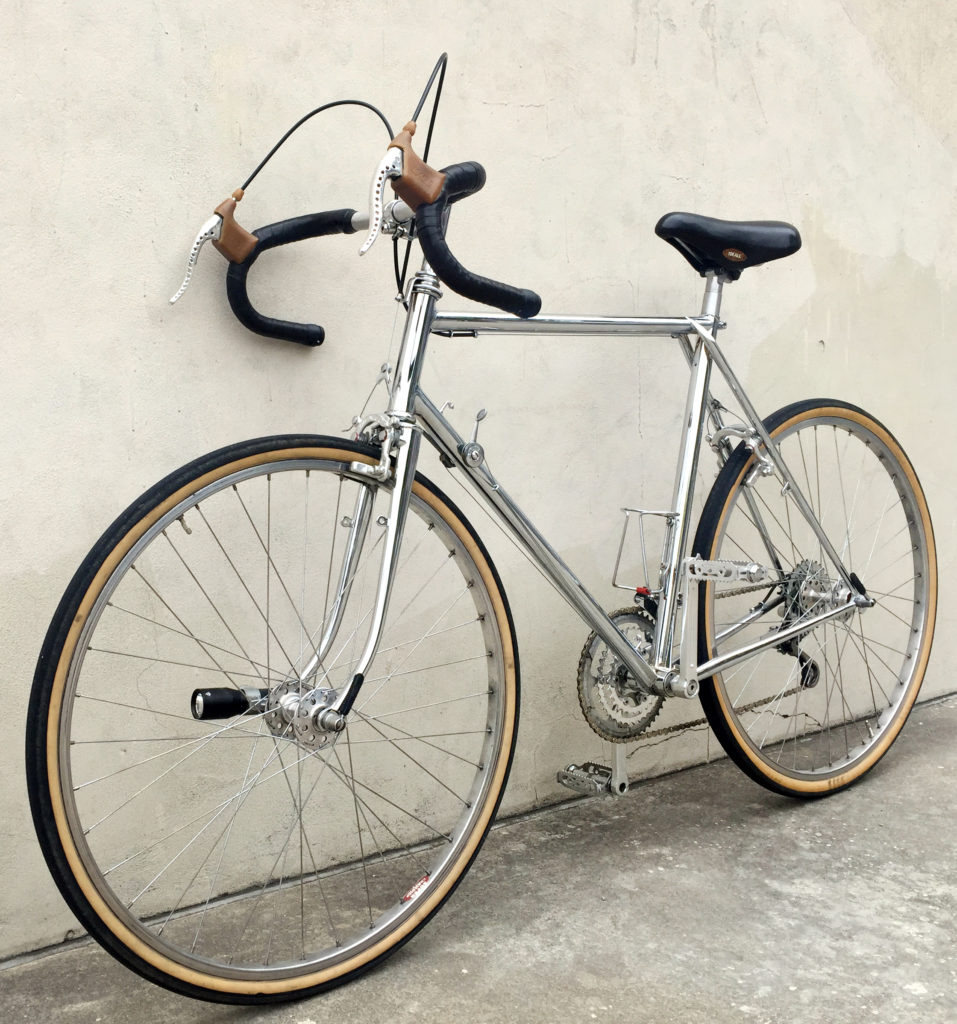
I began by having the frame, fork, stem, and front derailleur re-chromed. These were all hand made by Jo Routens, just for this bike. I had the chroming work done at Epner Technology, in Greenpoint Brooklyn.
The guys at Epner did a perfect job, and at a very reasonable price. For $500, they chemically stripped and prepped the bike, gave it a bright chrome finish, and polished it. The chrome is exquisite, with no flaws anywhere. I highly recommend their services! They did try to up-sell me on a 24 karat gold finish for $5000, but it just didn’t seem right for this bike.
Read on for more details on the restoration and the hi-res picture gallery.
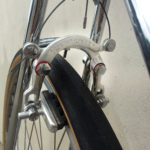
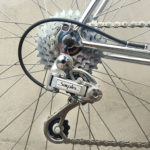
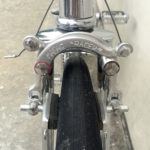
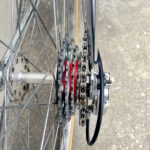
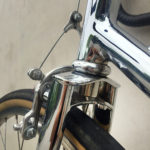
As I waited for the frame to be ready, I scoured eBay and other sources for parts. I replaced the original MAFAC Racer brake set with a “new old stock” set and assembled a brand new long-cage Simplex SX 610 rear derailleur by mating the cage from a SX 410 GT with the body of a SX 610.
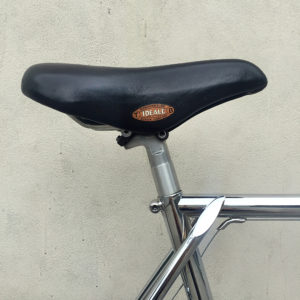
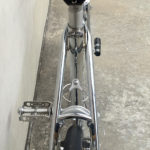
I tracked down a new Ideale 2000 saddle and JPR seat post, which had to be specially cut short to accommodate the rear brake cable, that runs through the center of the seat tube.
New Grand Bois Cyprès 650B x 32 tires, Gilles Berthoud leather bar tape, and reproduction MAFAC brake pads by Kool-Stop finished off the build.
Assembling this beast was the hardest part. Normally I can assemble a restored bike in about 4-6 hours of work, depending on how tricky the components are to work with. This bike took me a week of work, about 4-5 hours every night for five stressful nights.
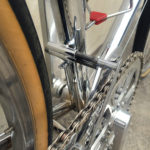
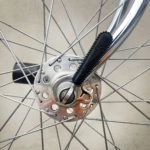
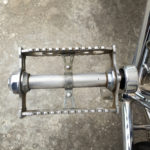
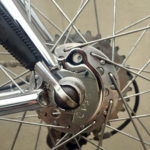
There were two main challenges: first, because so much of this bike was hand made to Jo Routens’ precise specifications, there was no room for changing chain ring sizes, or number of cogs on the freewheel, or even the tooth count of the cogs. The bottom bracket was also handmade by Routens, and used press-fit sealed bearings that I had to track down. As I lacked a proper bottom-bracket press, re-installing it involved blocks of wood, a hammer, and nearly a heart attack on my part.
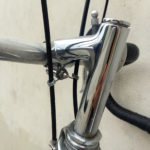
The second challenge was that the chroming threw off the tolerances – the chromed stem no longer fit into the steerer tube, the brakes didn’t fit over the bosses, and every threaded hole had to be chased with a tap before bolts would fit back into them. On the stem and bosses, I had to gently sand down the chrome until the parts were the correct diameter again.
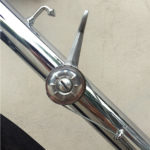
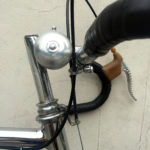
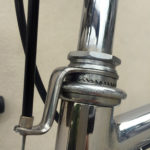
The hardest part, which took two days to figure out, was re-assembling the hand made front derailleur. It used a Cyclo “twin-cable” mechanism, which instead of relying on a spring to provide counter-force, moves strictly based on which direction the cable is turned in.
I took several photos prior to dismantling it, but I soon realized that I could not use the original shift wire because it was now too short.
 Cyclo shift wires are a continuous loop, fashioned by connecting both ends of a single wire together with a tiny brass block and an even tinier grub screw. The block then fits into the shift lever.
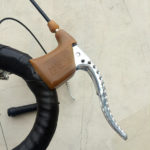
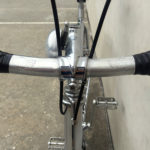
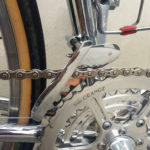
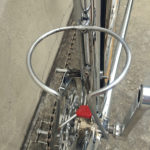
The shift wire must be exactly the right length, or the lever’s positioning will be off; it should sit at the 10 o’clock position, in line with the down tube, when the front derailleur is in the smallest ring. When it’s in the largest, the shifter should be at 1 o’clock as shown in the picture at left.
Making this even harder was the fact that the connector block and grub screw were worn and stripped. After the shift wire twice snapped apart at the block when under tension (shifting chain rings on a hill), I plundered a new old stock Cyclo rear derailleur kit to get a better connector block. I also spent a lot of time on my knees looking for the tiny grub screw on the floor of my work shop, and it’s a miracle that I didn’t lose it. I finally finished the frame with about 24 hours left before my flight to California.
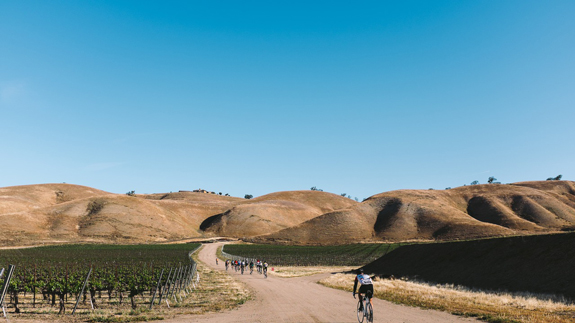
The Eroica California was one of the most fun bike-related events I have ever done, but the ride portion was also one of the toughest. The route included many steep grades and rocky, unpaved roads in wine country, testing the full range of gears on the Routens. Late in the day, there were some trails that I even had to dismount and push the bike up – it seemed like more of a mountain bike ride than one aimed at vintage road bikes!
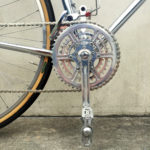
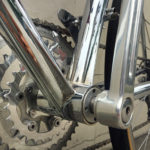
 Unlike the photos shown, at the time it was equipped with the original T.A. cranks and chain rings, which were out of true. Shifting across the chain rings was difficult, as the wear on the front derailleur can attest to.
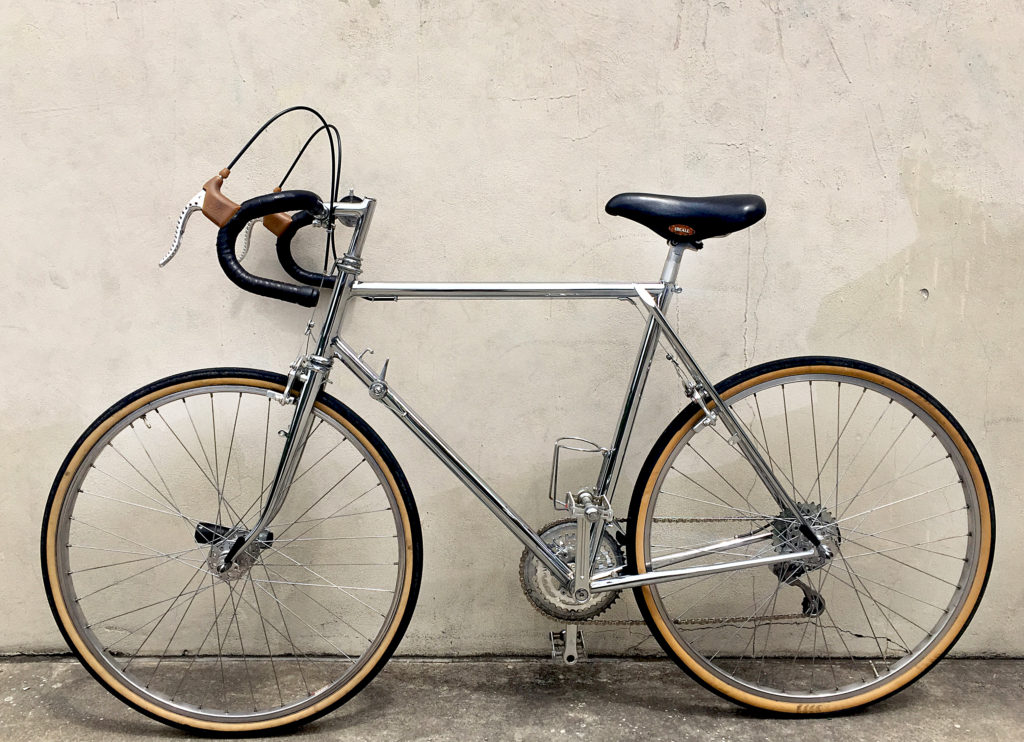
After the Eroica ride, I replaced the crank set with a SunXCD “Exceed” model, which is a high-quality reproduction of the original T.A. Specialities cranks. The outer chain ring is from Velo Orange, and is made with integral ramps and pins that help engage the chain and drastically improved the shifting up front.
After the Eroica, I rode the Routens occasionally, but ultimately it became more wall art than daily rider. As much as I love vintage bikes, I’ve gotten to a point where I have had to admit to myself that I prefer smoothness of modern shifting and larger cassettes, and the comfort of large brake hoods to rest my hands on. I have retrofit a number of vintage frames to use modern group sets, but on the Routens it would be sacrilege.
It was purchased recently by a collector in California, and thus brings to a close my romance with one of the rarest marques among vintage bicycles. Simply getting to examine the details of the frame and the components opened my eyes to the beauty, and idiosyncrasies, of the great constructeur Jo Routens.
Check out the gallery below for many more hi-res pictures:


Hello,
cool bike
How did You open the right (drive) side of the bottom bracket?
Did you turn the dust cap clockwise or counterclockwise?
The left side opens counterclockwise.
Regards
Stefan
Hello,
I own this bike now. I purchased it from Don, the collector you sold it to. Thank you for the nice work. Can you please respond to me to my email address? I had a few things to discuss. Also ( coincidence!), I also own a ‘60 Bianchi Campione Del Mondo just like the one you refurbed!
Santosh
Hi Santosh, thank you for getting in touch! I hope you’re riding and enjoying the bike. I’ve sent you an email.
Hi Stefan, I don’t recall the specific process for removing the drive-side BB cup. I’m afraid it’s been too many years since I worked on it, and given how finicky it is, I only removed it once (for the chroming of the frame) and re-installed it once.
Pingback: The First Zunow Catalog: KYGM 1973 - djcatnap.comdjcatnap.com