So it’s been literally a year, to the day, since I’ve updated this blog. But I haven’t been idle on the bike front! In fact, 2015 was quite a year for me and bicycles, one where I finally achieved a long-held dream of mine: to build my own frames. Thanks to the help and mentoring of Lance Mercado at Squarebuilt Cycles here in Brooklyn, I built my first frame this past March.
Read on for all of the details!
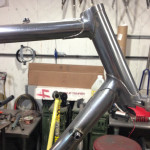
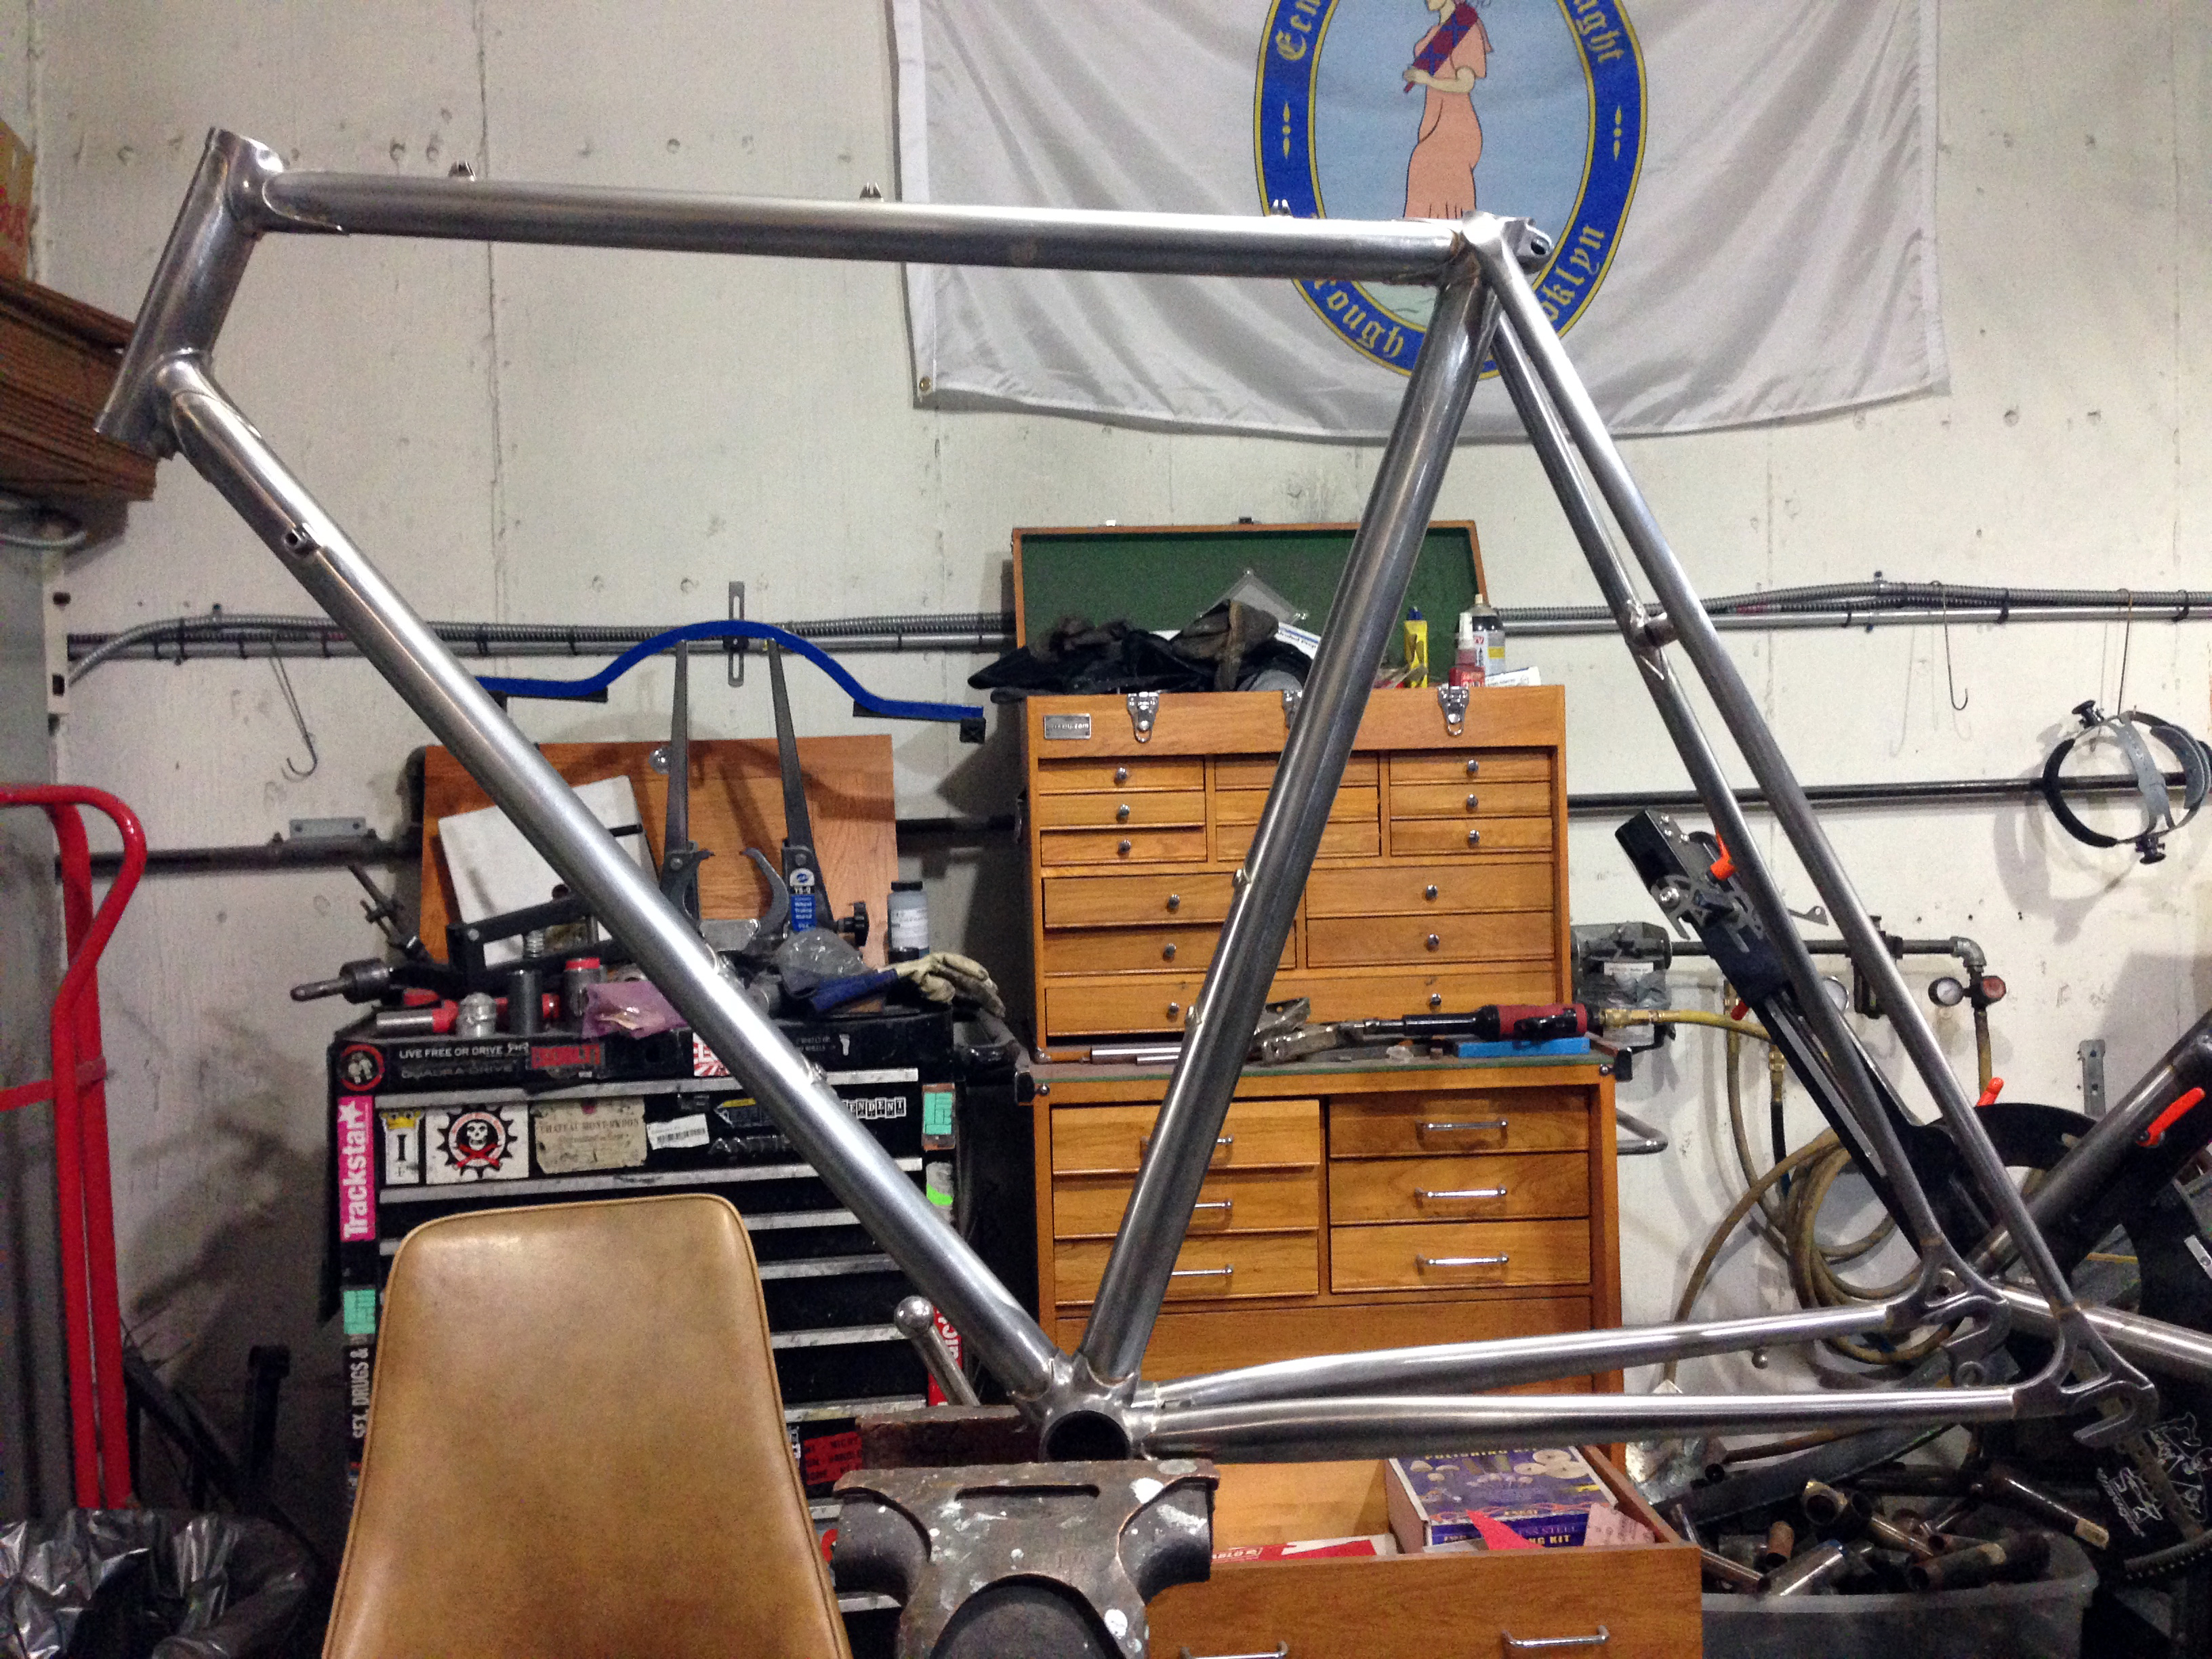 I wanted to build a lugged steel frame in the style of classic road bikes from France and Italy, so I started with some classic 1970’s lugs from Cinelli that I bought from Paul Wyganowski. The frame was made using chromoly tubing from Nova Cycles, which also supplied the various braze-ons. I definitely recommend Nova as one-stop shop perfect for the beginning frame builder. The lugs were brazed with Harris Safety-Silv 56 silver brazing wire, with bronze brazing for the drop-outs and seat stay caps.
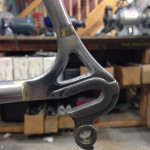
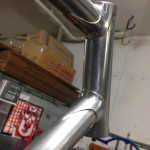
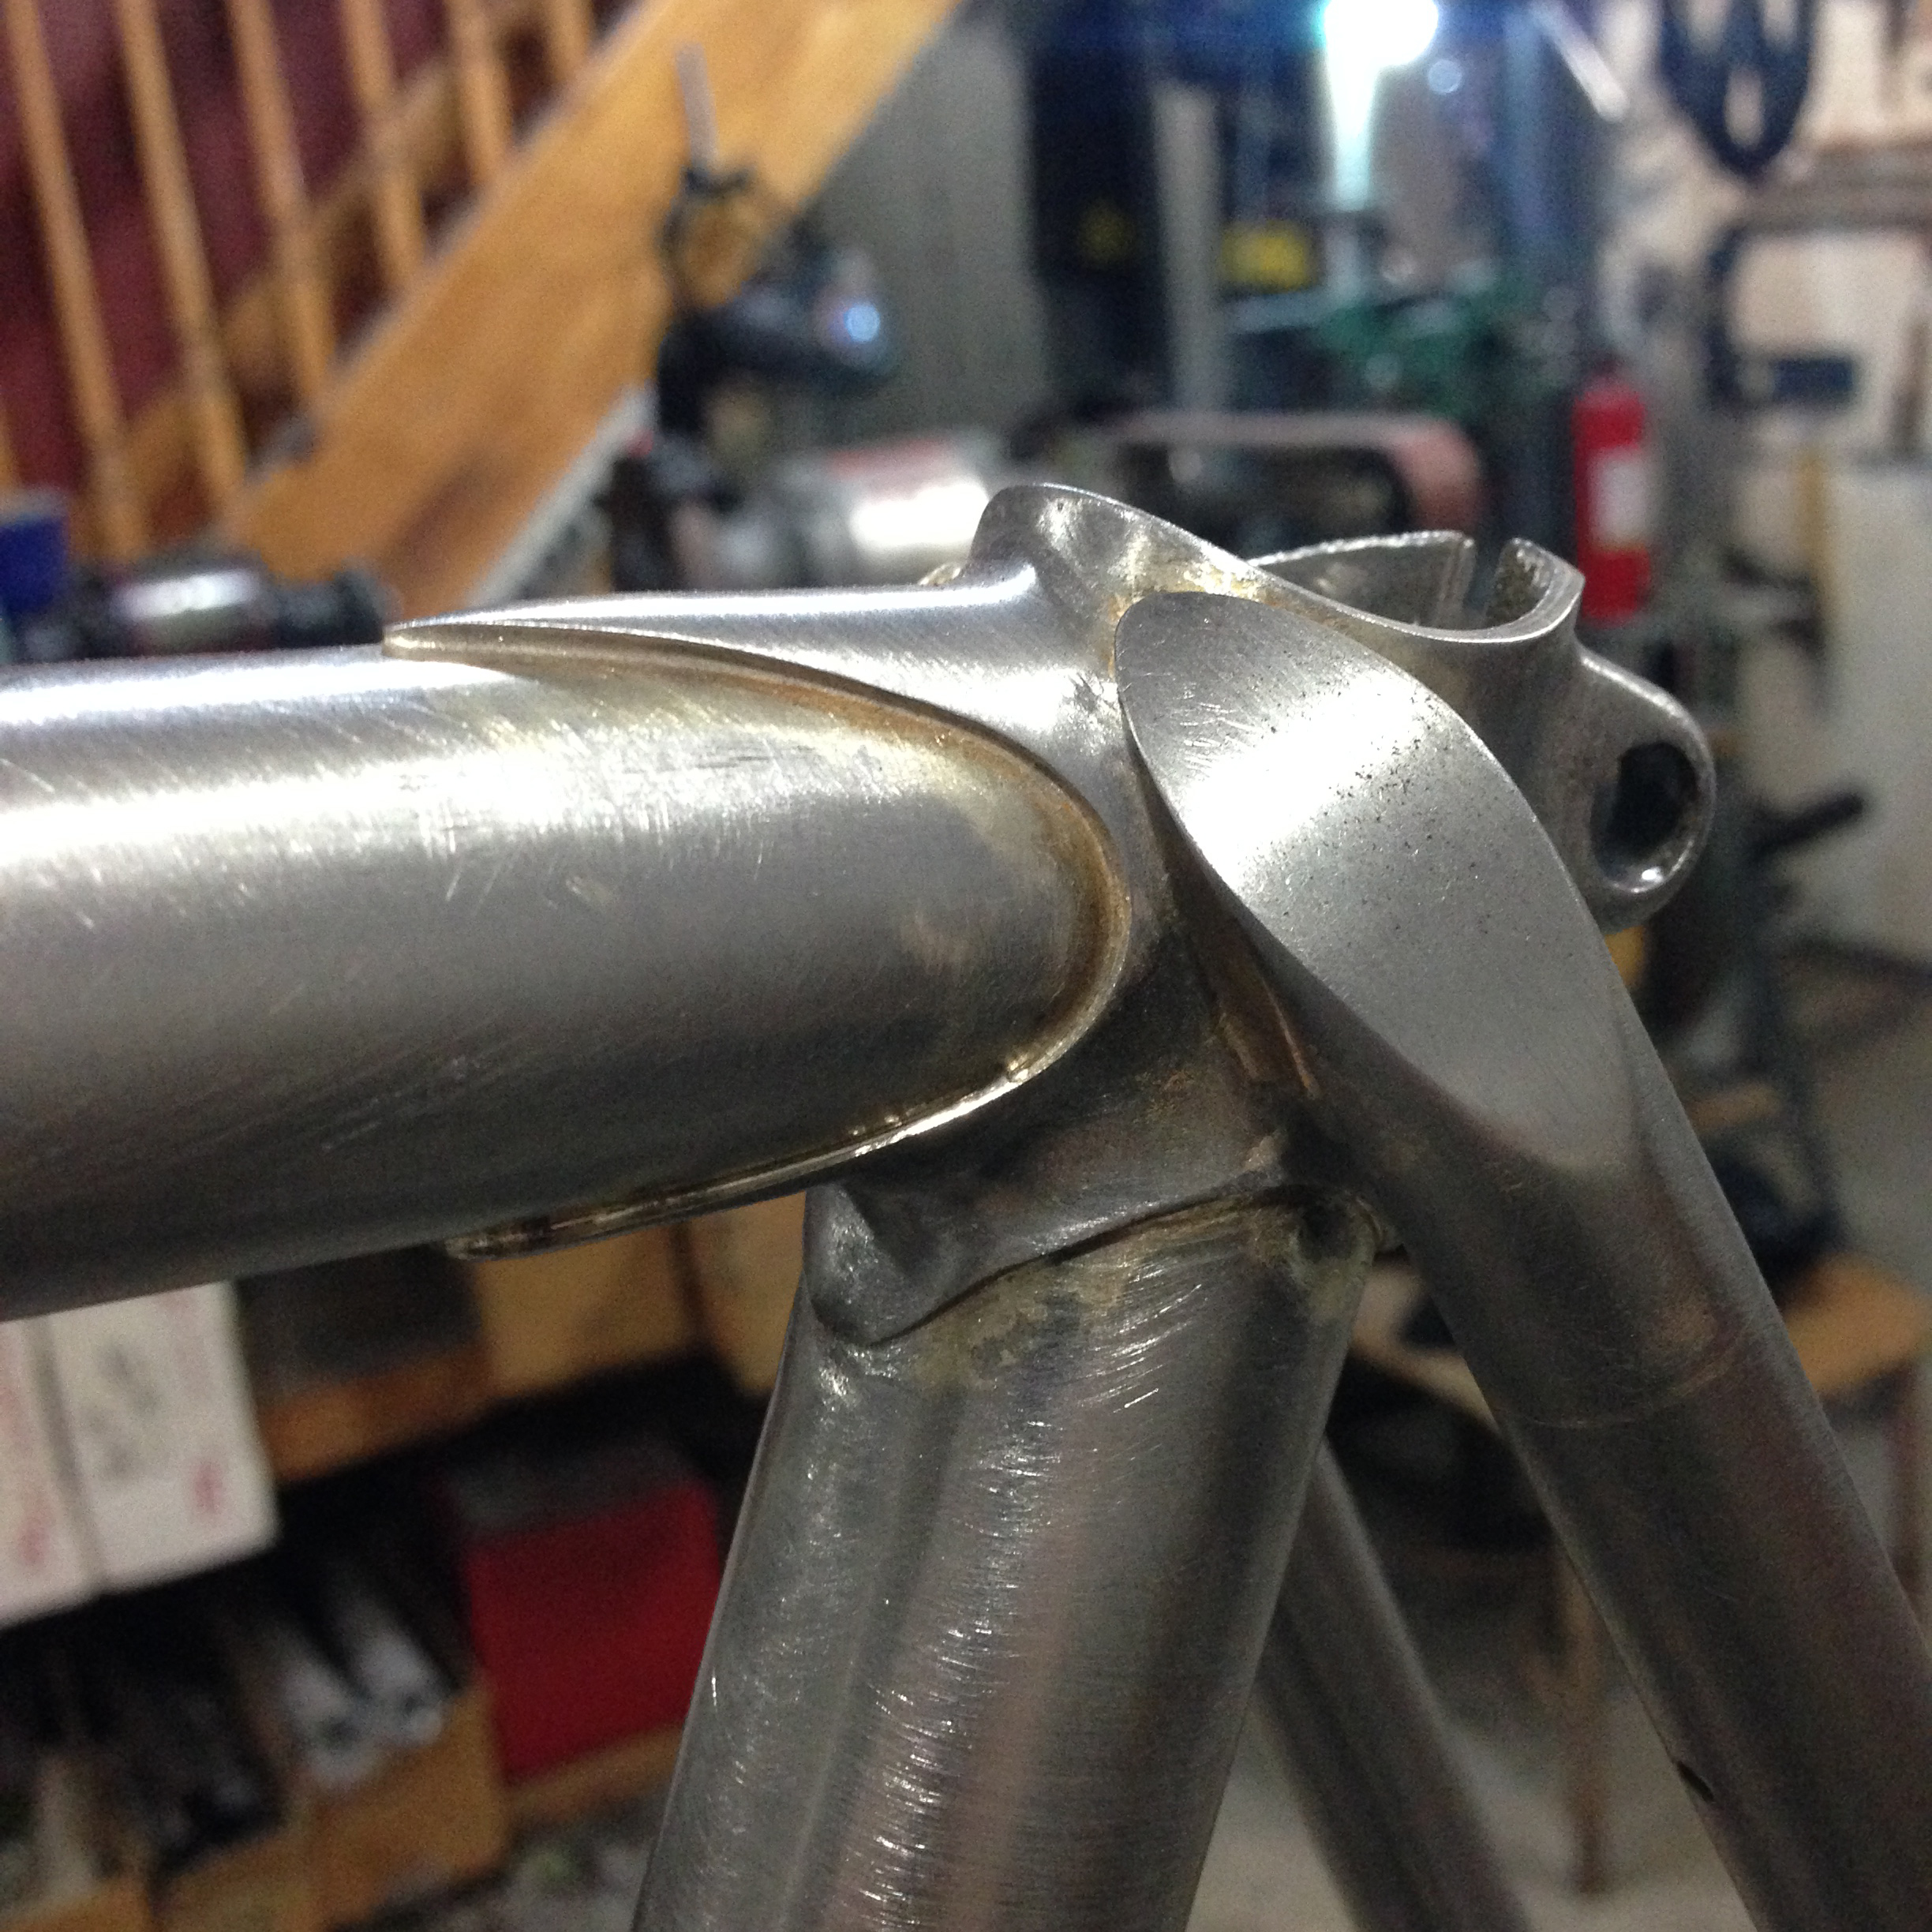 The Cinelli lugs were pressed steel, as opposed to investment-cast, which means that there was a lot of clean-up to do on them. While pressed lugs are cheaper than cast, and many vintage lugs are pressed (like Nervex, etc.) I don’t recommend them for the beginning builder! They take more work to look good. Try some Henry James lugs instead.
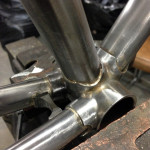
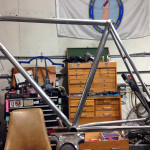
First, Lance helped me design the frame using BikeCAD. We entered the lug angles in the program, along with the desired frame size, and it printed easy-to-follow mitering guides. I mitered the tubes using a bench grinder and then finished them off by hand.

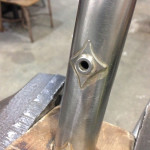
Before building this frame, I brazed about 5 practice joints. After I finished each joint, I cut it in half so that I could inspect the penetration of the silver braze. I got down the process and feel, but when I began to braze the frame itself, I ended up having to do it twice to get the right amount of penetration and to properly “shoreline” the lugs
.
I also used a classic technique called “pinning” the joints, where I drilled small holes in the lugs and tubes, and then hammered in nails to hold the frame together prior to brazing (as opposed to using small tack welds). Richard Sachs is a well-known user of this technique, so I figured I ought to learn it. That said, it was a lot of work and I can’t say it made the frame any straighter. It certainly added more hours to the clean-up process!
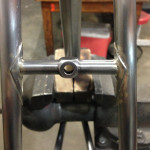
After the frame was fully assembled and brazed, I spent about 12 hours carefully filing and cleaning it up. All of the excess silver has to be removed, and there was a lot of it because I’m a beginner and a messy brazer.
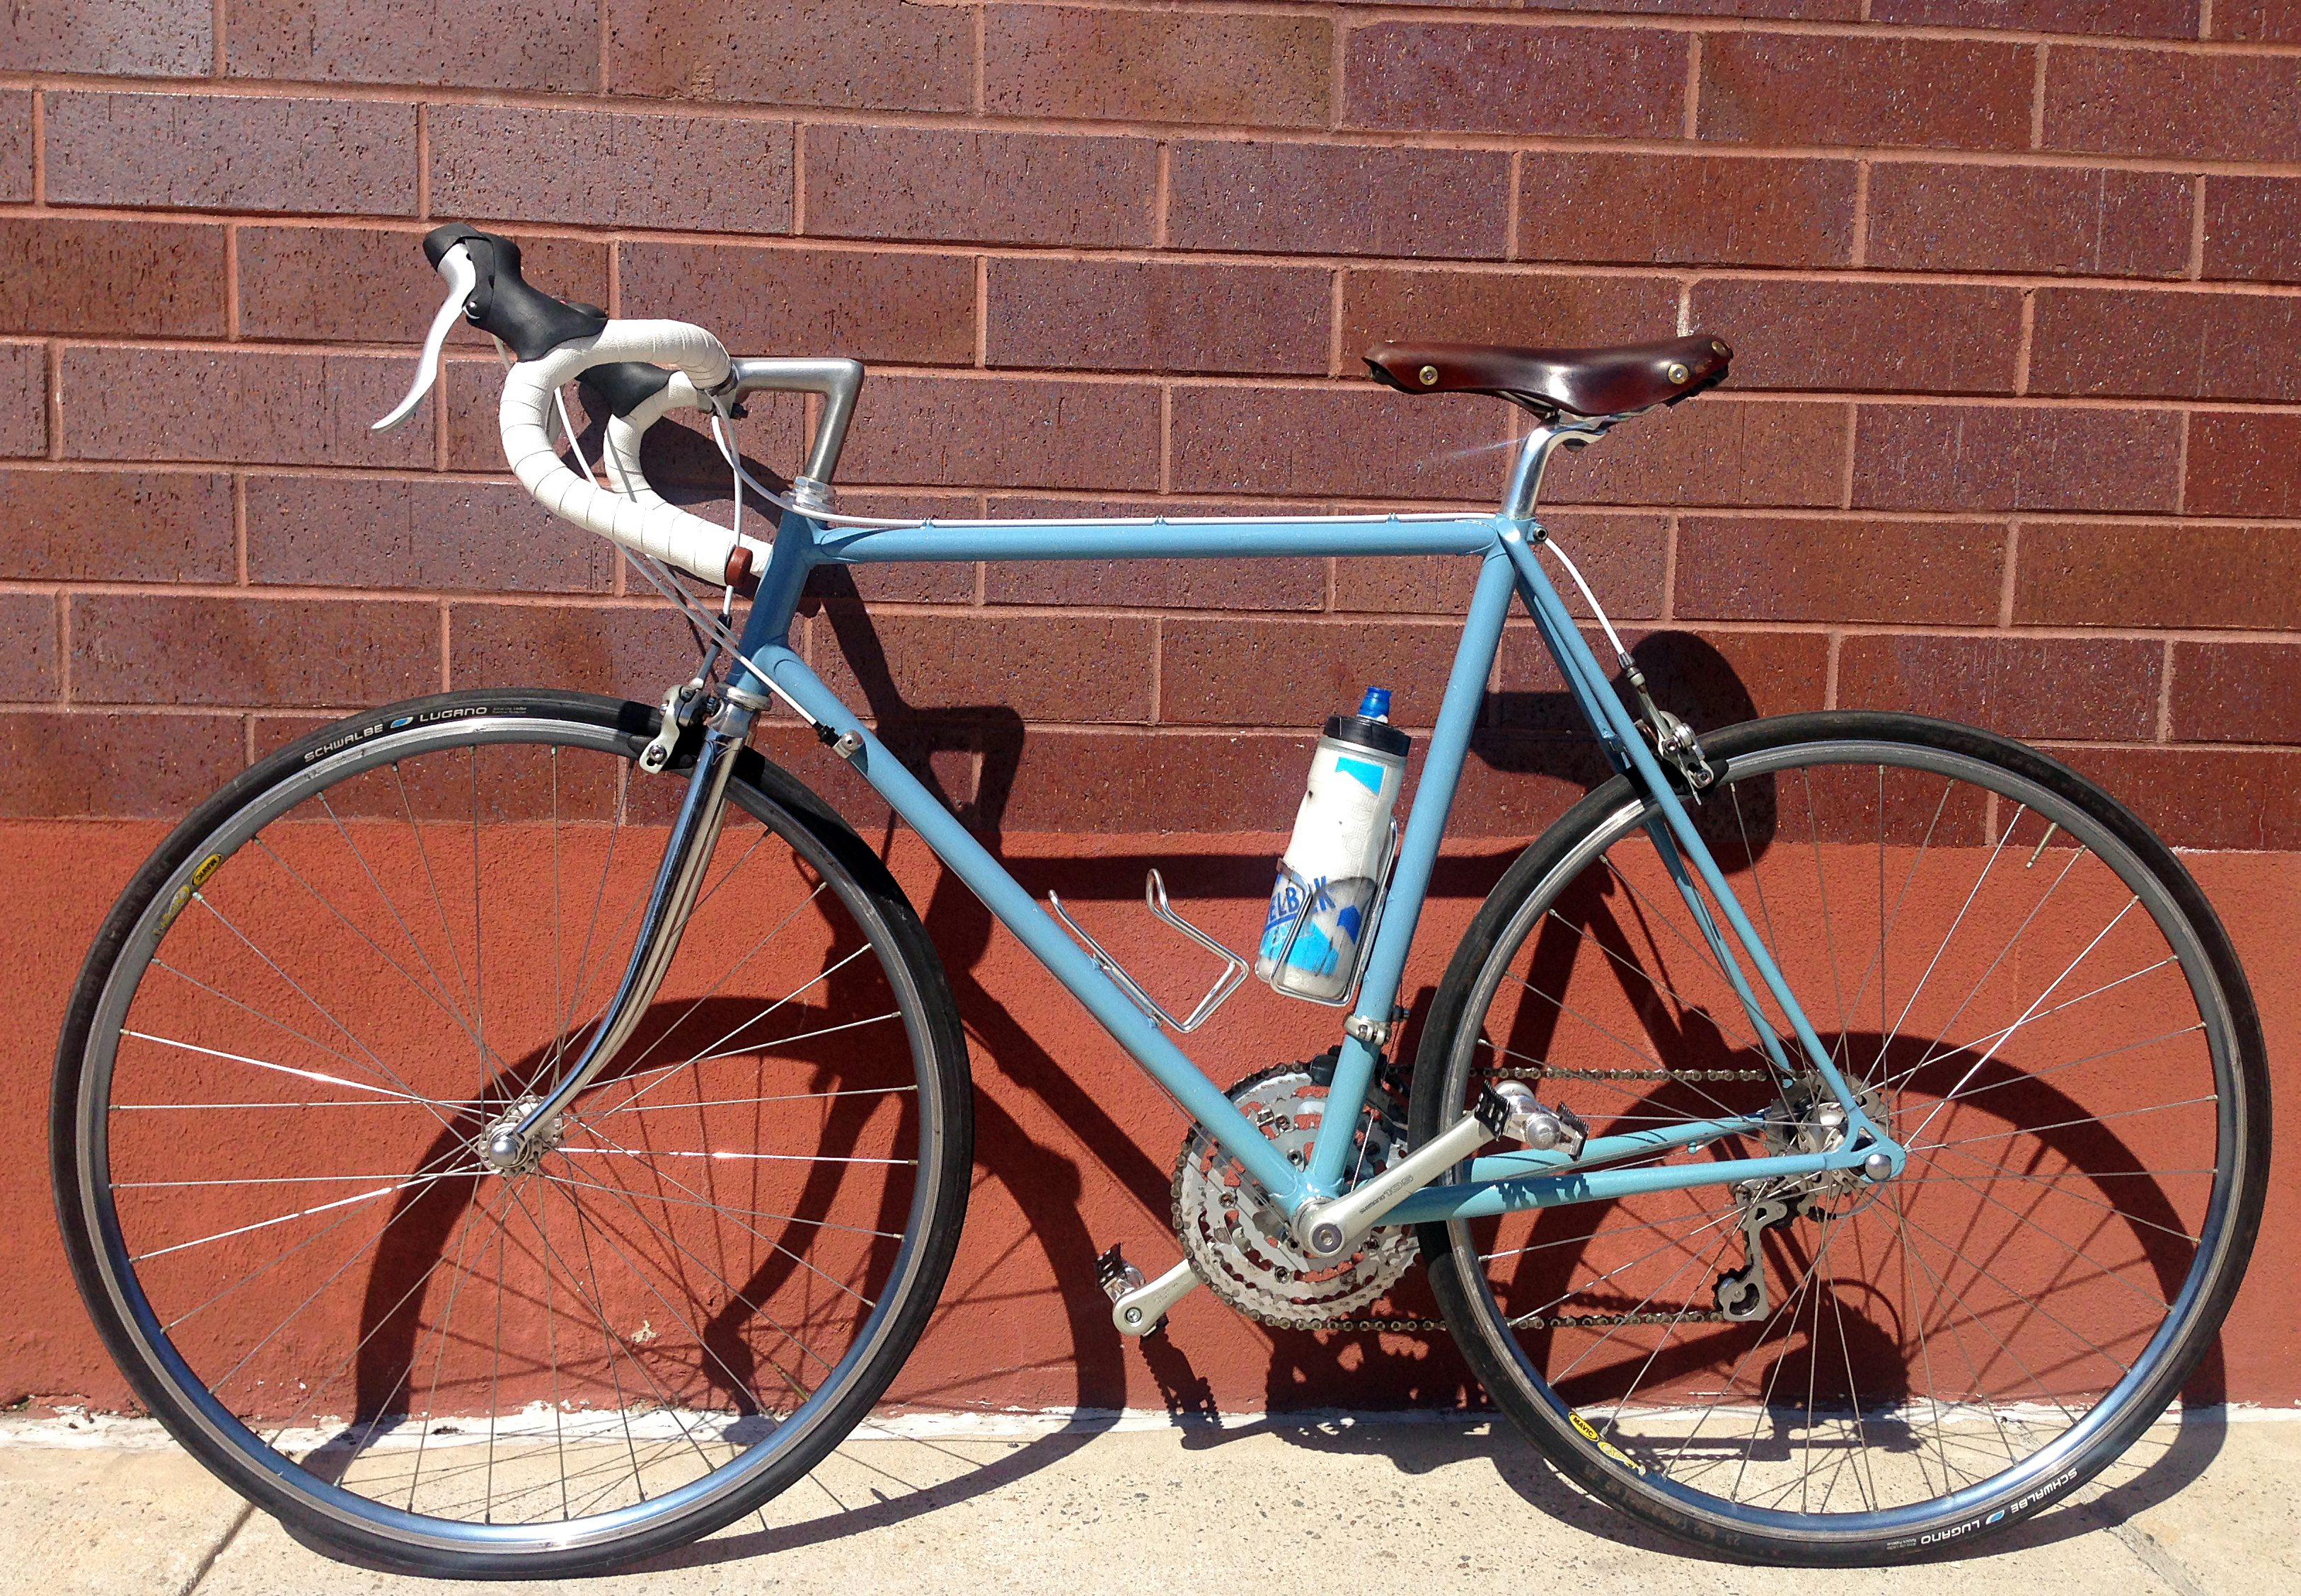
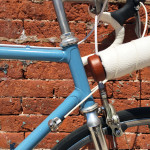
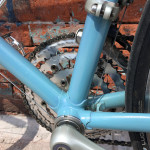
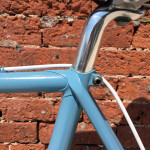
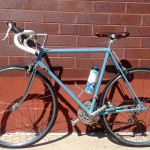
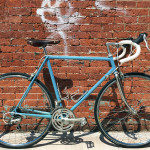
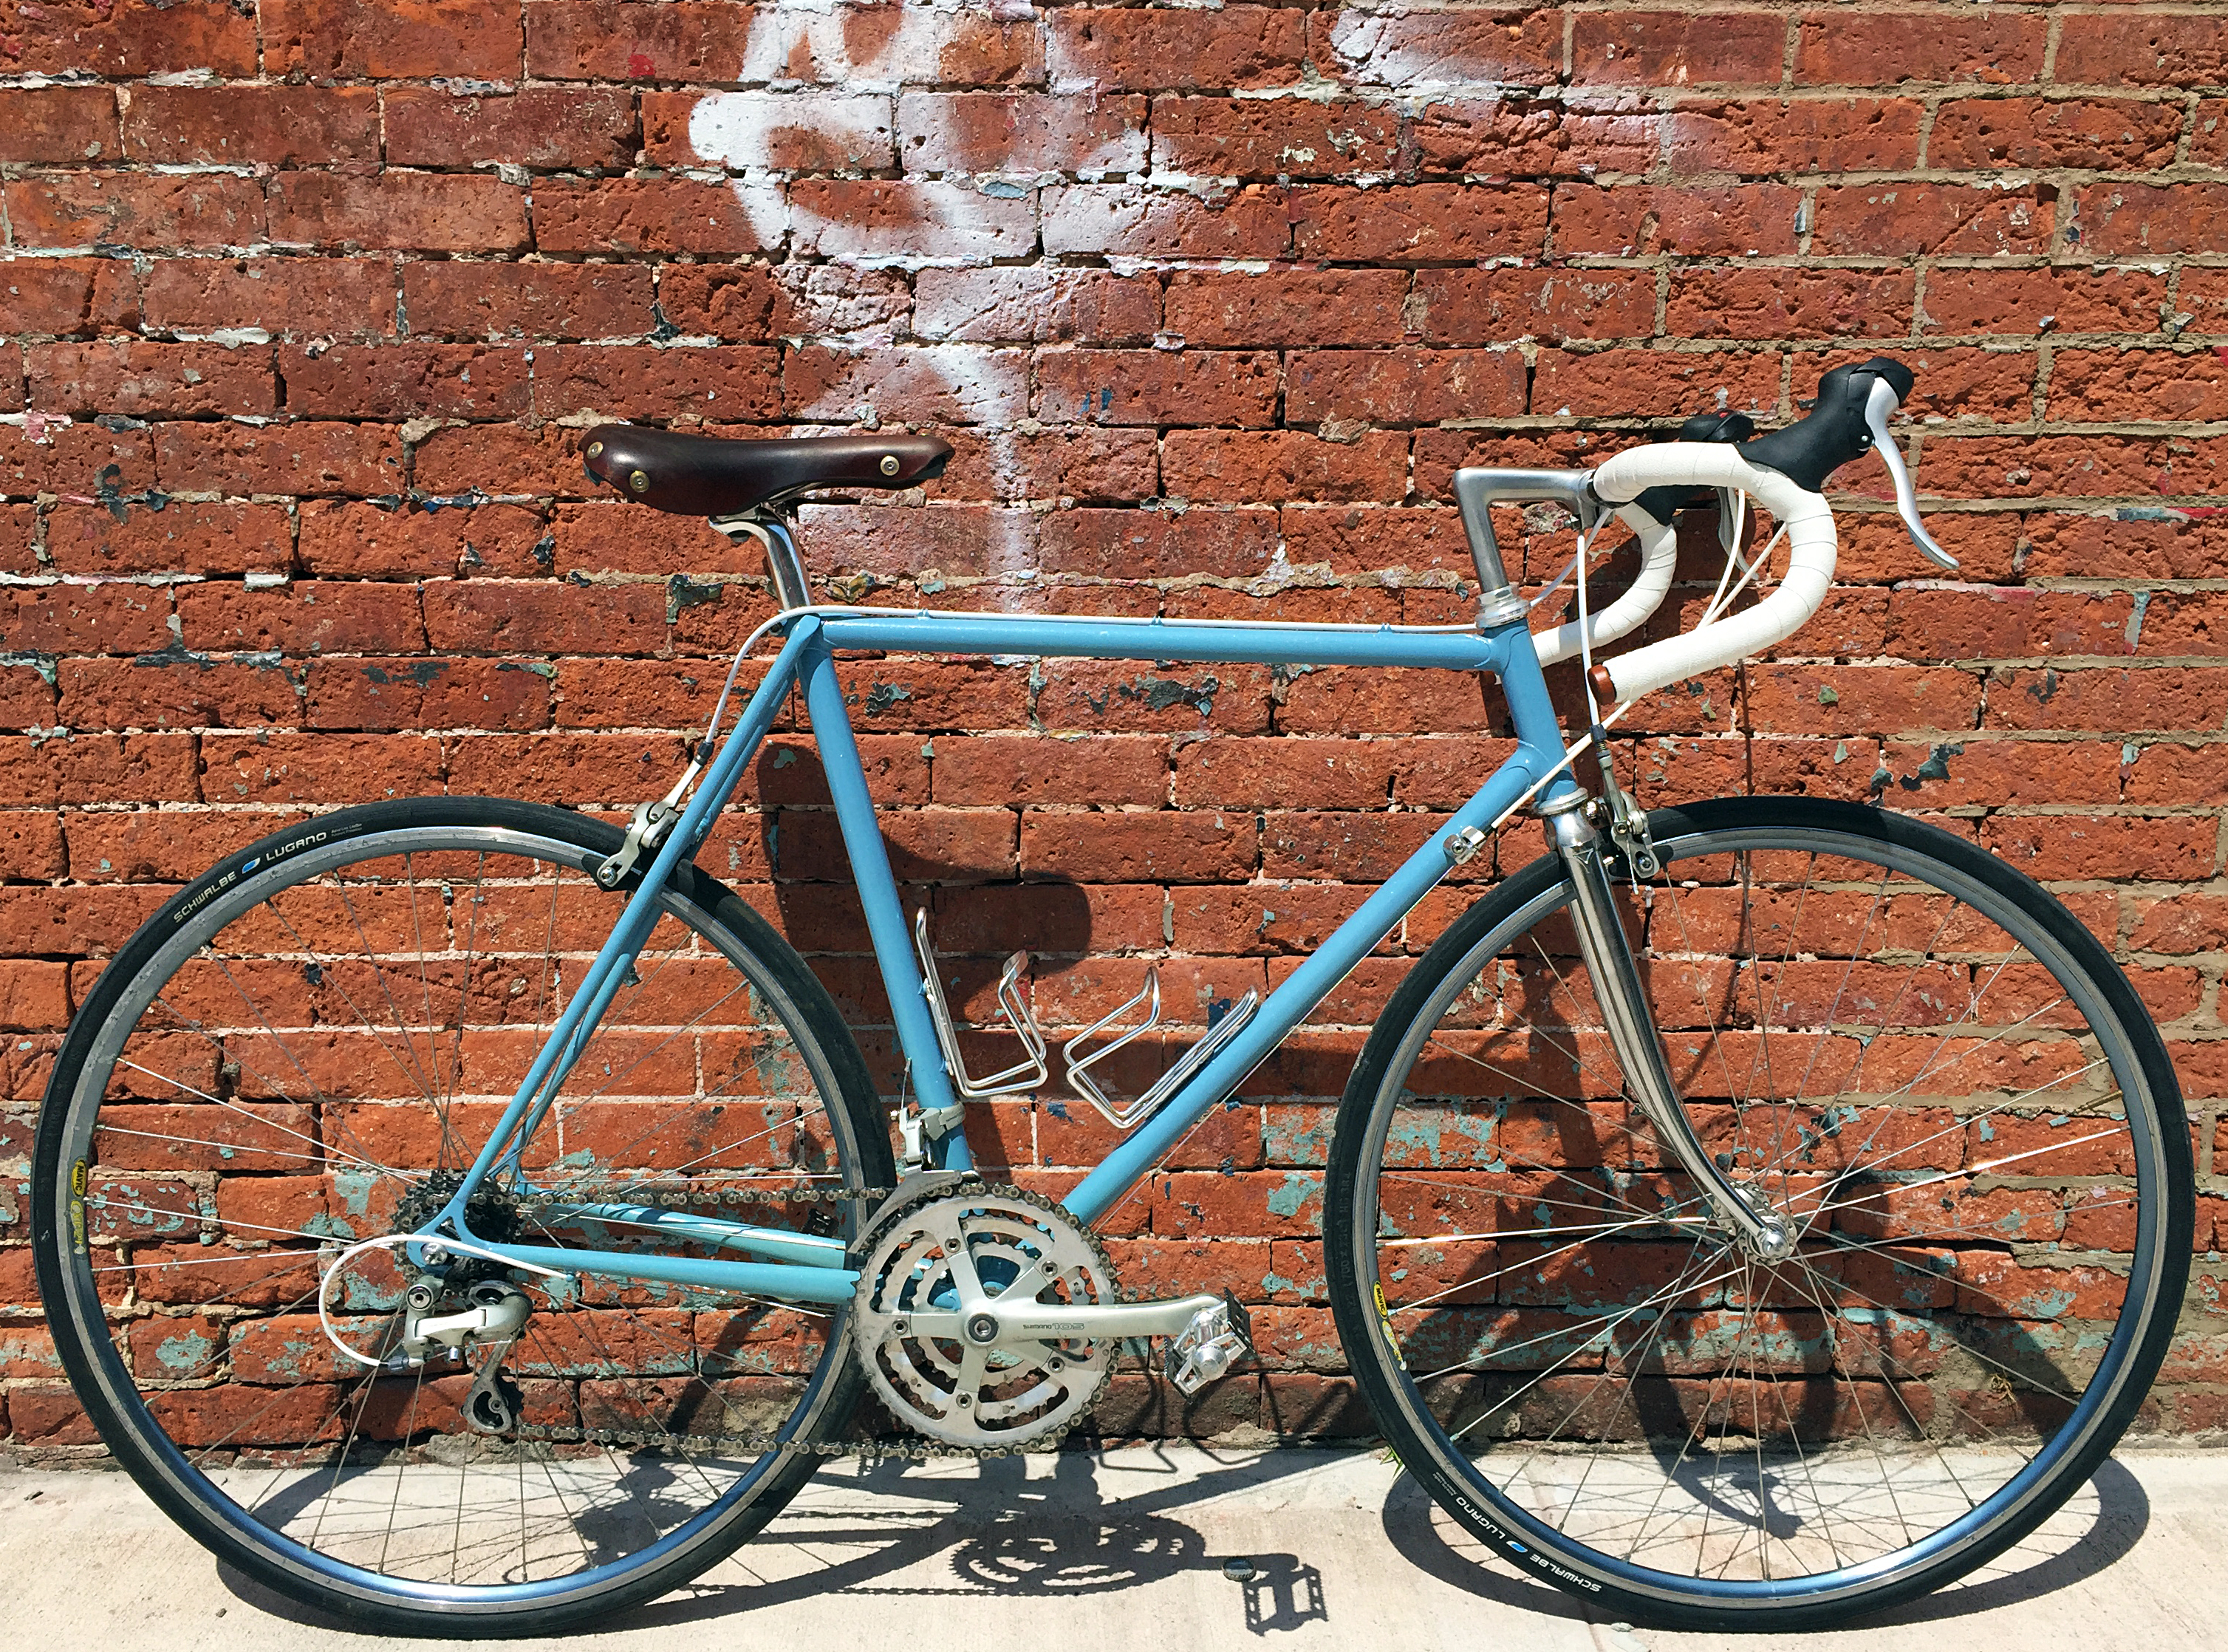
After I finished the frame, Lance powdercoated it in a beautiful light blue with metallic sparkles. I added a chrome fork that I bought online – I want to learn how to make forks soon, but I felt on my first couple of frames that I shouldn’t try to build such a critical component yet. I built the bike up with a 1990’s vintage Shimano 105 9-speed groupset with blue anodized MAVIC wheels. I was very happy to find that the bike rides wonderfully – it has pretty relaxed geometry, like a sport-touring type bike.
Since then, I’ve already built a second frame (that I will post soon) and am buying the supplies to build two more. Building frames is difficult but rewarding, and I hope to continue building, learning, and developing my craft for years to come.
Check out the gallery to see more pictures!